Camp Oven Bread In 7 Easy Steps
Quick and easy camp oven bread. We show you how. Amanda and I will be off camping in some remote spots in a little over a month so we decided to figure out making camp oven bread before we head off. It’s taken us a few attempts to get it right but we think we’ve now nailed it and would like to share the secrets with you.
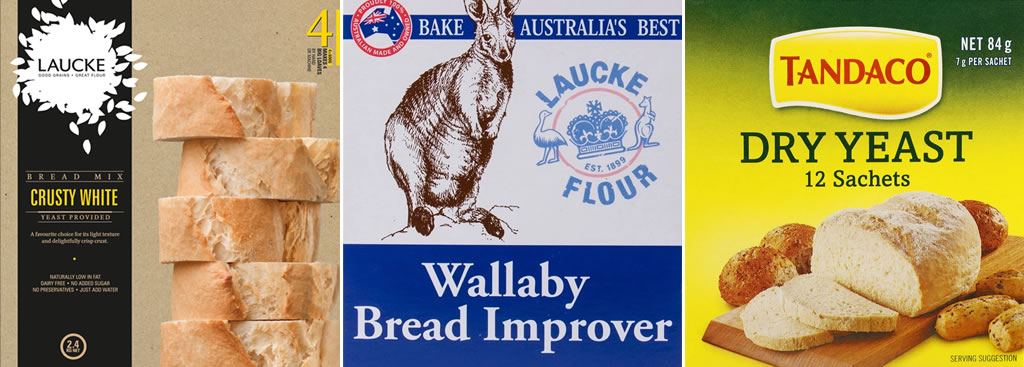
Step 1. The Ingredients
We used the prepacked Laucke crusty white mix and have tweaked the yeast and added some bread improver to what it says on the packet. The whole 600g packet of Laucke Crusty White bread mix is put in a bowl along with a full 7g sachet of Tandaco Dry Yeast and teaspoon of Wallaby Bread Improver.
Step 2. Mix the Ingredients
The dry ingredients were all mixed well to combine. Amanda added slightly more than recommended 380ml of room temperature water, maybe an extra 50ml or so. The whole lot was then folded/cut together to make a dough.
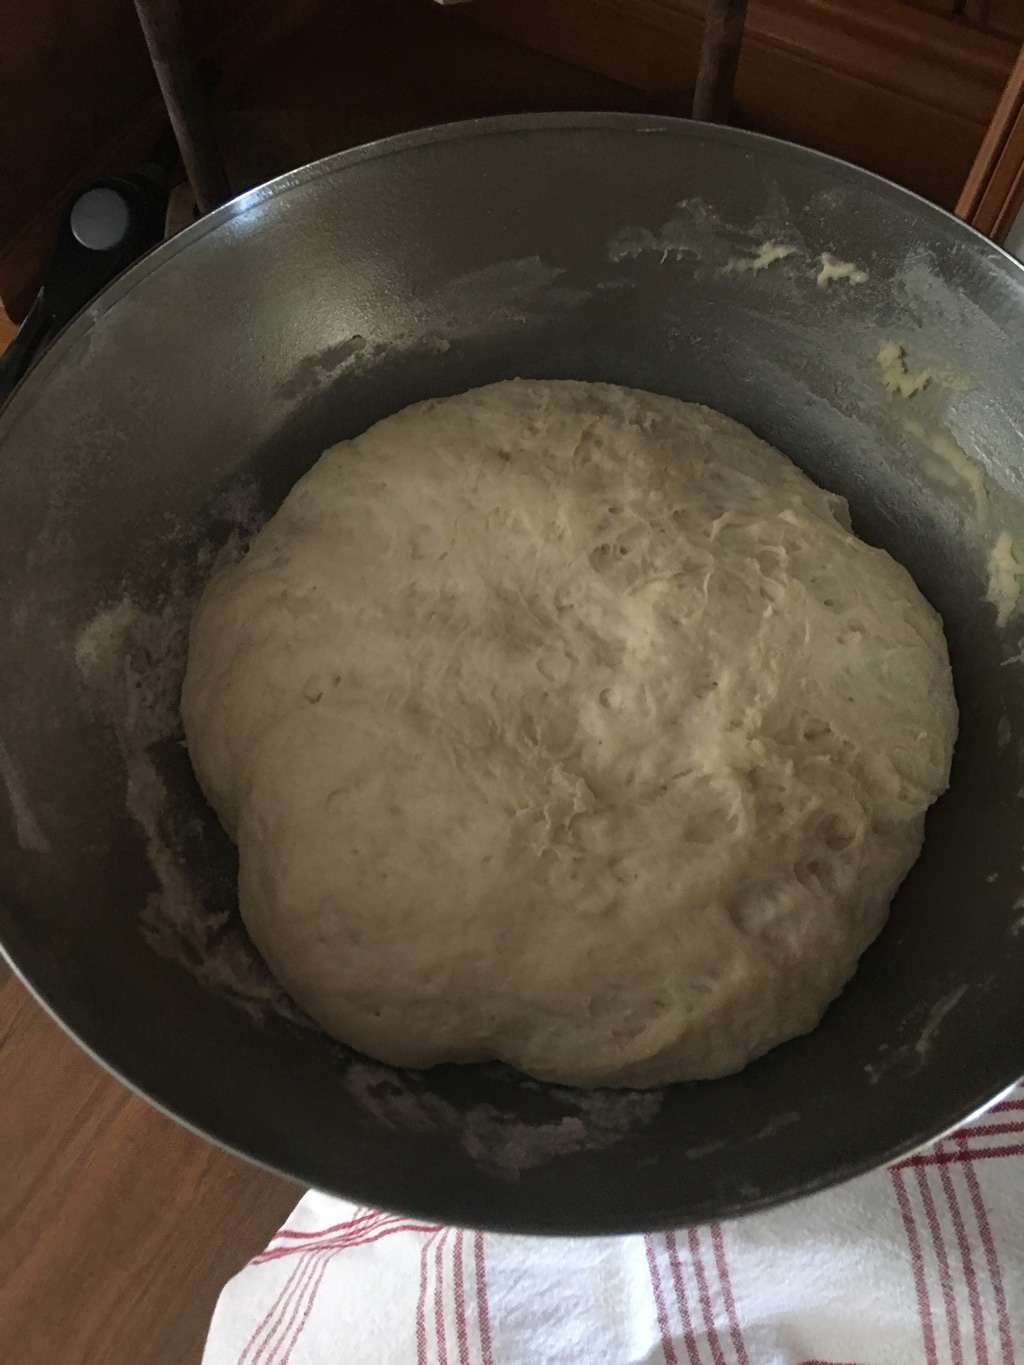
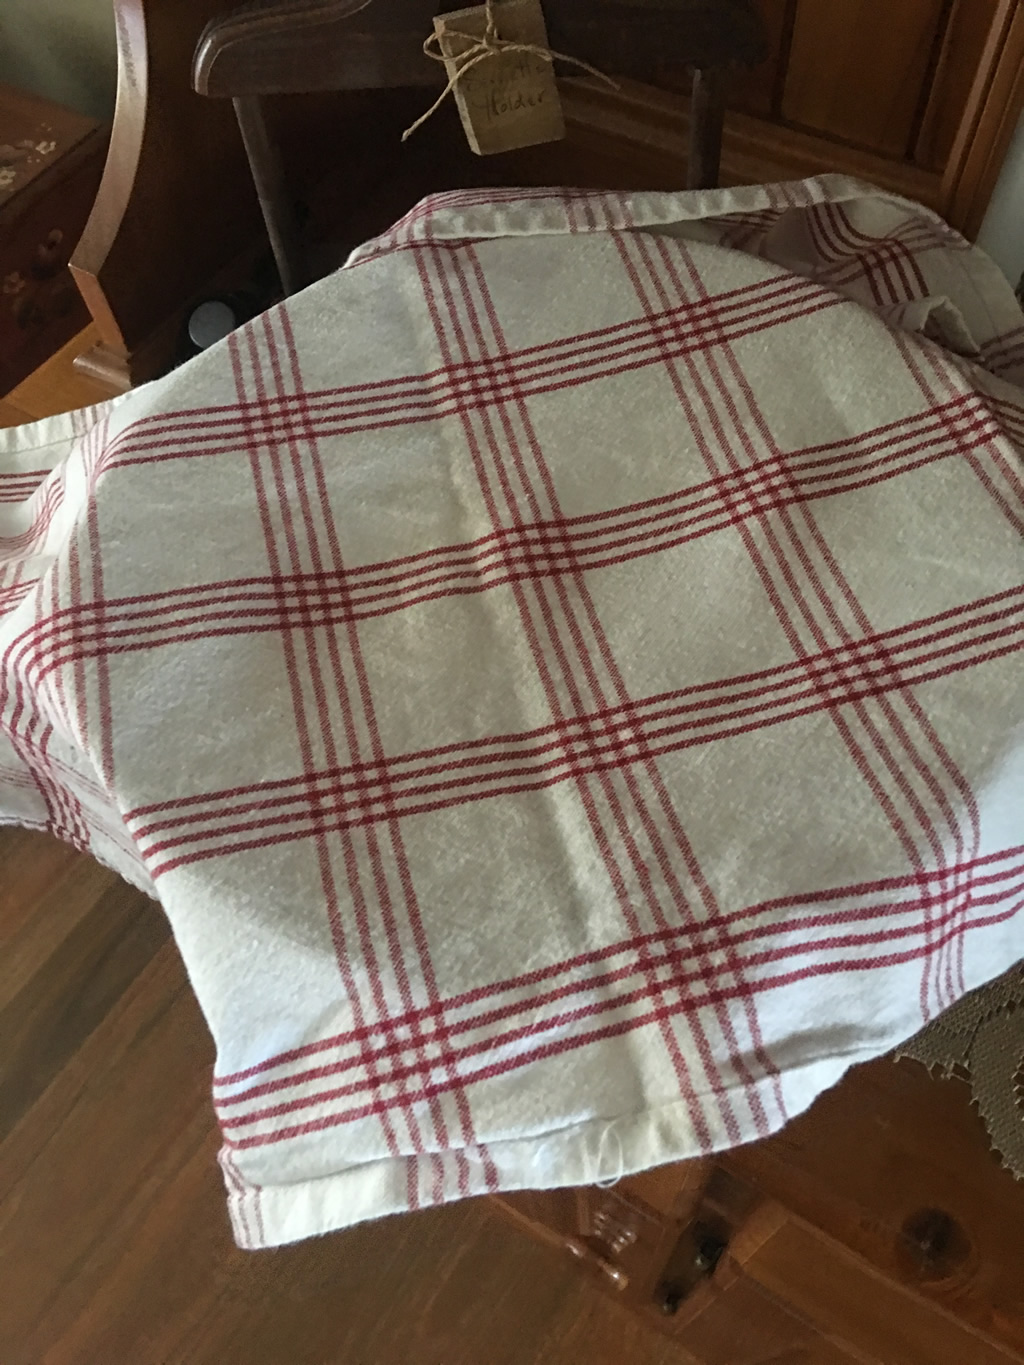
Step 3. Let it Rise
This dough was then covered with a tea towel and then set aside in a warm place to rise for an about an hour. If you are out camping and the day is a bit on the chilly side then put your bread inside of your vehicle to rise as it’s usually a quite a bit warmer.
Step 4. Knead the Dough For a Few Minutes
After an hour roll the dough out of the bowl on to a lightly floured board and knead it for a few minutes. Put a bit of dry flour on your hands as this makes the kneading process simpler as the dough is less likely to stick to your hands. Knead it by pushing down on the dough with the heels of your hands as you roll it forward. Then after it flattens tuck it back under itself and repeat. It’s easy once you get the hang of it.
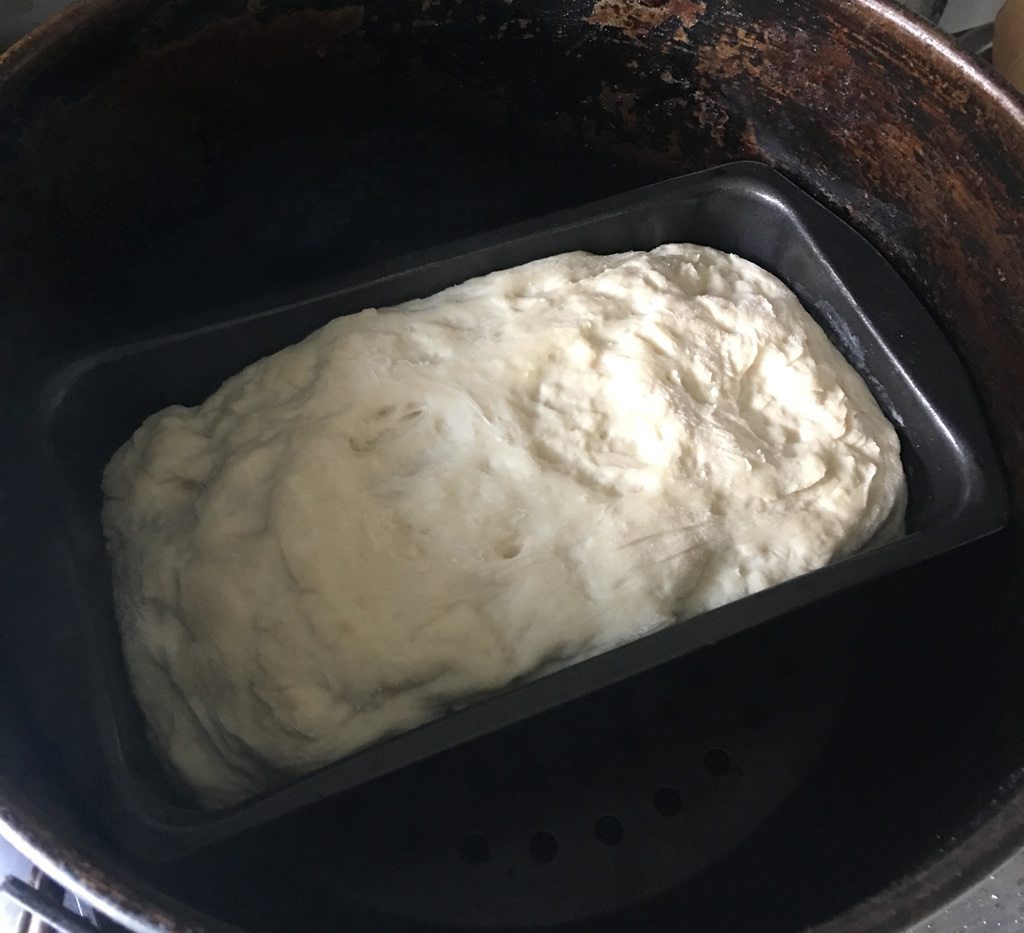
Step 5. Second Rise
Put the dough in to a bread tin and place the tin inside a 12″ inch camp oven and leave it to rise a second time for about 45 minutes. once again, if it’s a bit cold put it inside your car.
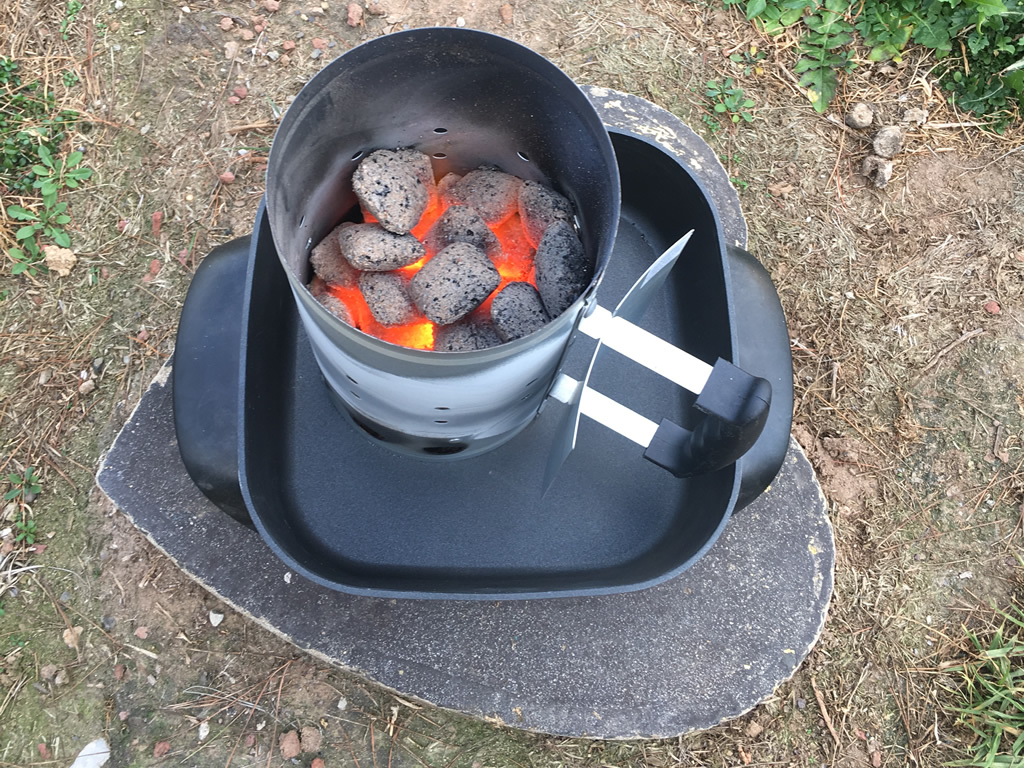
Step 6. Prepare Your Heat Source
While the second rise was underway I got the heat beads ready to go. I put 29 heat beads in a heat bead starter chimney with a couple of firelighters underneath and let it do it’s thing. How did I arrive at using 29 heat beads? There’s a chart I have been using and it lists the number of beads to use for a given size camp oven and tells you how many to put on the lid and underneath for a given cooking method, be it baking, roasting, stewing or frying. Camp Oven Heat Bead Quantity Chart.
If you prefer to use wood and you are allowed a campfire burn down some wood until you have some coals.
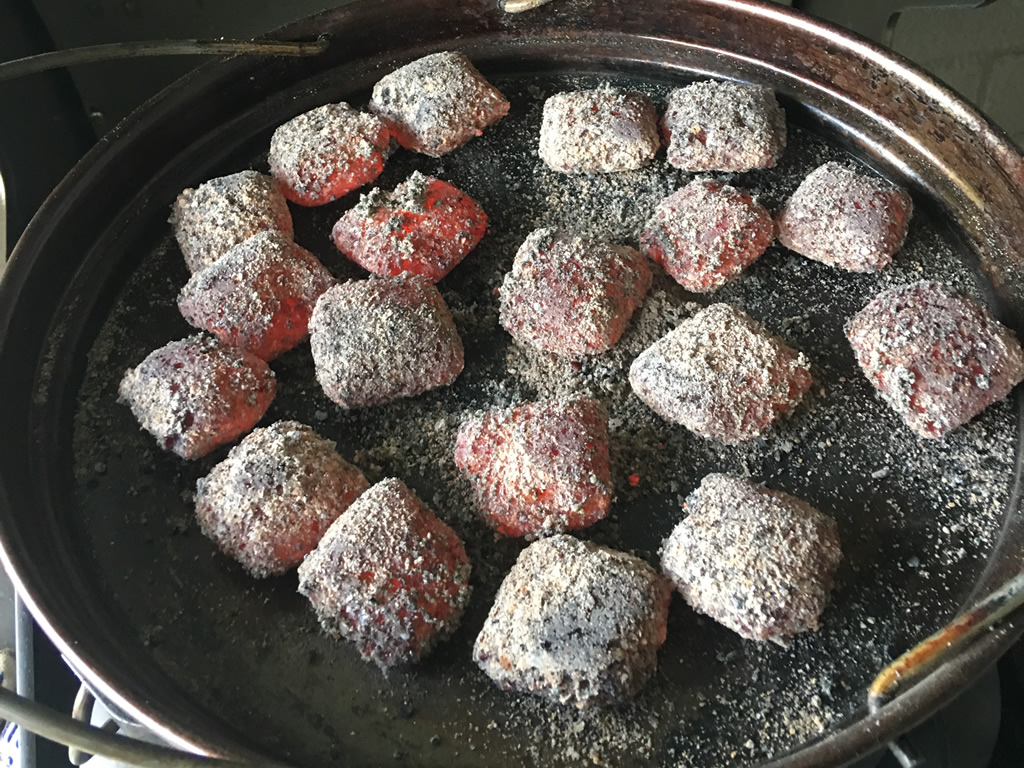
I used about ten heat beads underneath the camp oven as per the chart.
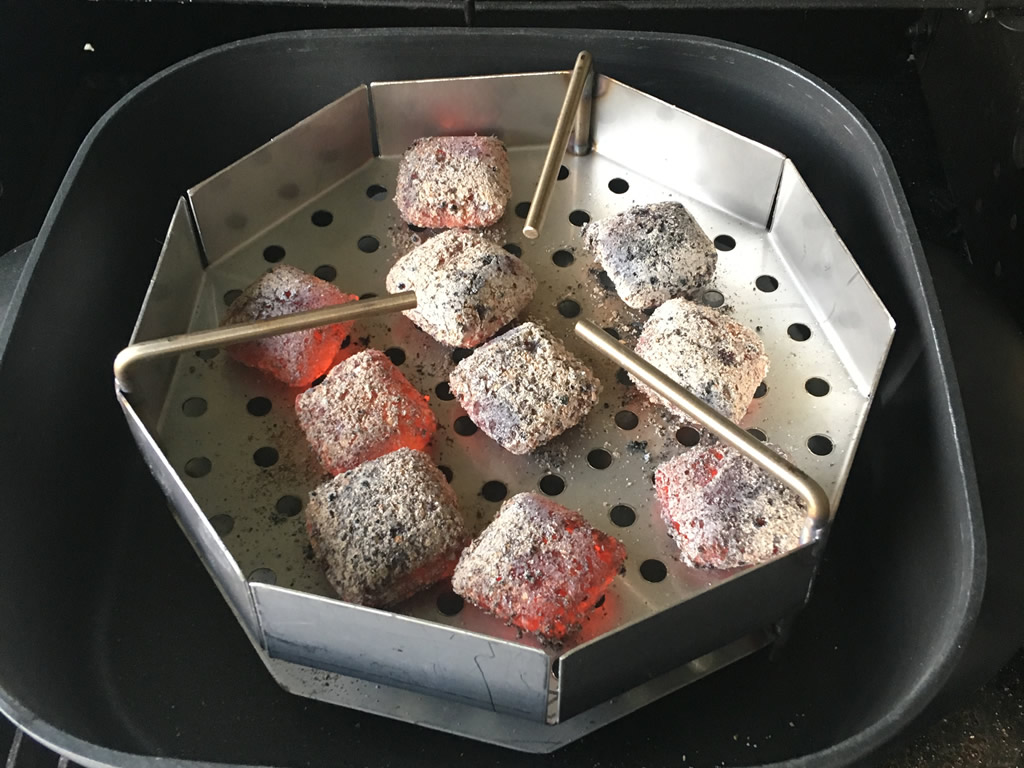
The camp oven was put on top and the remaining heat beads were added to the lid and left to warm up for about five minutes.
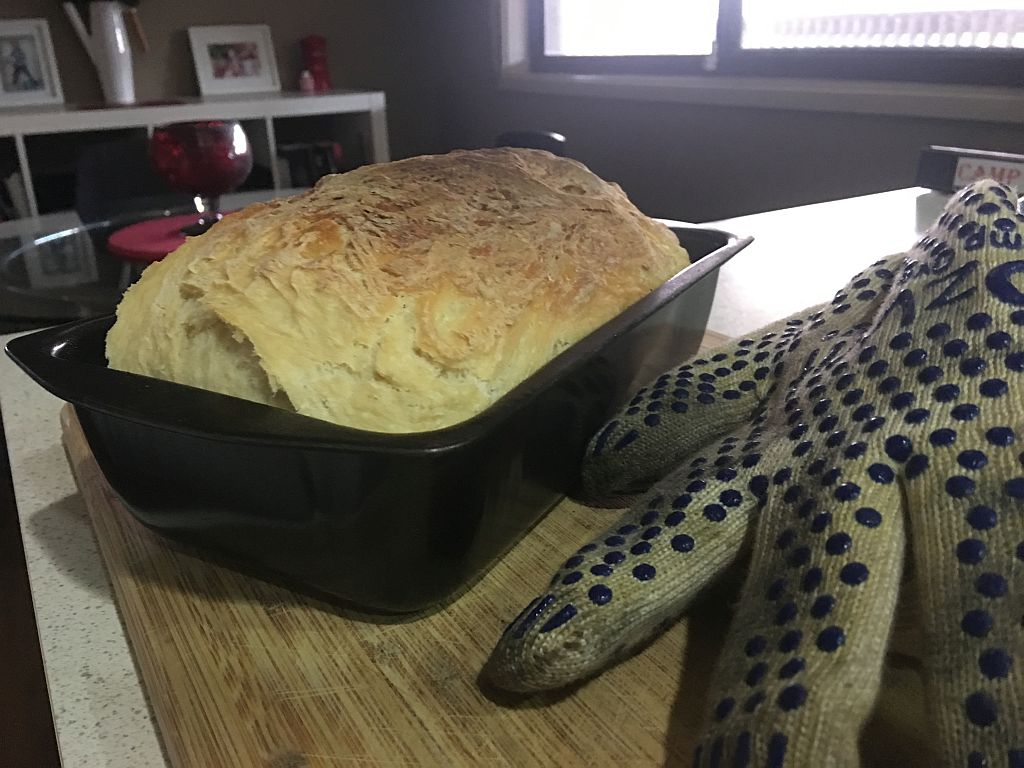
Step 7. Bake Your Bread
Put the bread inside and bake it for about 30 minutes. The recipe says 25 to 30 minutes but we have found that the best result is closer to the 30 minute mark.
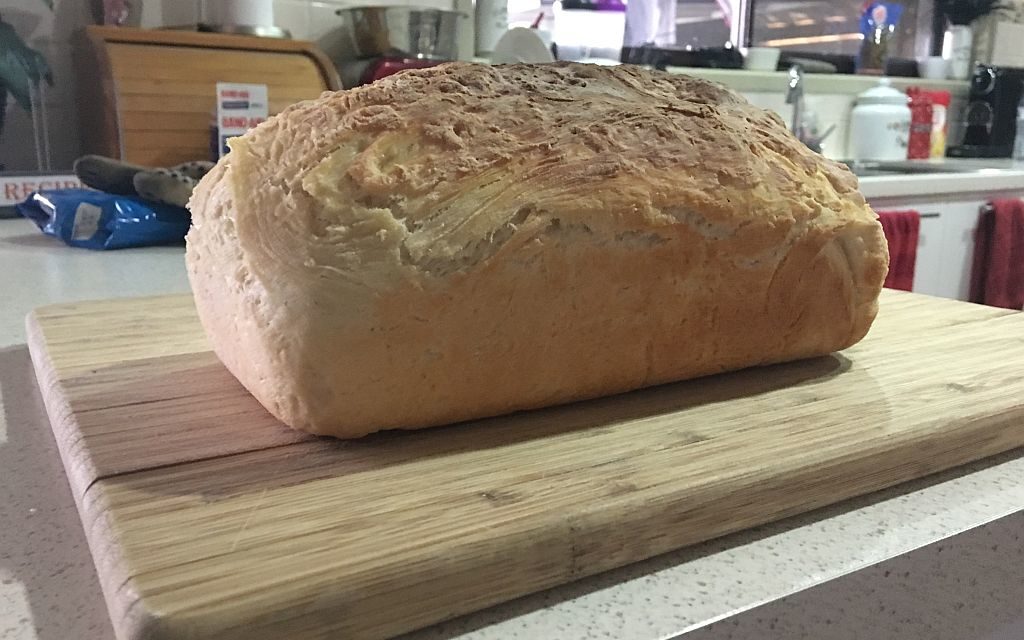
And there you have it, beautiful camp oven bread! If you have any questions please feel free to ask in the comments section below.