Silver City Highway Menindee to Tibooburra

Silver City Highway Menindee to Tibooburra

Silver City Highway Menindee to Tibooburra

We left Menindee Lakes and headed to Tibooburra. We would have liked to stay another night or two at Menindee, we liked it a lot. Had to pull over before hitting the bitumen to put air in the tyres. First stop was in Broken Hill to get fuel then off along the Silver City Highway to Tibooburra.

The Silver City Highway

The Silver City Highway is a good bitumen road with a pretty desolate view of rocky plains and in some places sand hills all the way to Packsaddle Roadhouse. It took us a couple of hours or so to get to the Packsaddle Roadhouse and then the road changed to dirt. We pulled over to lower tyre pressures and a nice old bloke pulled over to check that we were ok and warned us off the upcoming road conditions. He mentioned corrugations and lots of bulldust holes and sandy stretches. Was nice of him to stop and give us an update. To be honest though the road wasn’t too bad. There were some stretches of absolute garbage but for the most it was ok.

There were also quite a few stretches that had been sealed fairly recently. I am guessing the sealed bits were where they were having troubles maintaining the dirt to a decent standard. Later on as we got closer to Tibooburra roos and emus by the side of the road kept us on the lookout, there was a LOT of roadkill lying about.

Packsaddle Roadhouse

Packsaddle Roadhouse

Tibooburra Caravan Park

We checked in to the Tibooburra van park for a few nights. More of a bush camp than a proper van park but the showers were nice and clean and after roughing it in the outside shower tent with minimal water a nice hot shower was very welcome plus we needed to catch up on a few loads of washing. While unhooking the van I noticed that we had lost or Anderson plug from the van on the road. It had fallen out and been dragging. I had a spare so it was no big problem. We’d been having a few problems keeping the fridge cool so I had run the van with the fridge switched to DC and it must have cut over to the battery after the plug fell out so the battery was down to 12v. We spent the evening around the fire talking to some people from Newcastle.

Tibooburra Caravan Park Supreme Getaway

Tibooburra Caravan Park Supreme Getaway

The Long Paddock – Carrathool to Menindee

The Long Paddock – Carrathool to Menindee

The Long Paddock – Carrathool to Menindee

An early start took us through Hay, refueling before heading north on the Cobb Highway, along the famous “long paddock.” We packed up early and headed off towards Hay. We stopped in at Hay for fuel then headed north on the Cobb Highway towards Ivanhoe.

The Long Paddock

The road north is part of the “long paddock” where drovers would walk their cattle in search of feed alongside the road or when on their way to market. Must have been bloody hard travelling in those days with all your food for the journey strapped to your horse inside saddle bags. Every so often there is a tank for watering of stock. We stopped in at the One Tree Hotel for a look around and also at the Jumping Sandhills. Everywhere you look while travelling this road you see reminders of our early pioneers, some of it from not that long ago.

One Tree Hotel On The Cobb Higway Long Paddock

One Tree Hotel On The Cobb Higway Long Paddock

Ivanhoe Menindee Road

After reaching Ivanhoe we stopped in to fuel up for the trip to Menindee. Ivanhoe is a quiet old bush town with a pub, caravan park and a few small general shops with fuel bowsers out front. Then after airing down the ute and van tyres we hit the Ivanhoe Menindee Road. Now that’s a rough old dirt road! Corrugations, washaways, bulldust holes and heaps of roos, emus and wandering stock. Was a hell of a fun ride. Amanda got out of the ute at one point to pluck a few feathers from a recently splattered emu, she’s wanted some emu feathers for a while now! At various points along the road we saw impromptu get togethers with what we assumed were farmers where they just stop on the side of the road and have a chat. Be cool to know what they were talking about. Probably laughing at the morons driving past down their road for “fun”.

The Ivanhoe Menindee Road

The Ivanhoe Menindee Road

Anyway we eventually got to Menindee Lakes and set up camp at the Burke and Wills campsite at Lake Pamammaroo for the night. We were treated to an absolutely spectacular sunset over the lake.

Burke And wills Campsite Sunset At Menindee

Burke And wills Campsite Sunset At Menindee

Caravan Stone Guard – Easy Fitting Instructions

Caravan Stone Guard – Easy Fitting Instructions

Caravan Stone Guard – Easy Fitting Instructions

You can prevent damage to your caravan and undercarriage by using a Caravan Stone Guard when towing your caravan. They are an efficient and easy way to protect your caravan and undercarriage from small rocks being flicked up from the front of your tow vehicle. The caravan’s front panels and undercarriage will remain as good as the day you bought it by preventing damage.

How Does A Caravan Stone Guard Work?

Caravan stone guards, or stone guards as some people call them are metal framed mesh guards designed to stop and/or deflect rocks thrown up by your towing vehicle’s tyres. The stone guard is mounted to your draw bar and spans the width of your van’s front and is high enough to protect your van from rocks thrown by the back tyres. Rubber flaps also protect the undercarriage with this stone guard.

Coast To Coast Stoneguard

Coast To Coast Stoneguard

Why We Needed A Caravan Stone Guard

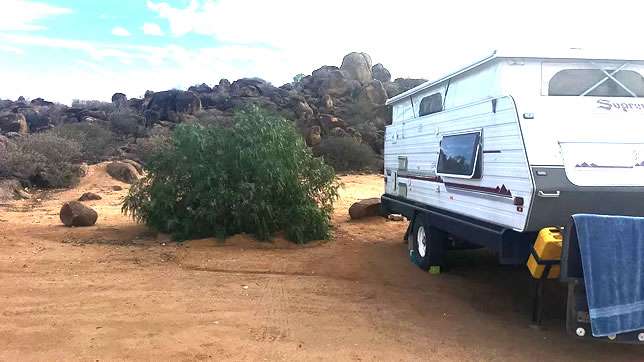
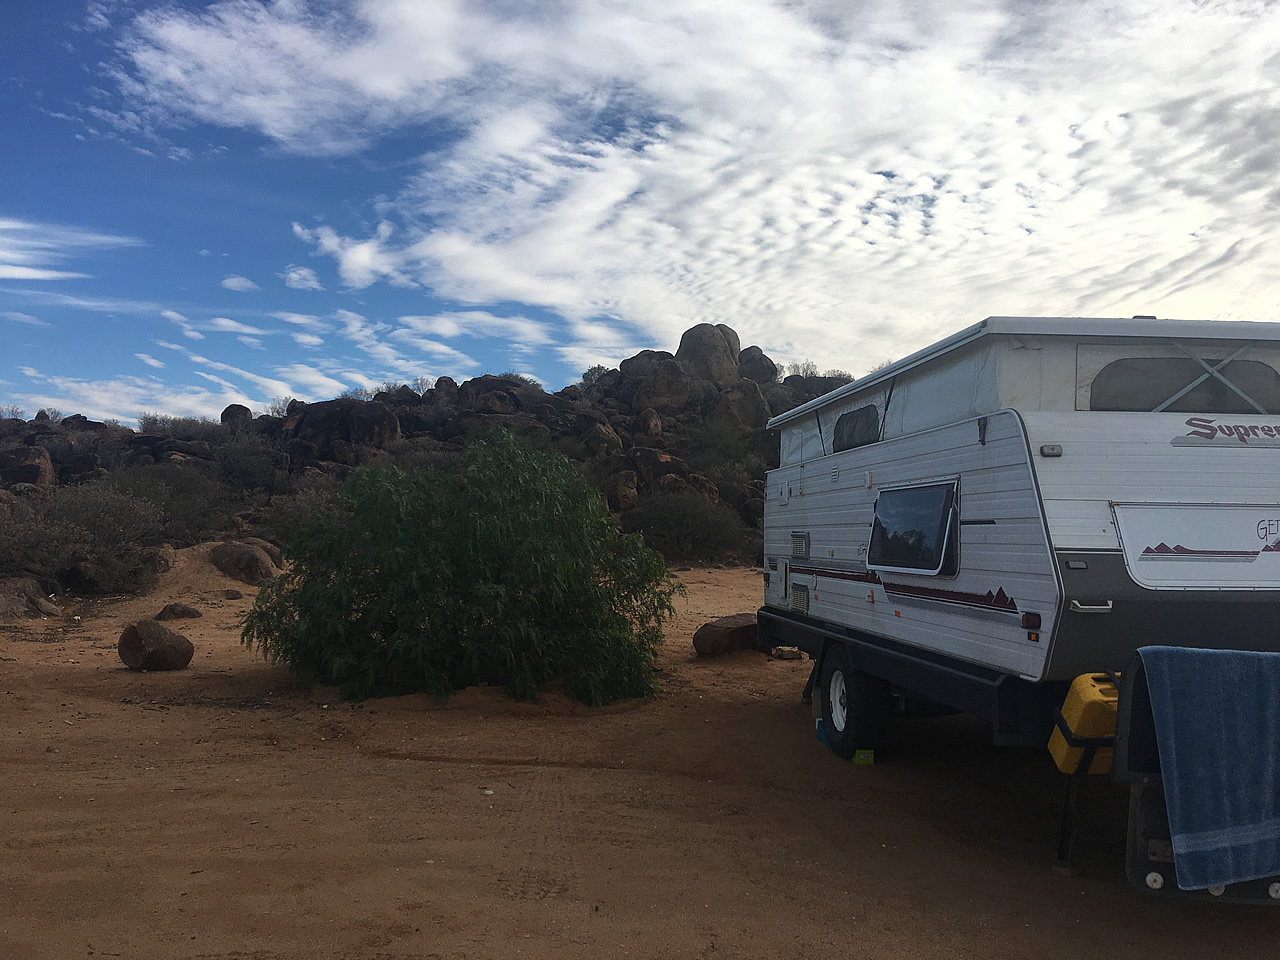
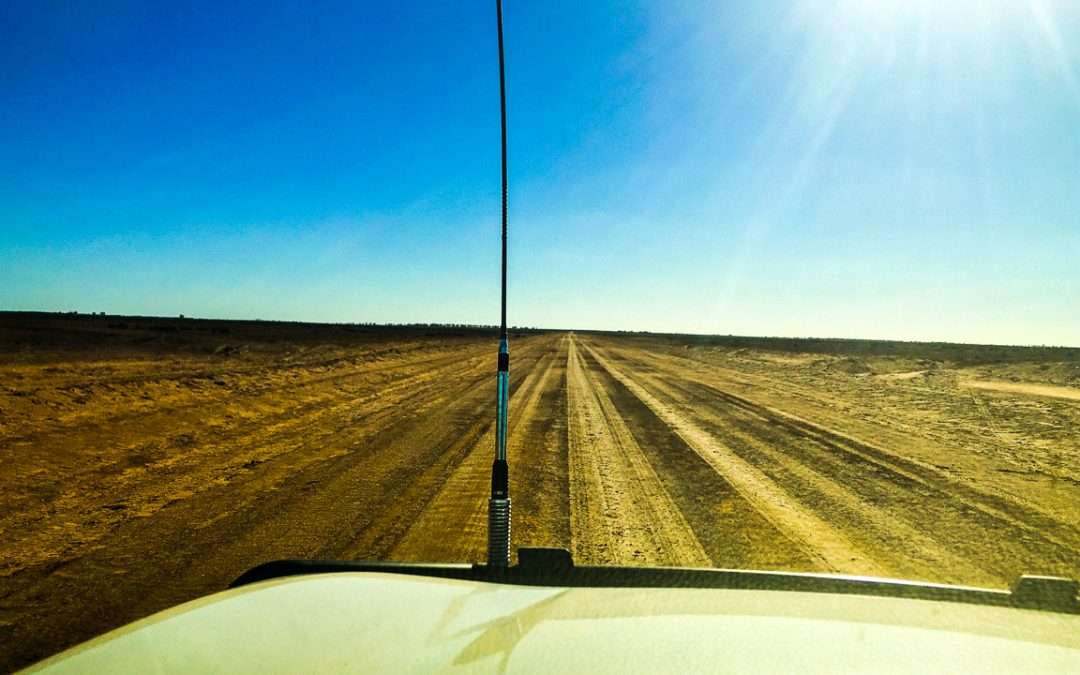
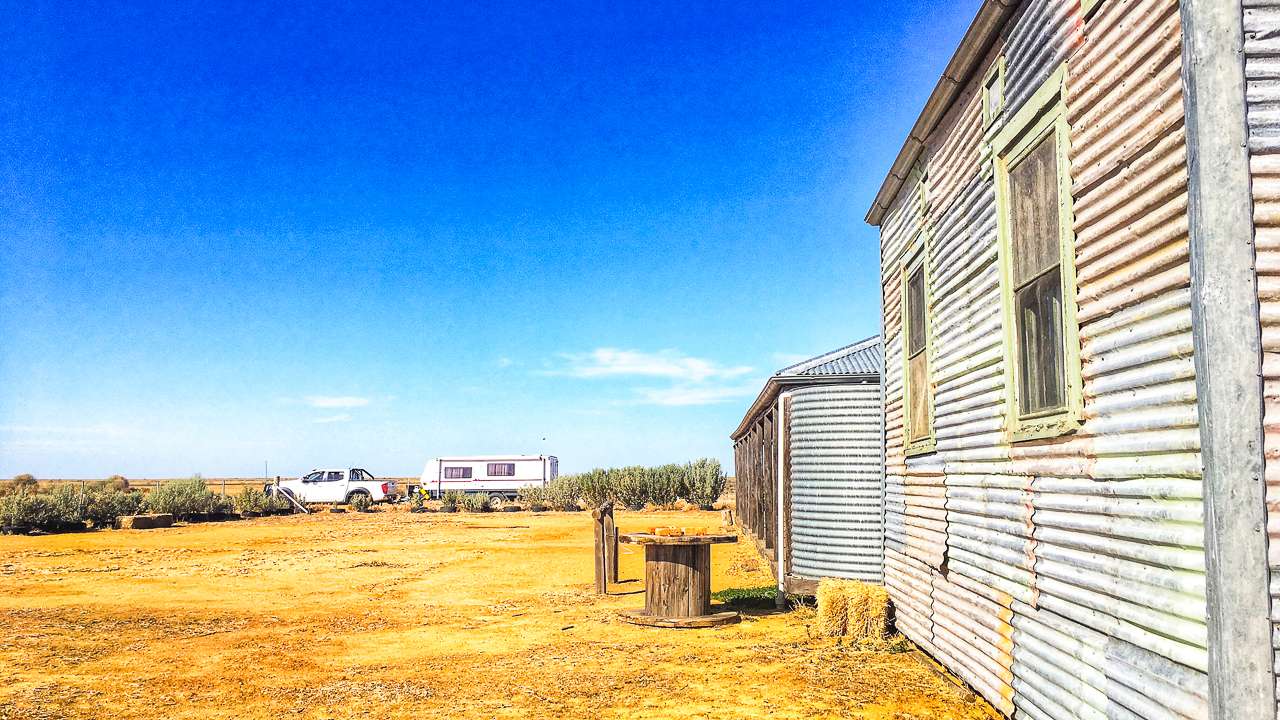
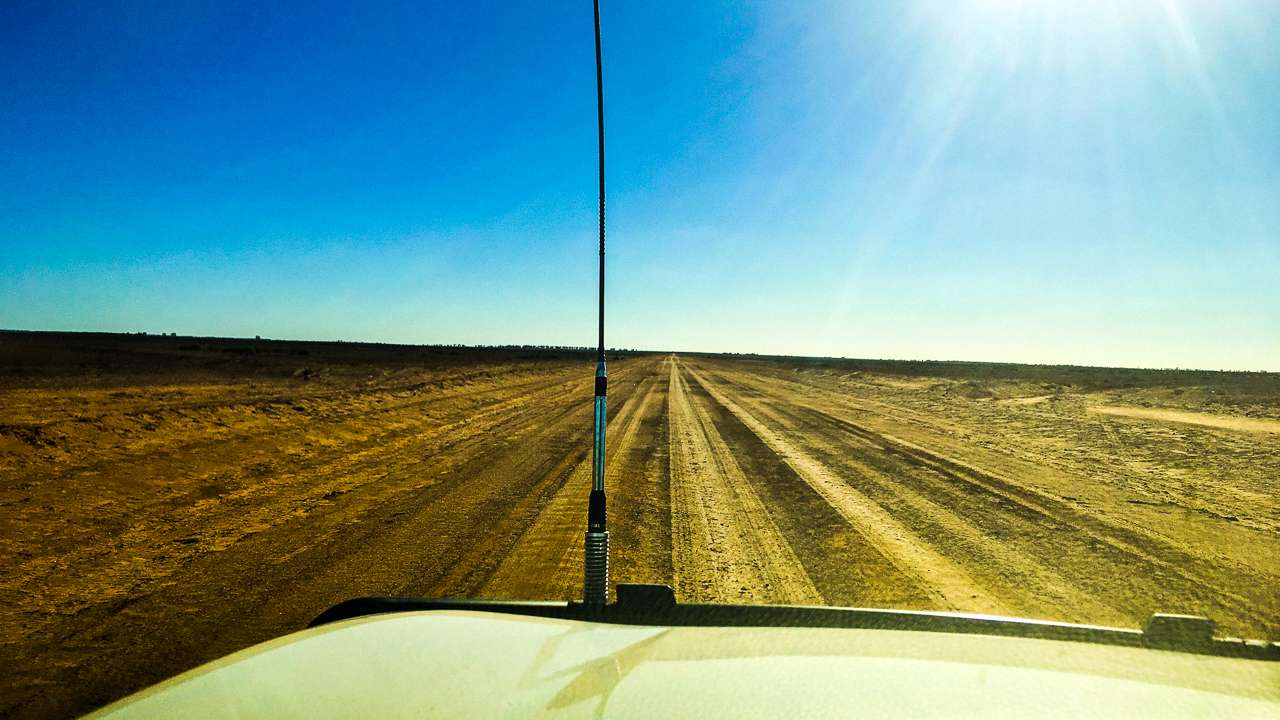
We were going to do about 1500+ ks on gravel roads the following month so I thought it would be a good idea to fit something to protect the front and underneath of the van from flying rocks as well as prevent rocks bouncing off and back on to the rear of the ute.

I looked at stone stompers and I like them a lot however due to the short length of our tow hitch I couldn’t see how they would easily fit. On our old camper trailer we had a camper trailer stoneguard across the front and it worked well so I figured I’d get one of those again. Due to the narrowness of the drawbar on the front of our old Supreme Getaway none of the readily available ones would fit. I could have ordered a custom made one but that would have taken time and cost a pile of money so I decided to get one of the coast to coast ones you assemble yourself and modify the mounts to suit. It turned out great with the added bonus that it takes about 30 seconds to remove by taking out a few pins. The mounting modification means if I decide I don’t want it anymore or if we get a different van I could return it to standard in about five minutes.

Modifying and Installing the Caravan Stoneguard

The mounting points being attached to the drawbar. There is a range of different sizes in the kit to suit different drawbar sizes.

Caravan Stone Guard Original Mounting Brackets

Caravan Stone Guard Original Mounting Brackets

The two attachment plates. These bolt to the guard then get dropped in to the mounts and are secured with D pins.

Attachment Plates as Supplied in Kit

Attachment Plates as Supplied in Kit

Next up is measuring out a bit of 75mm x 5mm flat bar to connect the wider mounting points of the stoneguard to the narrower placement of the mounting points.

Checking mounting of stoneguard. Once it's cut in the middle and moved outwards it'll be fine

Checking mounting of stoneguard. Once it’s cut in the middle and moved outwards it’ll be fine

“Wings” get cut to length and bolted to top mounting brackets. Originally I was going to weld these bits together but then I thought if I use bolts then the whole thing can go back to standard if I ever need it to.

Caravan StoneGuard Wings

Caravan StoneGuard Wings

Caravan Stoneguard Mounting Wings For Narrow Drawbar

Caravan Stoneguard Mounting Wings For Narrow Drawbar

The next thing to do is to clamp the stoneguard temporarily in place so you can mark where to drill the mounting holes in the the wings.

Caravan Stone Guard Measuring Mounting Holes

Caravan Stone Guard Measuring Mounting Holes

My wife and I work in transport. The mud flaps supplied with the stoneguard were too short due to the high clearance of our Supreme Getaway so we got some old truck mudflaps off a mate. The holes in the bottom are where they had attached a metal trim strip/weight. We covered them up with some white reflectors. The holes didn’t bother me however my wife always likes things to be neat and tidy. ***Update*** The reflectors got smashed to pieces on the outback gravel roads we travelled on first trip with the stoneguard fitted. Hadn’t thought of that!

Caravan Stoneguard Truck Mudflaps

Caravan Stoneguard Truck Mudflaps

The mudflaps are bolted through the frame. Originally as supplied the flaps are just tek screwed and I wasn’t convinced of how strong that would be. I have since replaced the galvanised bolts for high tensile steel ones.

Caravan Stone GuardMudflaps Are Bolted Through The Frame

Caravan Stone GuardMudflaps Are Bolted Through The Frame

Tidying up the brackets with a bit of paint. Will stop them rusting too.

Caravan Stone Guard Painting

Caravan Stone Guard Painting

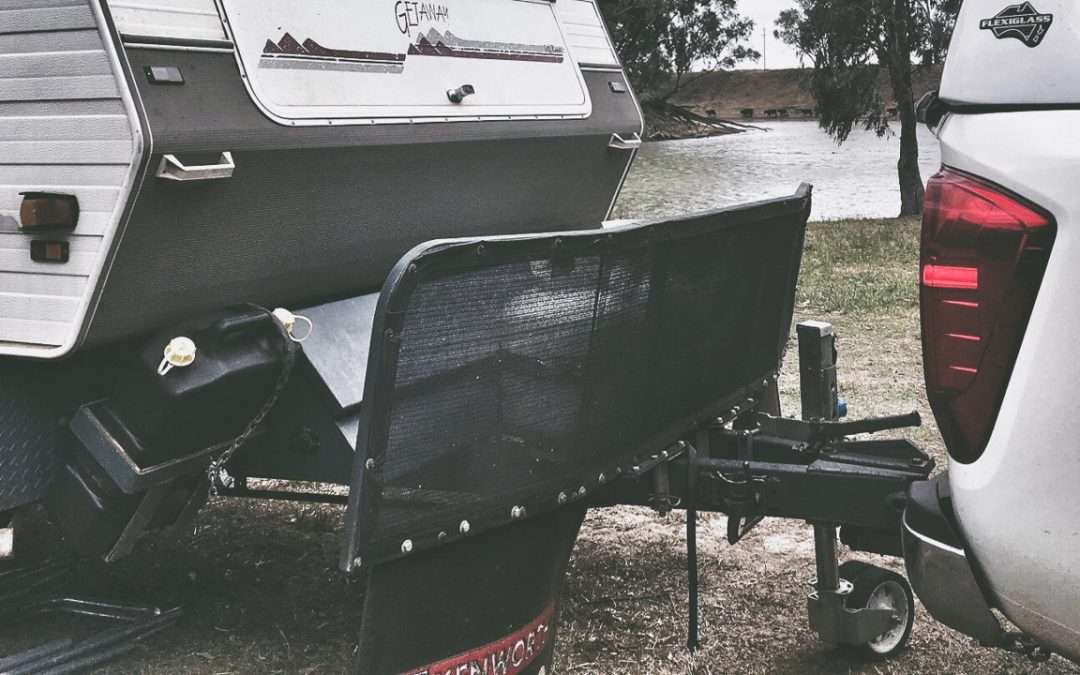
This is how it looks when all put together and mounted on the van. I was a bit worried about having sufficient turning clearance to the back of the ute however I shouldn’t have been as it all worked out fine. Plenty of room.

Caravan Stone Guard

Caravan Stone Guard

About The Coast To Coast Caravan Stoneguard We Installed

With three pre-drilled sections, the Coast To Coast caravan stone guard is flat packed and easy to install and remove.

A metal frame is fitted with tough ripstop mesh that resists rips and tears, and they bolt onto your caravan draw bar. With the included rubber mud flaps, you can also protect the undercarriage of your RV.

Features
  • Easy assembly with pre-drilled holes
  • Solid fixing – rip stop mesh is attached to the frame using screws not elastic
  • Easily removable when not required by using two R-clips (brackets can be left bolted onto you’re A-frame)
  • Pre drilled holes for easy assembly
Specifications
  • Includes: fitting instructions, 2 x extra large mud flaps
  • Suits: A-frames that are 50mm wide, 100,125 or 150mm high, and a width between both bars from 415-750mm at the point of attachment (see pictures above for more details)
  • Mesh Finish: Rip Stop Mesh
  • Frame Finish: 25mm Tube Steel
  • Finish: Black
  • Dimensions: 2310mm (W) x 500mm (H)
  • Net Weight: 16kg
Tips And Things To Consider
  • When checking you’re A-frame measurements to check fit, make sure to consider:
  • Clearance required to use your jockey wheel
  • Clearance for any gas bottles, and
  • The effect of the shield on the turning circle of your vehicle

Update

We eventually installed a StoneStomper on this caravan. We liked it so much that we have installed a second one on our new van. The thing about a StoneStomper is it protects the front of your caravan AND the rear of your tow vehicle.

Belanglo State Forest Camping At Dalys Clearing

Belanglo State Forest Camping At Dalys Clearing

Belanglo State Forest Camping At Dalys Clearing

We drove down to Dalys Clearing in Belanglo State Forest to have a look at the free camp site. We are thinking of going camping there over the Australia Day long weekend next year.

Dalys Clearing is only about 60 kilometres from southwest Sydney, about 40 minutes driving time. It is only about 5 kilometres off the Hume Highway. It’s absolutely perfect for a quick weekend getaway . If you are in Sydney it’s about 135 kilometres, 1 hour and 35 minutes driving time.

The campground if free, as are all state forests in NSW. Dogs are allowed. There is a long drop toilet but otherwise there are no facilities. Fires are allowed but only at certain times of the year.

In Belanglo State Forest there are many 4wd tracks and there are plenty of places to go for a bushwalk. If you can find it there is also a monument to the backpacker murders.

Belanglo State Forest Sign

Belanglo State Forest Sign

About Belanglo State Forest Camping

Just five kilometres west of the Hume Highway, an old cottage once stood in Daley’s Clearing. The site is a good level camp spot surrounded by exotic pines and a great place for a picnic year round. From the Hume Highway, turn west into Bunnygalore Road and follow the signs to Daley’s Clearing.

Dalys Clearing Camping In Belanglo State Forest

Dalys Clearing Camping In Belanglo State Forest

Belanglo State Forest is predominately a pine plantation with some areas of native forest around the edges. Just over an hour from Sydney, it is a popular recreation spot. Forests in this area are a mixture of pine plantations and native forests. The first radiata pines were planted in this area in Belanglo State Forest in 1919. Today there are around 3,500 hectares of commercial pine plantations in the southern highlands with timber being processed at a local mill.

Plenty Of Room In Belanglo State Forest Camping At Dalys Clearing

Plenty Of Room In Belanglo State Forest Camping At Dalys Clearing

Yadboro Flat Free Camp

Yadboro Flat Free Camp

Yadboro Flat Free Camp

Yadboro Flat free Camp is inland from Ulladulla on the NSW South Coast. It’s approximately 200ks from where we used to live in South West Sydney, about 3 hours driving time. From Sydney it’s about 260ks or 3hours 45 minutes driving time. There is plenty of room in there for a heap of trailers along the back fence. In addition there are plenty of spots available in the middle and along the creek.

We drove down to Yadboro Flat to have a look at the free camp. A potential spot for a NSW State Muster with the Mars Enthusiasts Facebook Group.

Free Camping At Yadboro Flat

Free Camping At Yadboro Flat

Being a free camp I can see this place getting absolutely packed out at peak times such as Christmas and Easter. However the good new is it’s a free camping area and dogs are allowed.

Yadboro Flat Heaps of Room Along Back Fence

Yadboro Flat Heaps of Room Along Back Fence

The road in is a bit rough but we could get the van in there no problem at all so long as it was dry. Motorhomes and normal onroad vans need not apply. It would be a lot more difficult if not impossible in the wet. It’s 20ks of typical state forest logging trail with a few corrugated stretches and washed out bits either side of timber bridges. If you’re careful getting off and on to the bridges they pose no problem. Hit one at speed and you’ll be calling for a tow truck.

Yadboro Flat Road In

Yadboro Flat Road In

Facilities are limited. There are a couple of composting toilets and that’s it. Make sure you bring your own drinking water as none is provided. Fires are allowed but I am guessing they’d only be permitted at certain times of the year.

Yadboro Flat Composting Toilets

Yadboro Flat Composting Toilets

For the self contained camper suitably equipped to get in to Yadboro Flat it’s a great free camping spot. We will come back and camp here for sure, most likely during the winter months when I anticipate it being a lot quieter.


Mars Enthusiasts National Muster 2017 At Jemalong Weir

Mars Enthusiasts National Muster 2017 At Jemalong Weir

Mars Enthusiasts National Muster 2017 At Jemalong Weir

Went to the Mars National Muster long weekend at Jemalong Weir near Forbes NSW. We had an absolutely awesome time! Graciee did too, she had heaps of others dogs to run around with and she enjoyed it too, she was just like a real dog.

2017 MARS National Muster Jemalong Weir Near Forbes NSW

2017 MARS National Muster Jemalong Weir Near Forbes NSW

We are definitely going to go to the National meetup again next year. We made some new friends which is a good thing. The van went very well. Towed great and was comfortable.

Supreme Getaway Caravan Towed Great

Supreme Getaway Caravan Towed Great

Going to have to look at the water tank situation though, we are running out of water after a few days and it should last a lot longer. I don’t think we are getting anywhere near a full fill.

Jemalong Weir Campground Near Forbes NSW

Jemalong Weir Campground Near Forbes NSW

About Jemalong Weir

Jemalong Weir is a vital water infrastructure feature located on the Lachlan River in New South Wales, Australia. This weir plays a critical role in water management, serving both agricultural and environmental purposes. Constructed to regulate water flow, Jemalong Weir ensures a steady water supply for irrigation in the region, benefiting the local farming communities that primarily grow crops such as wheat, canola, and cotton.

In addition to its agricultural importance, the weir contributes to environmental conservation by maintaining consistent water levels that support aquatic ecosystems and native wildlife. It also aids in flood mitigation during periods of heavy rainfall, safeguarding nearby communities and farmland.

Jemalong Weir is a popular spot for recreational activities like fishing and picnicking, attracting visitors who enjoy its serene surroundings. As a multifunctional asset, it highlights the balance between sustainable resource use and environmental stewardship in regional Australia.

Camping At Jemalong Weir

Camping at Jemalong Weir offers a tranquil escape into nature, perfect for those seeking a peaceful outdoor experience. Nestled along the banks of the Lachlan River in New South Wales, the area provides a serene setting for relaxation and exploration. Campers are greeted with stunning river views, lush surroundings, and the calming sounds of flowing water.

The weir is an ideal spot for activities like fishing, kayaking, and birdwatching. Anglers can try their luck catching native fish species, while nature enthusiasts enjoy observing a variety of local wildlife. The open spaces around the weir are perfect for picnics and stargazing, adding to the charm of this riverside retreat.

Facilities at Jemalong Weir are basic, making it suitable for self-sufficient campers who appreciate simplicity and natural beauty. Whether it’s a weekend getaway or a longer stay, camping at Jemalong Weir offers a refreshing break from the hustle of everyday life.