Easy Chicken Curry Camp Oven Recipe
Easy Chicken Curry Camp Oven Recipe
This easy chicken curry camp oven recipe is a favourite of ours. we’ve cooked it for others loads of times and nobody has ever complained about it either!
Preparation Time: 15 Minutes
Cooking Time: 2 Hours
Serves: 2 to 4
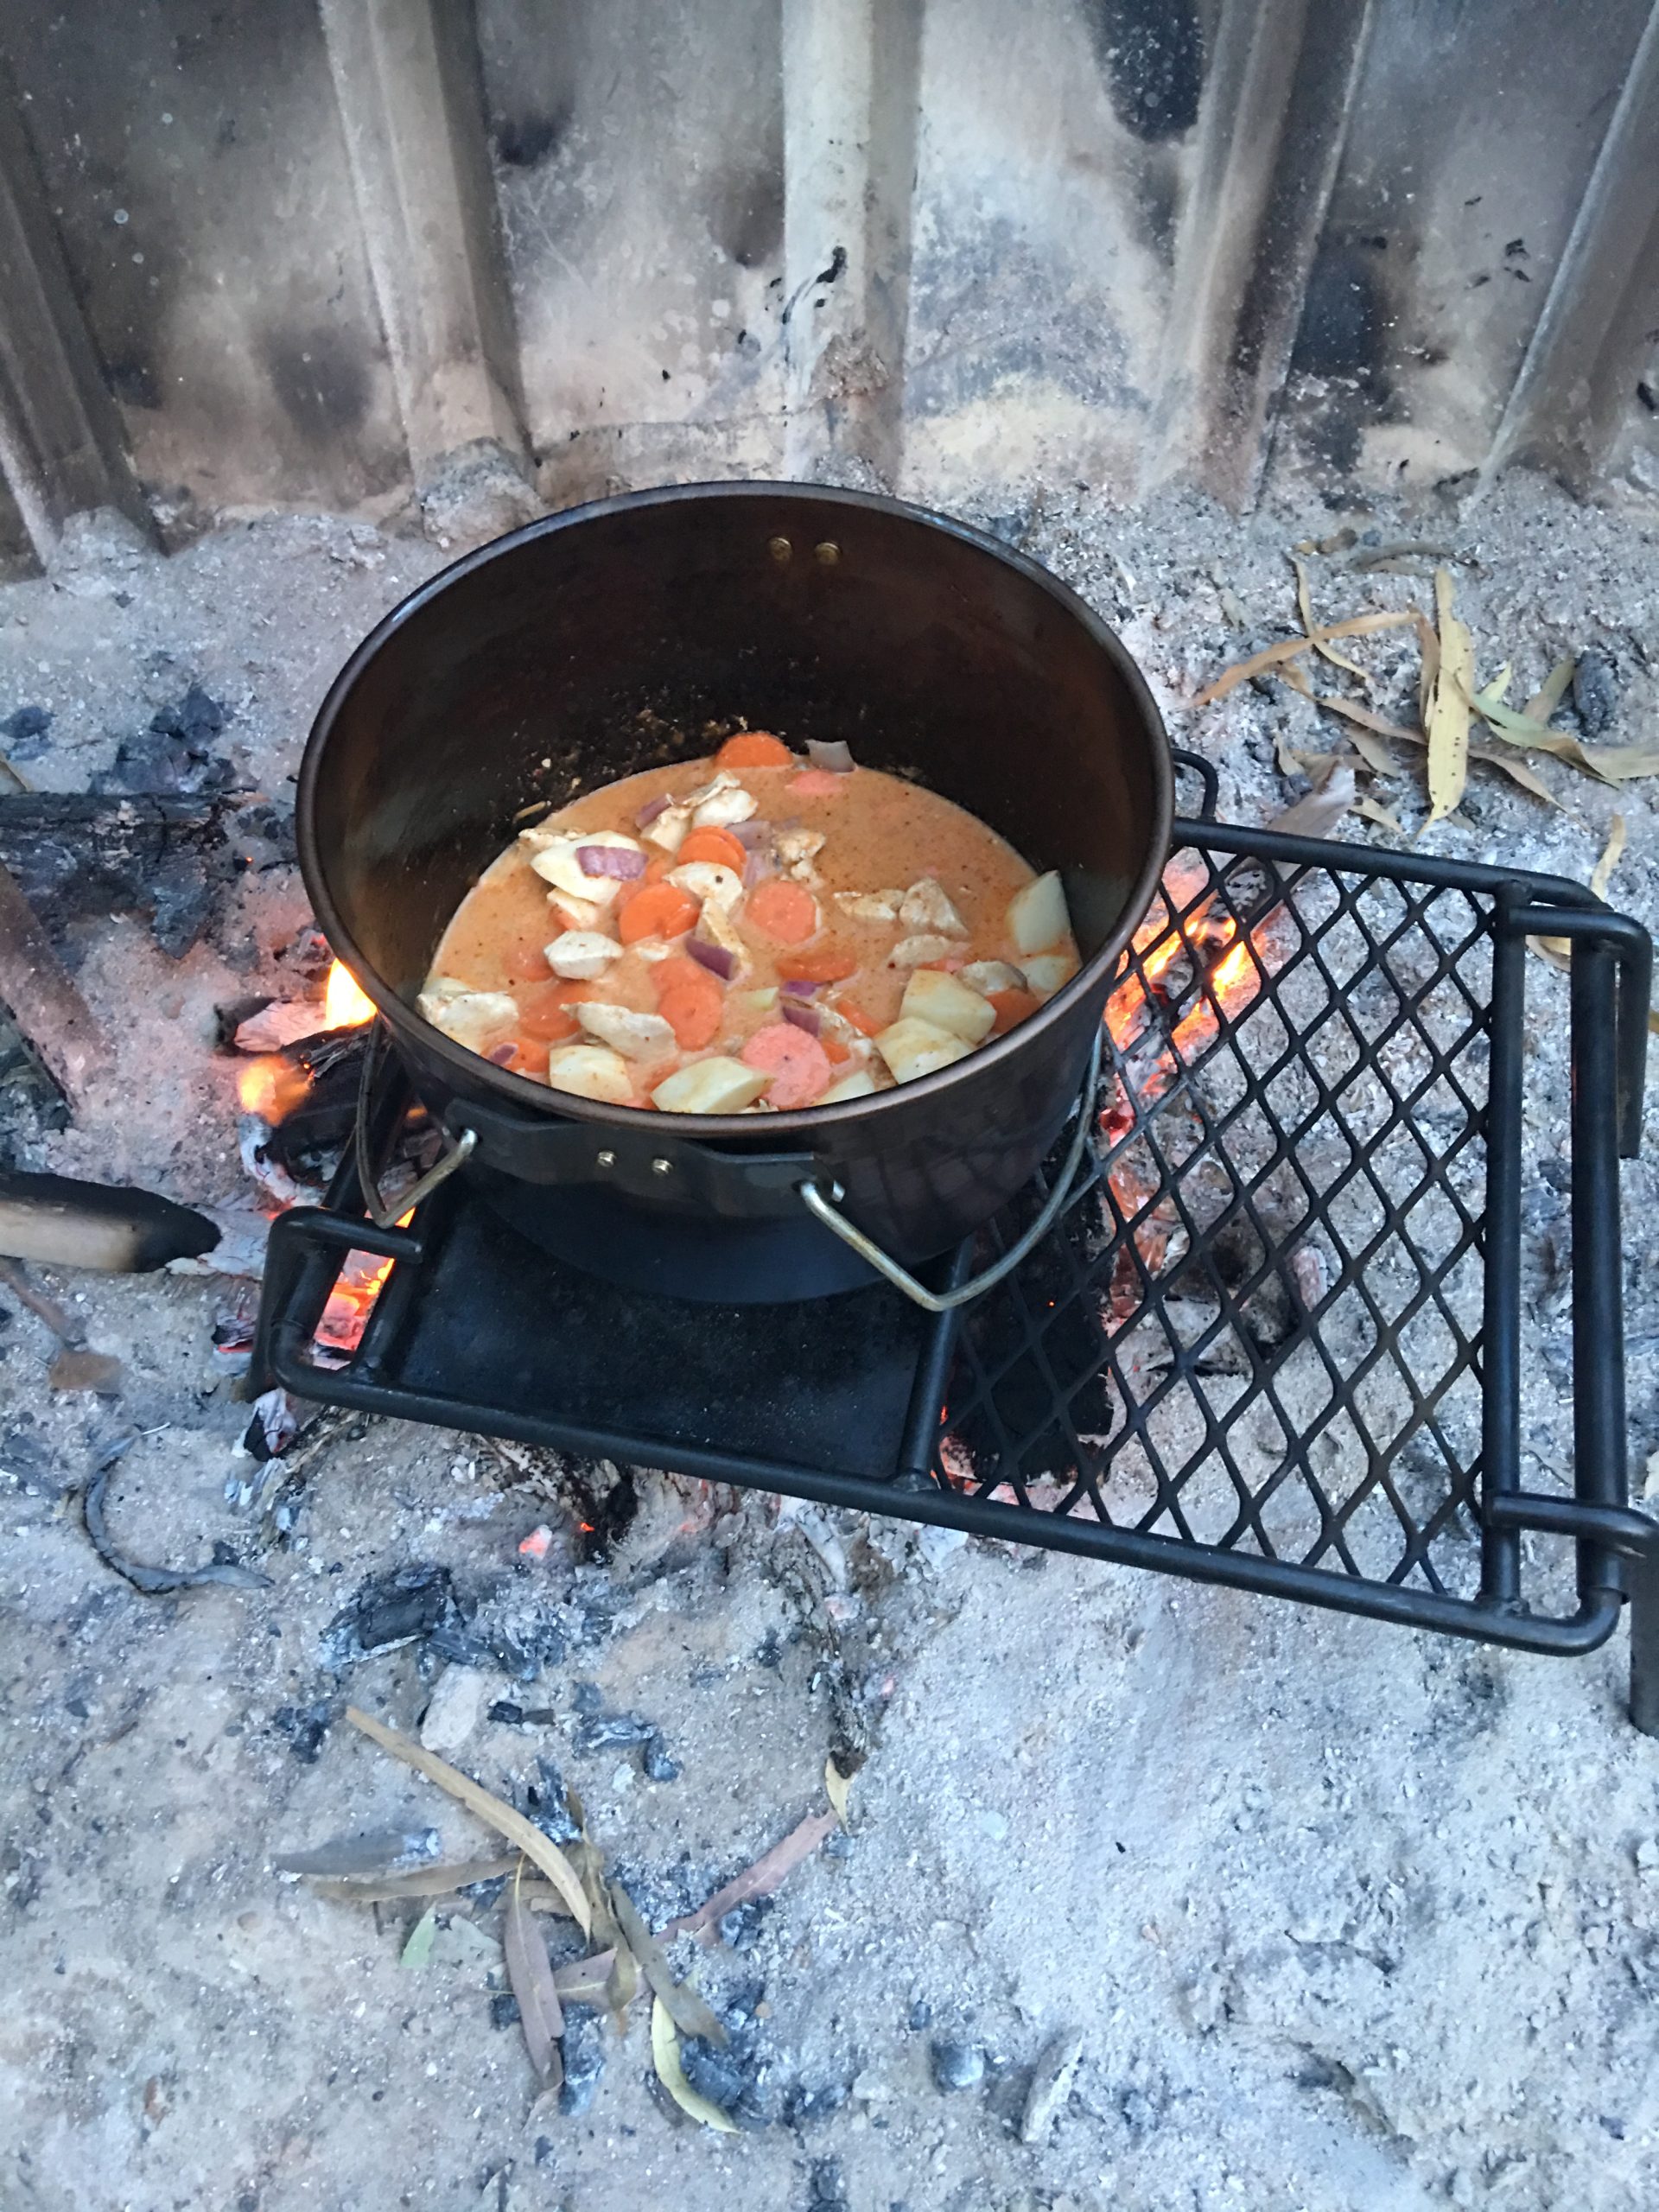
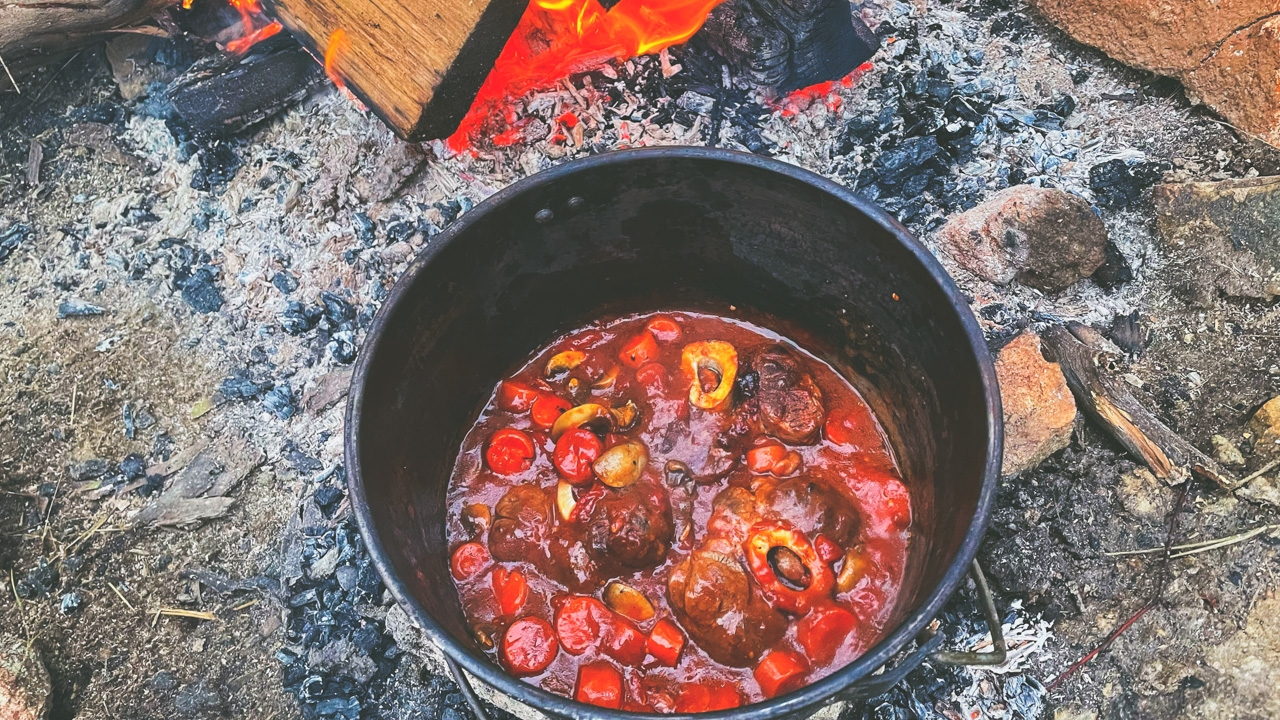
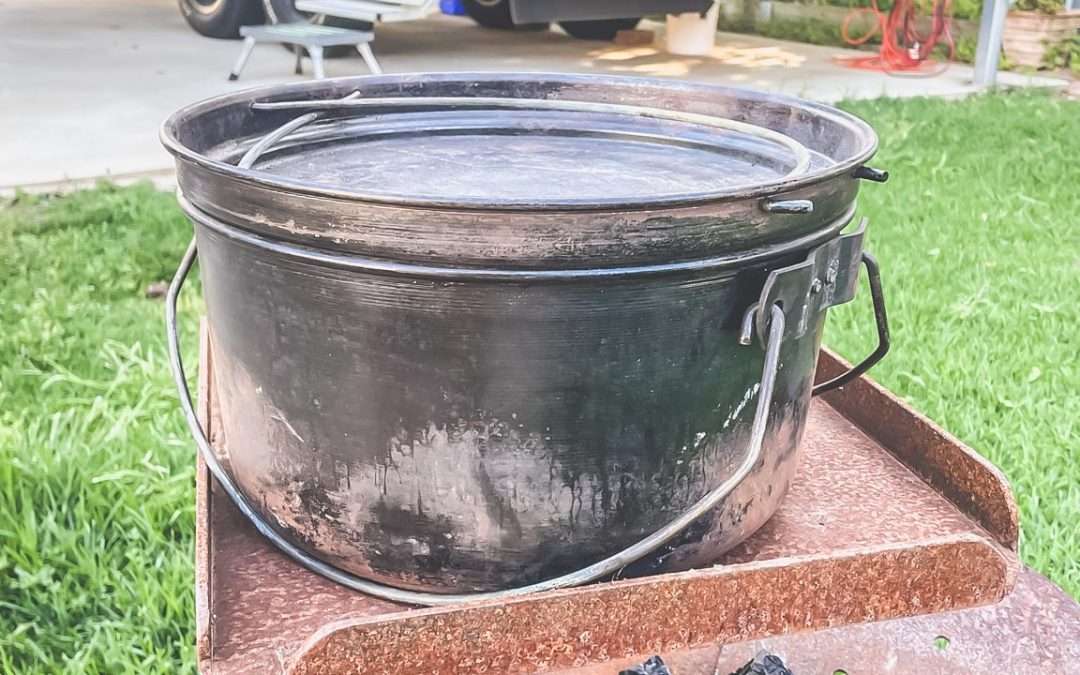
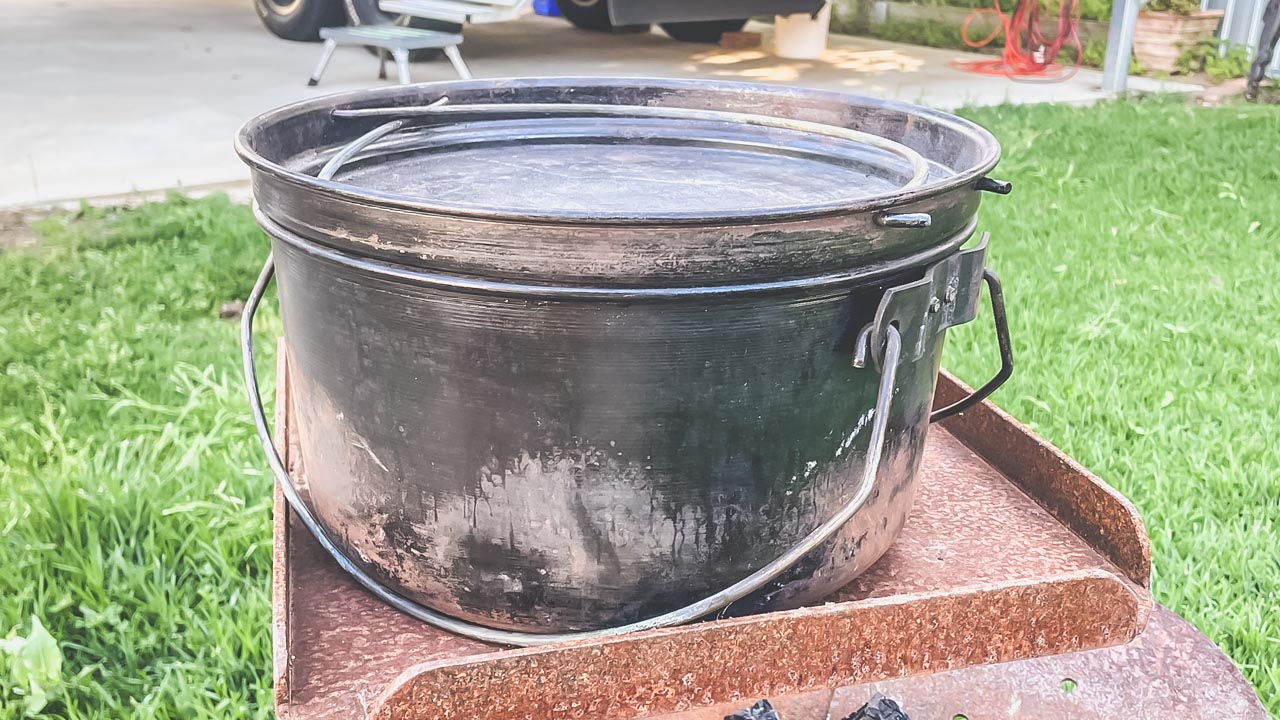
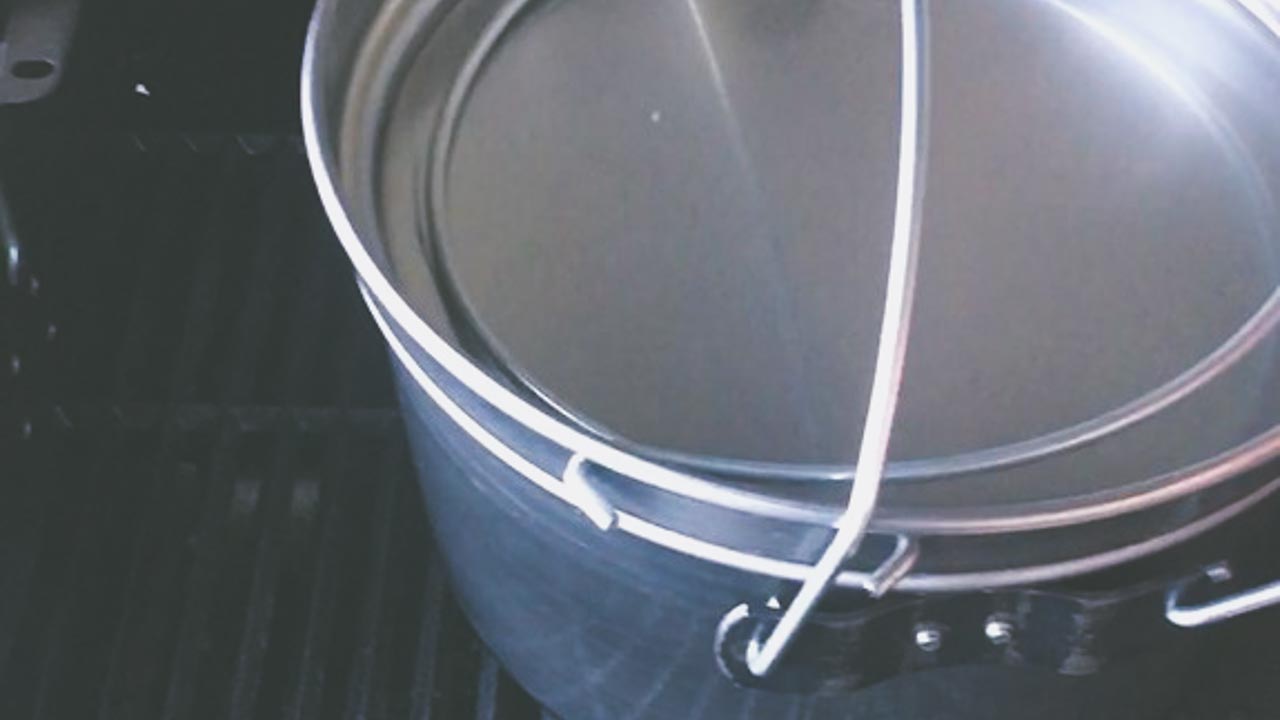
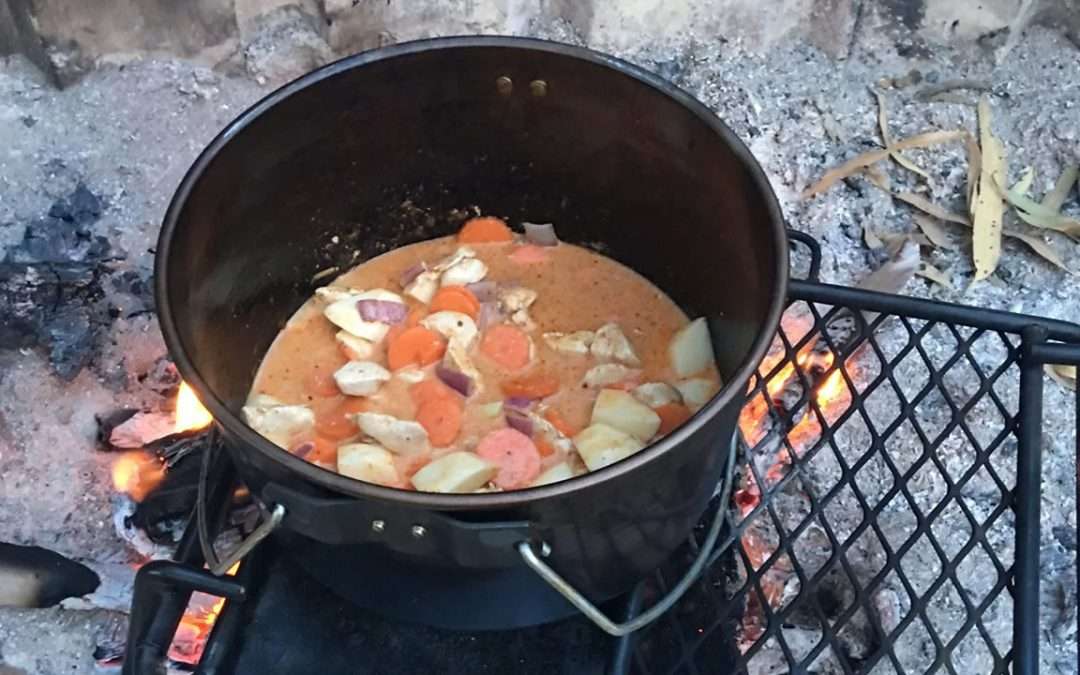
Combining Ingredients In Camp Oven
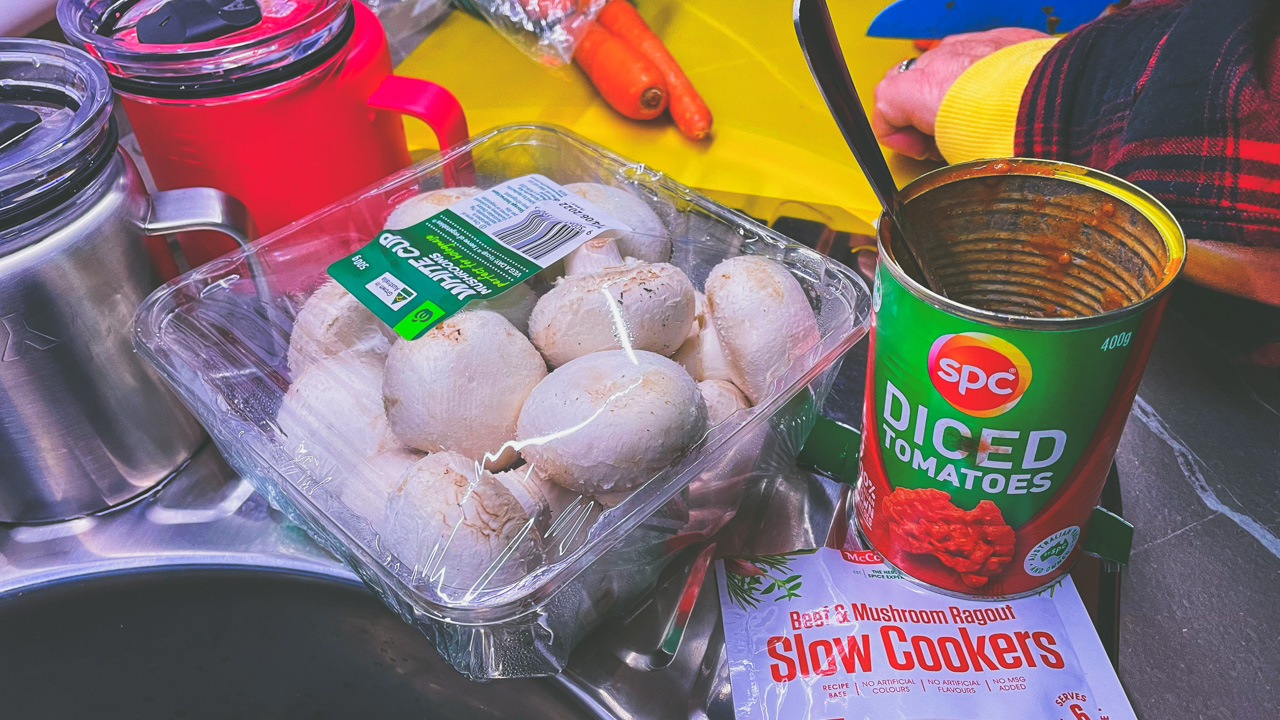
Ingredients For Chicken Curry Camp Oven Recipe
- 500gm chicken thigh fillets (works great with drumsticks or gravy beef as well)
- 1 x Large Onion
- 2 x medium potatoes
- 2 x medium carrots
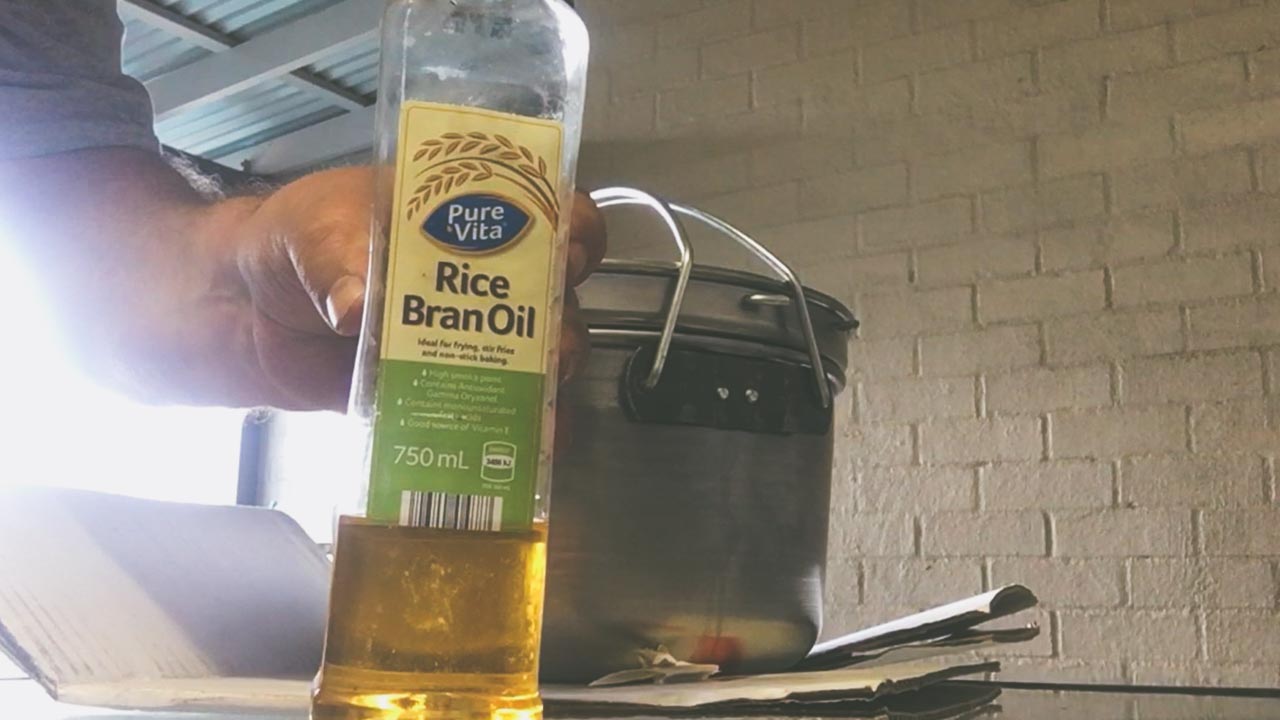
- 1 x can of masaman curry paste (available in just about all grocery stores – can get it in a larger jar if you are cooking for more or seal the jar and cook more next week). We like the Maesri brand
- 1 x can of coconut milk
- Rice for serving
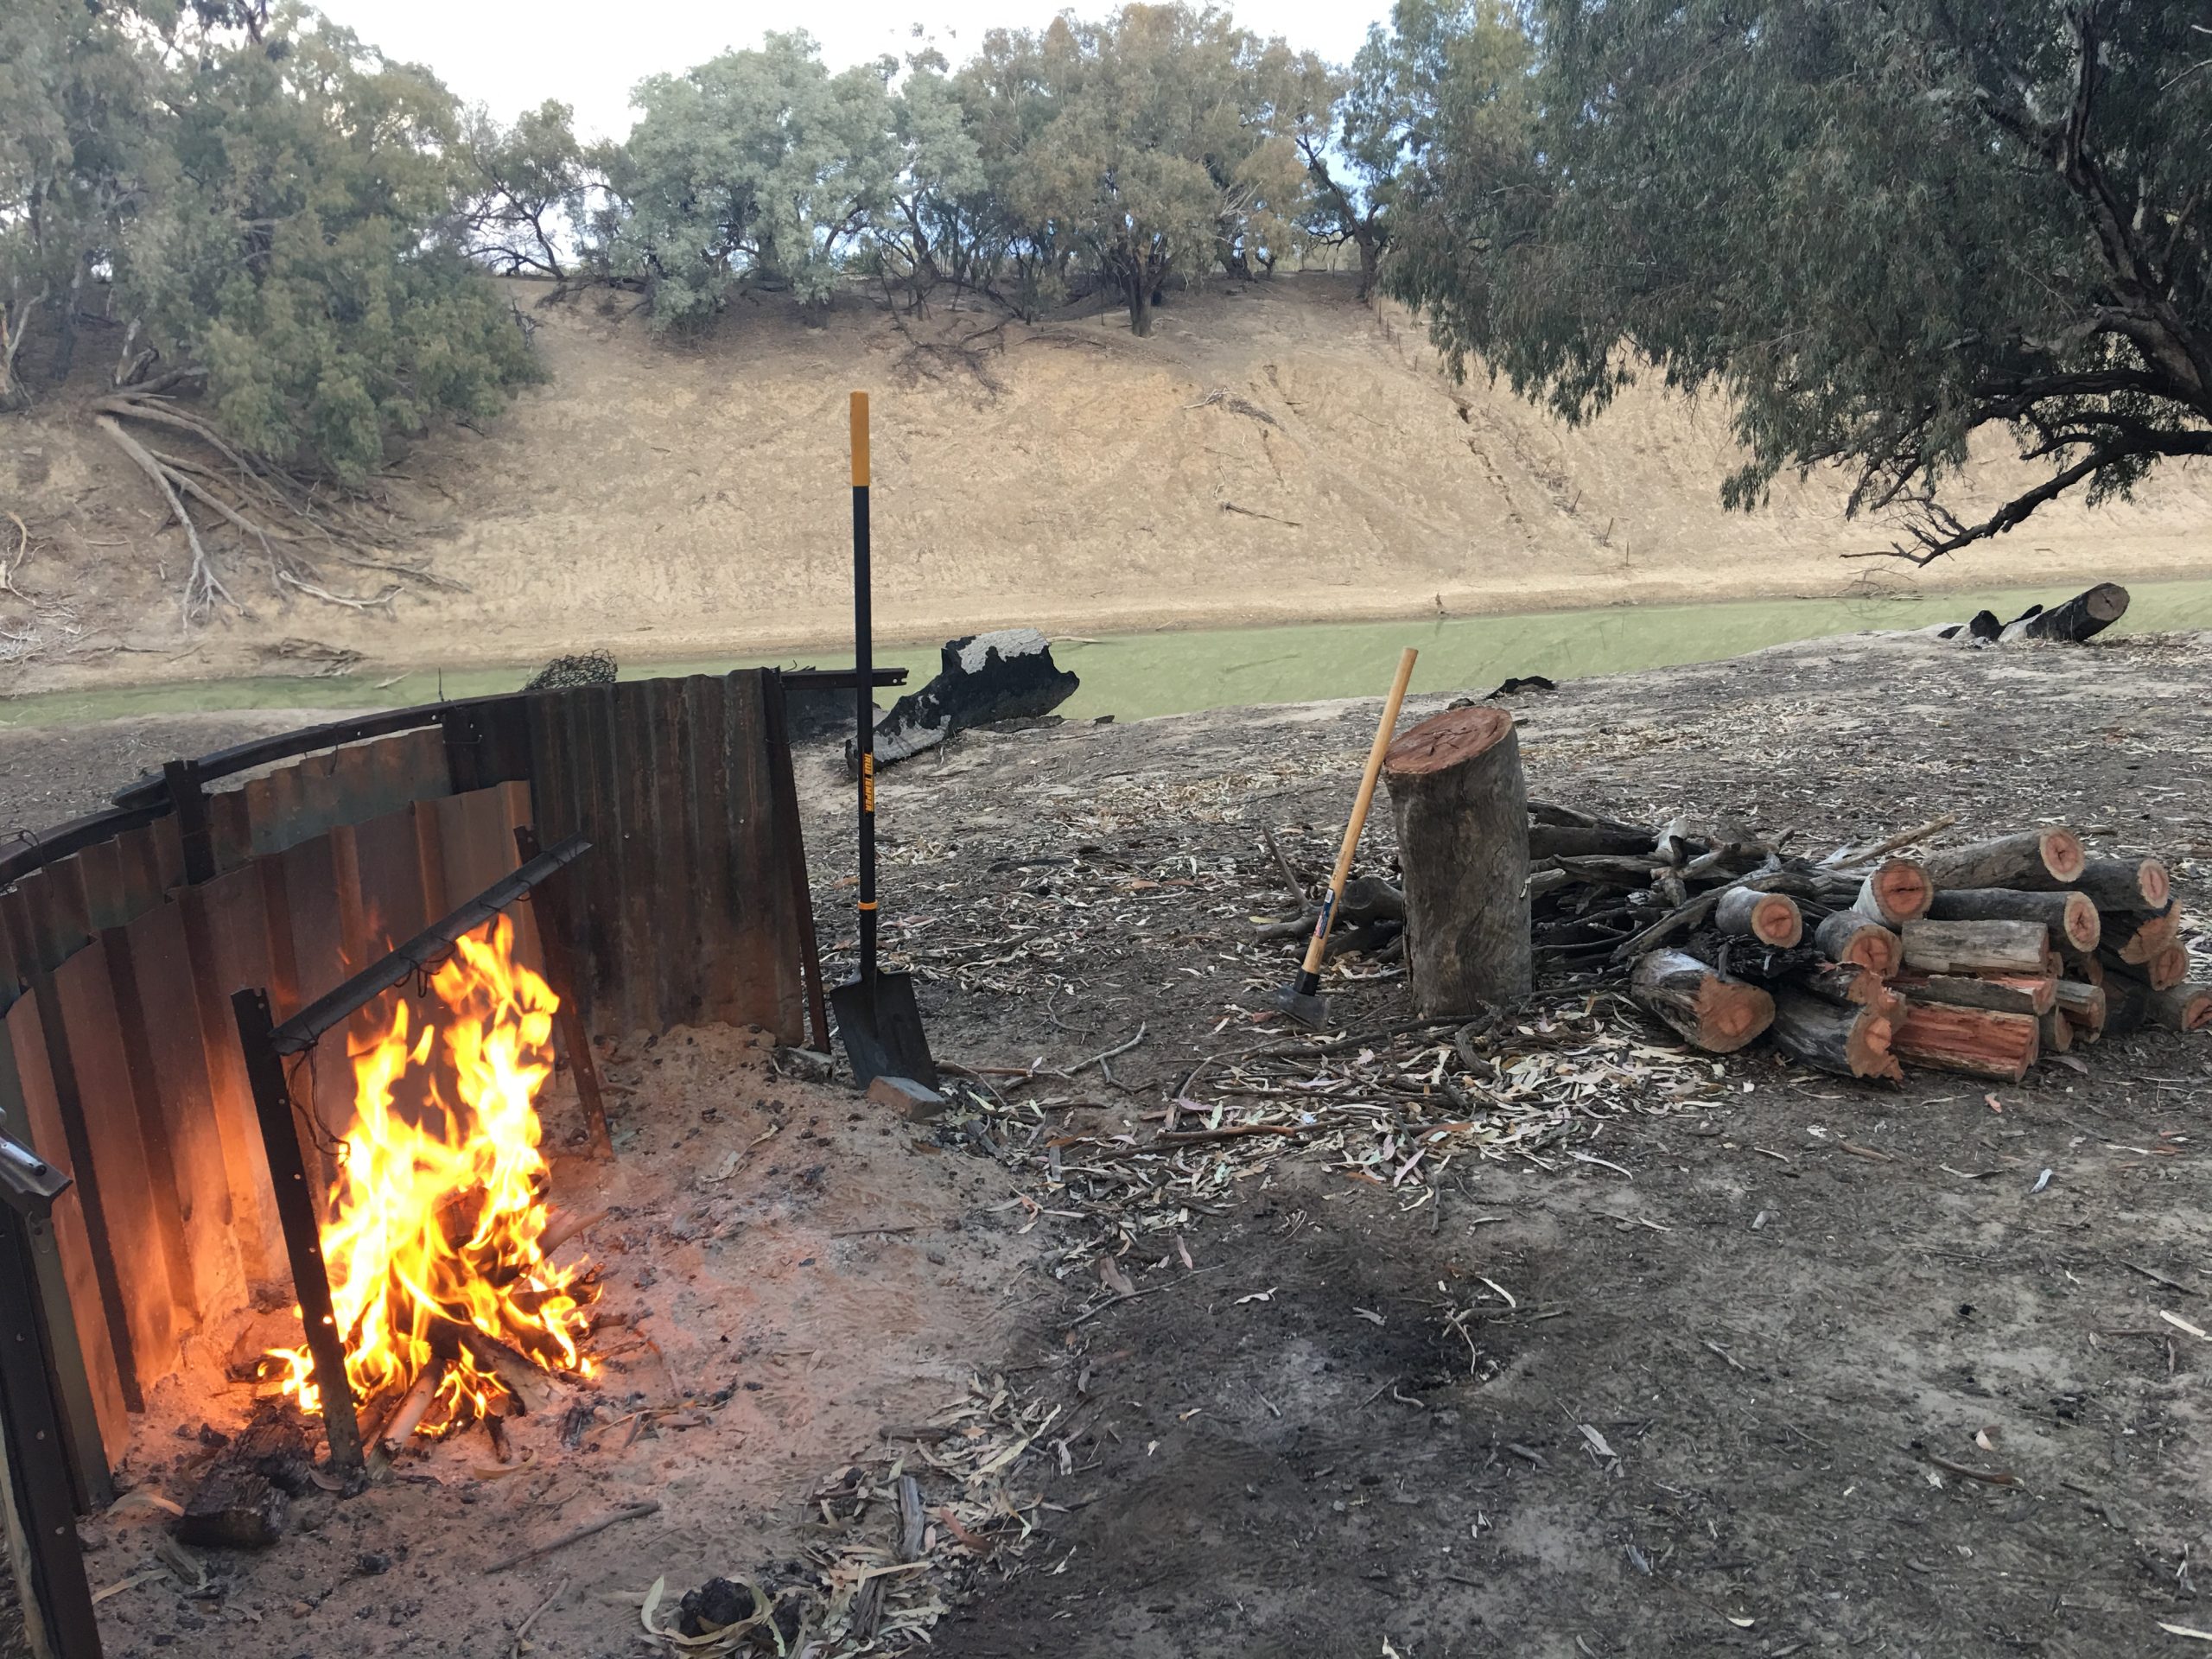
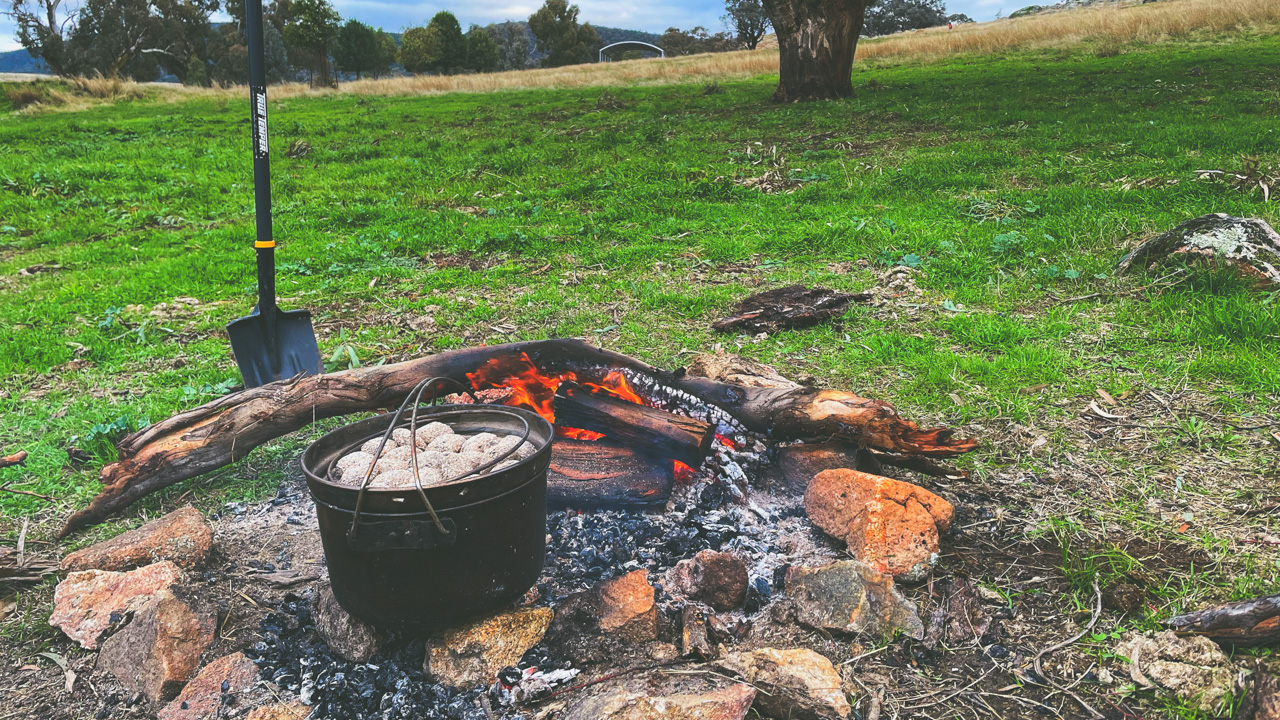
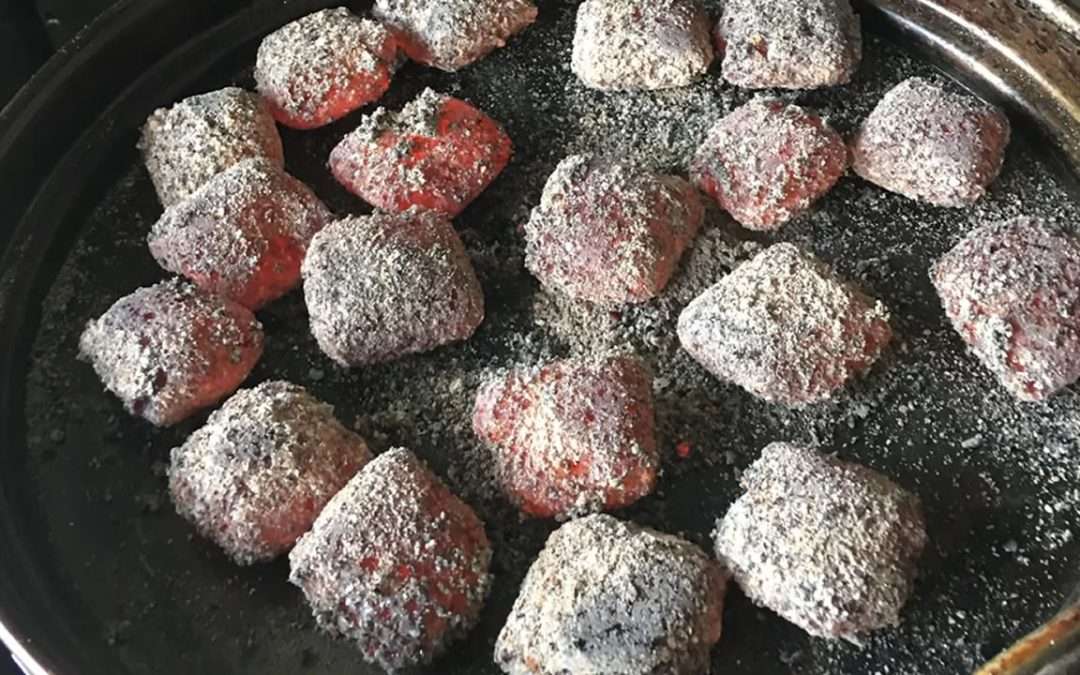
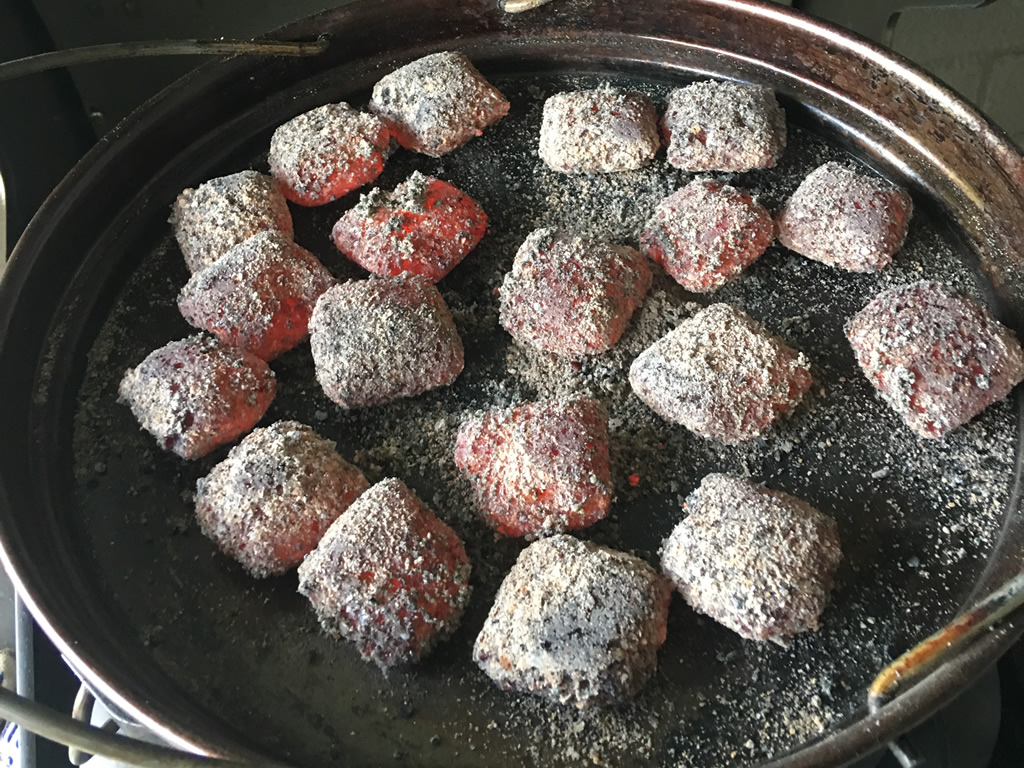
Getting Coals Ready For Camp Oven
Preparation Instructions
- Roughly dice chicken into chunks
- Slice onion into strips
- Roughly cut potato into bite sized cubes
- Chop the carrots into chunky sized pieces
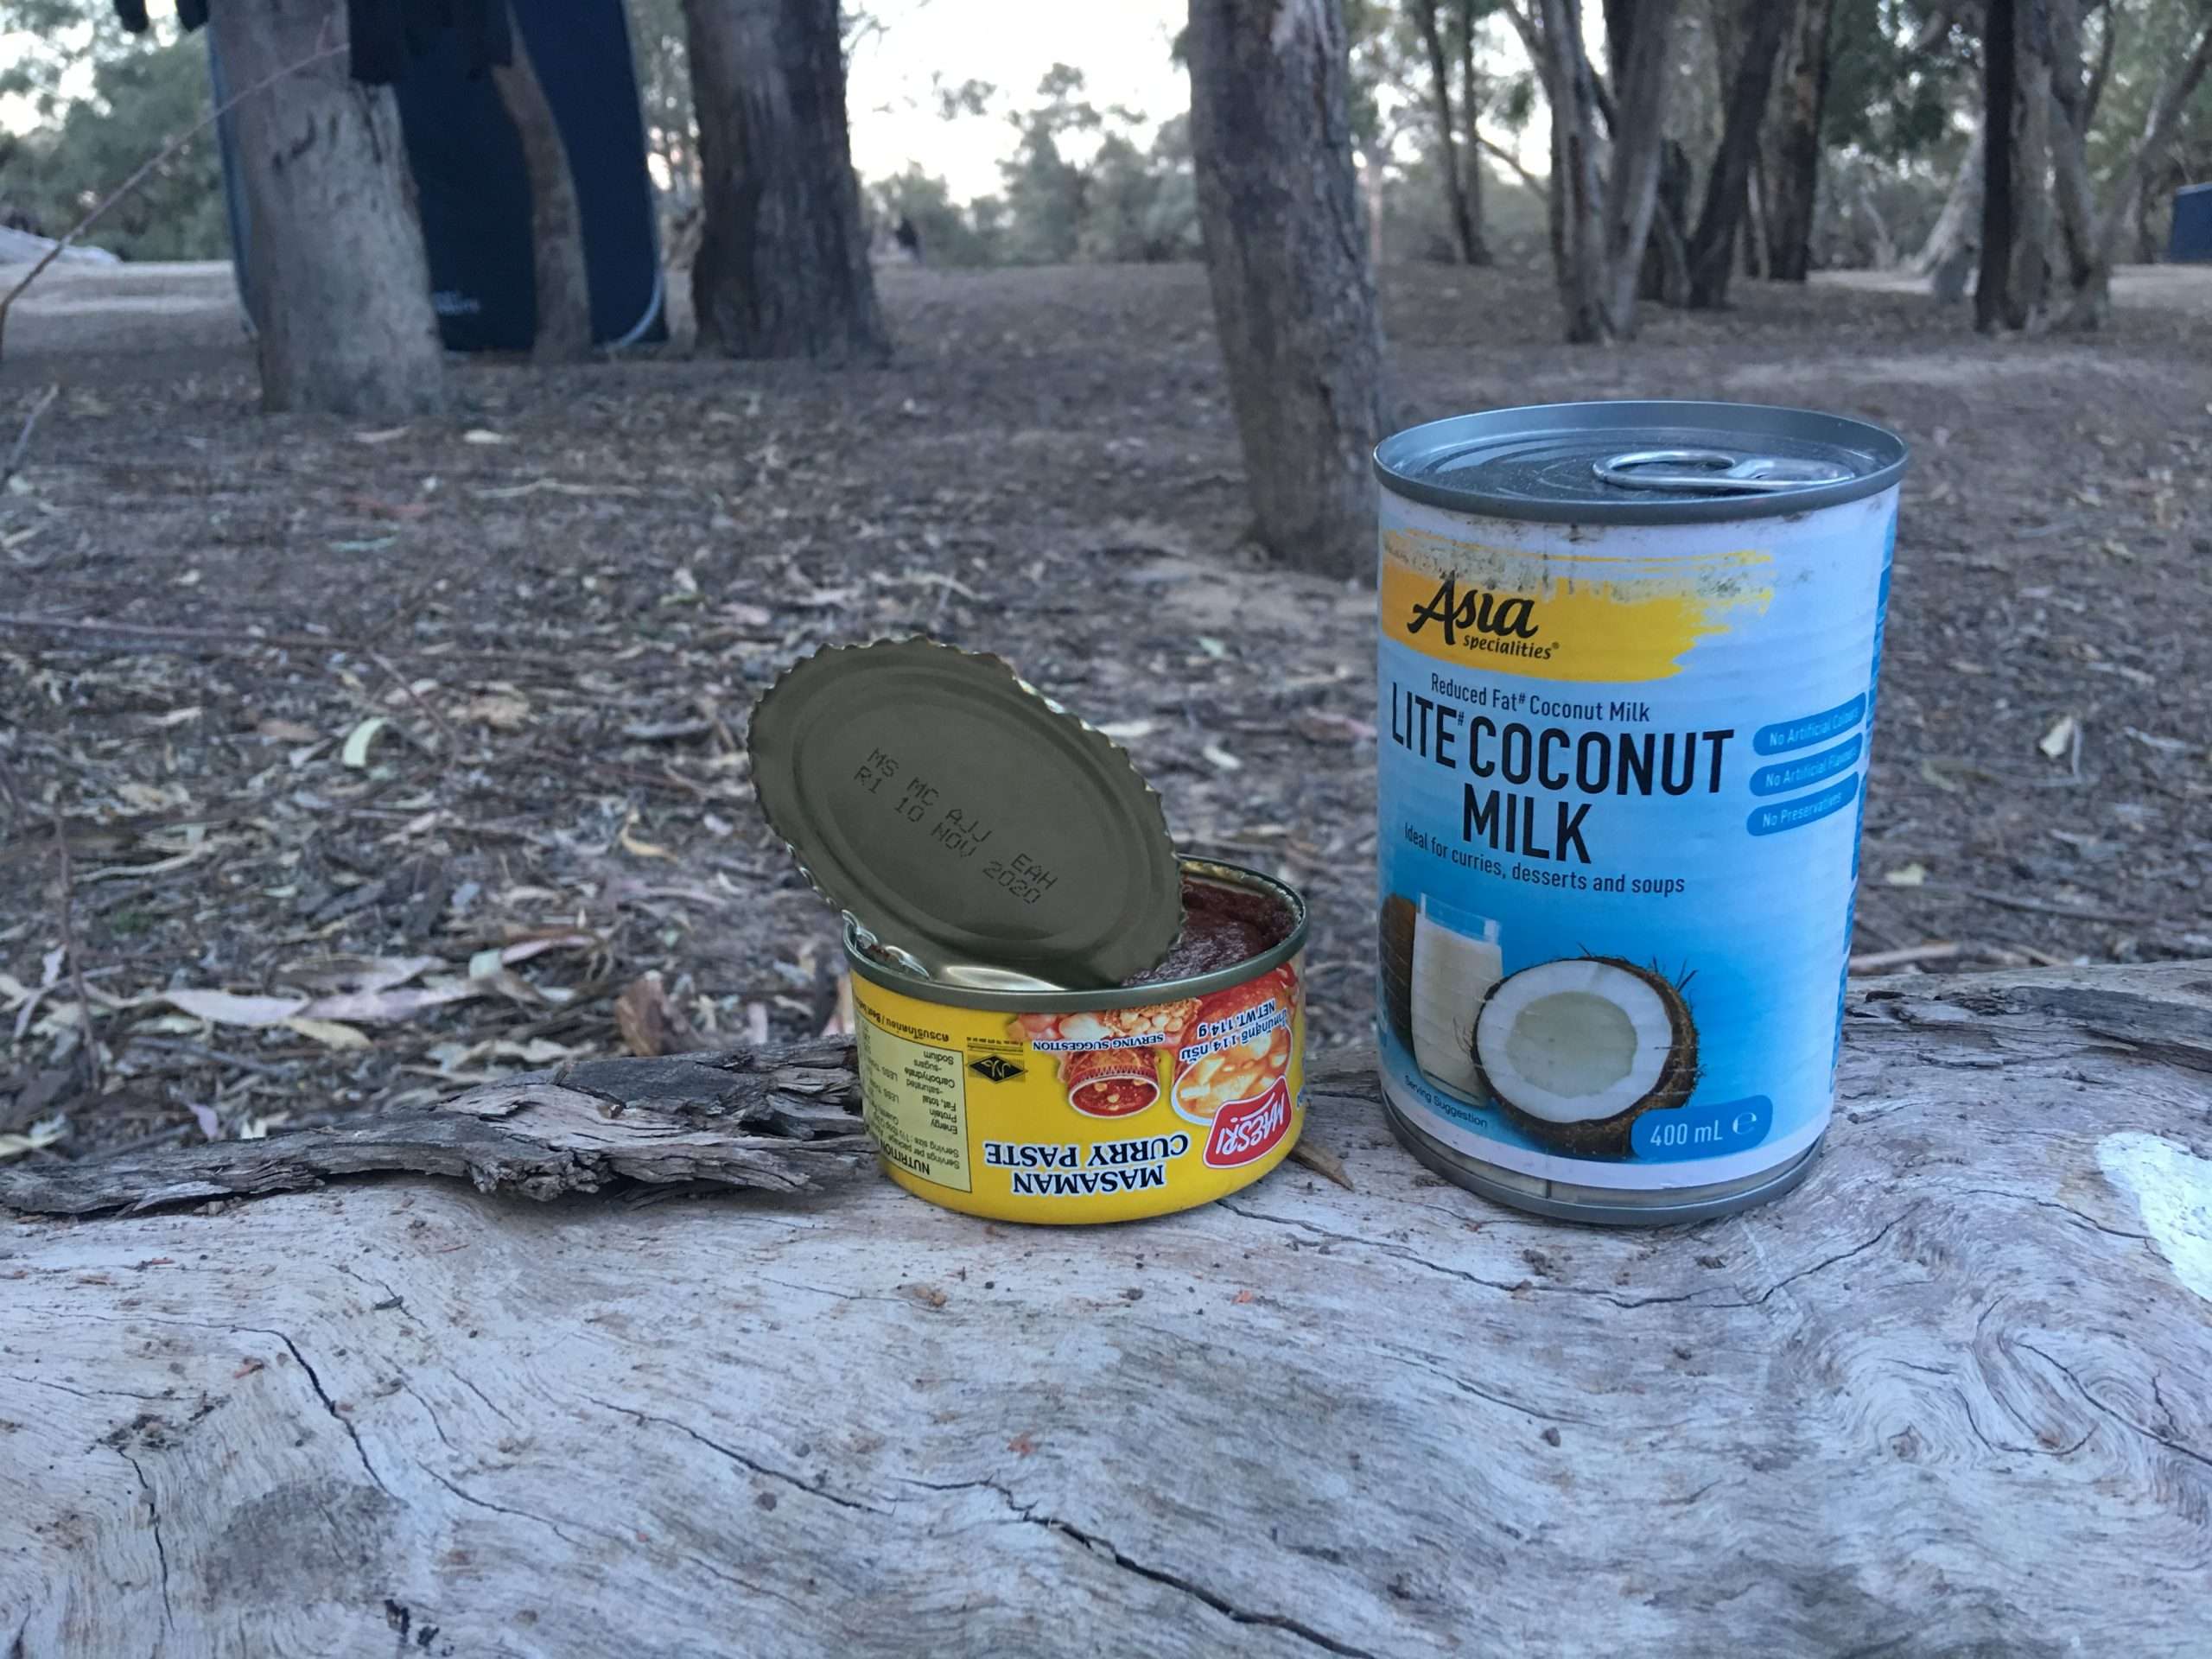
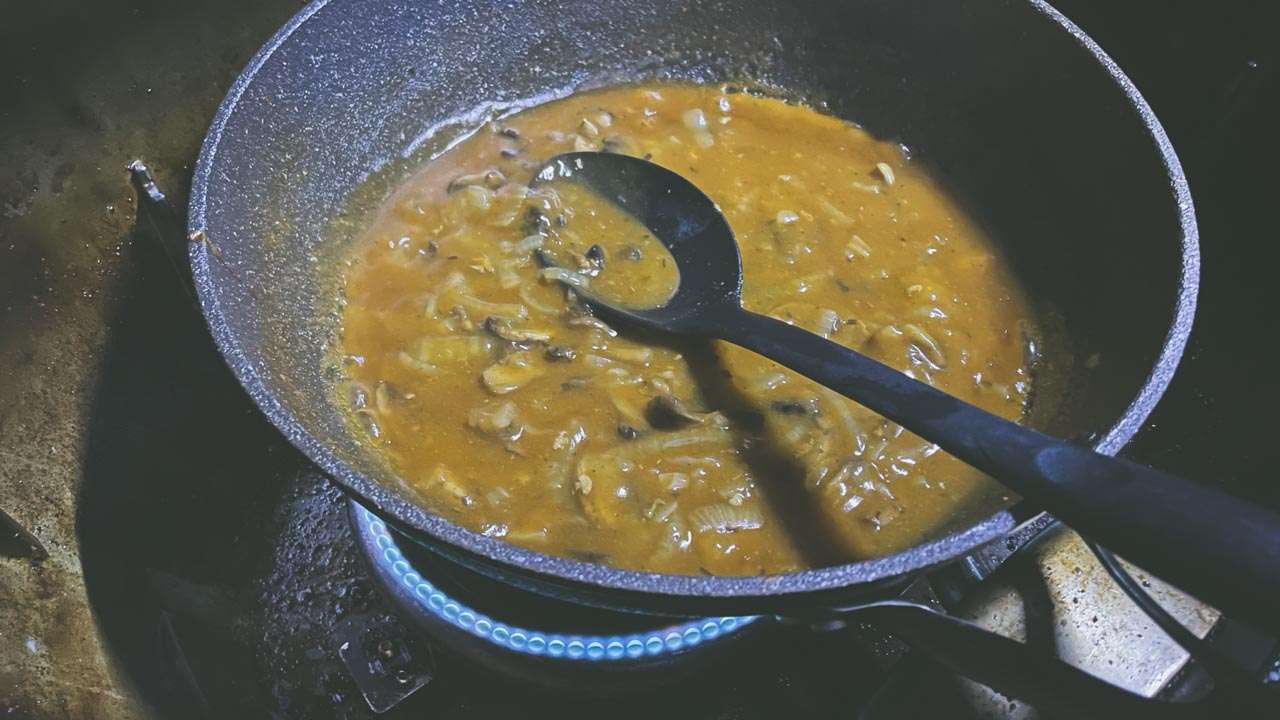
Masaman Curry Paste And Coconut Milk
Chicken Curry Camp Oven Recipe Cooking Instructions
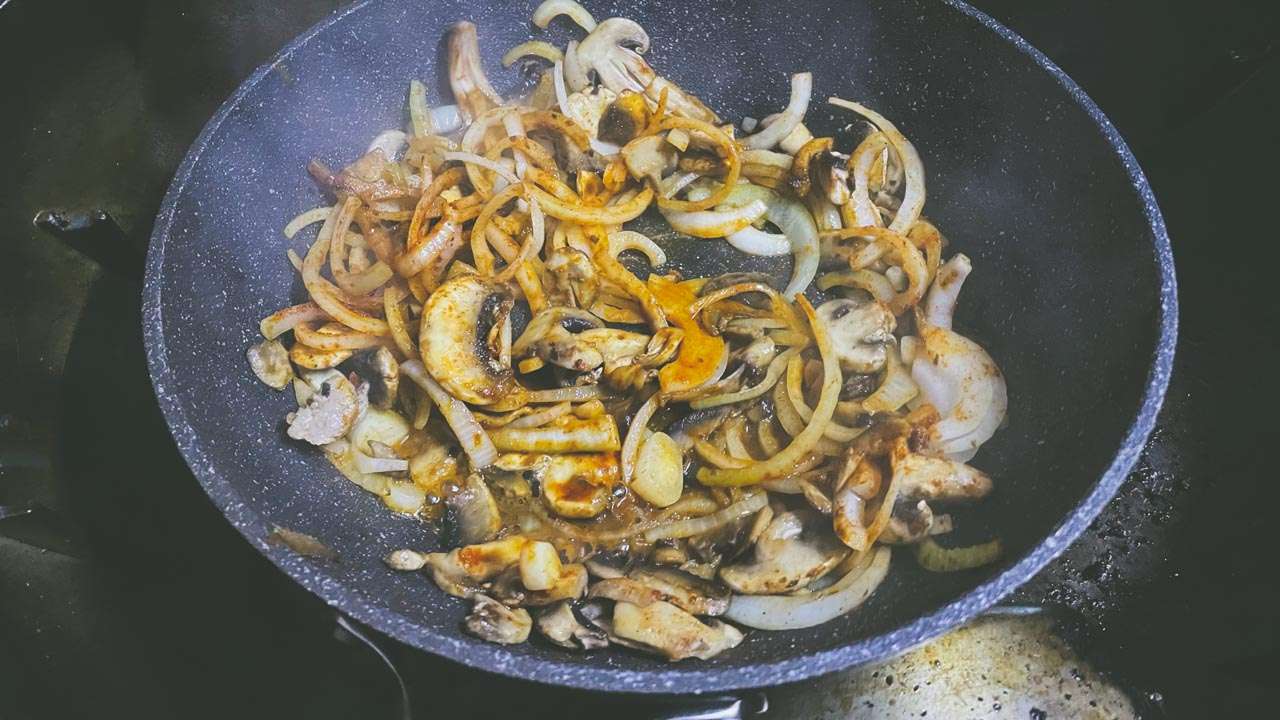
- Brown chicken and onion in camp oven over coals – either hang oven from a tripod or sit it on a BBQ plate
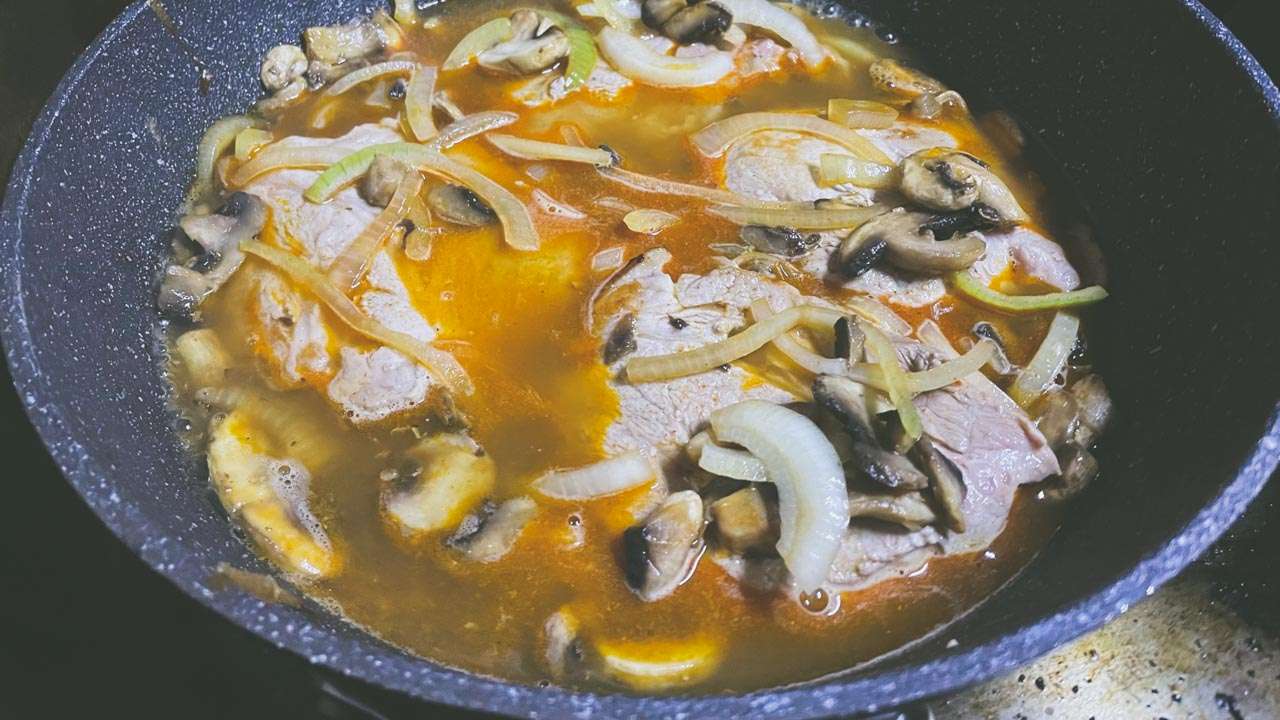
- Chuck the potatoes and carrots into the pot
- Add the can of masaman curry (as much as you like according to taste) and the can of coconut milk
- Stir it all through to combine then put the lid on the camp oven
- Cook slowly for a couple of hours. You want just a bubble or two coming to the surface of the curry every few seconds
- Once the potatoes are nice and tender it’s ready to serve
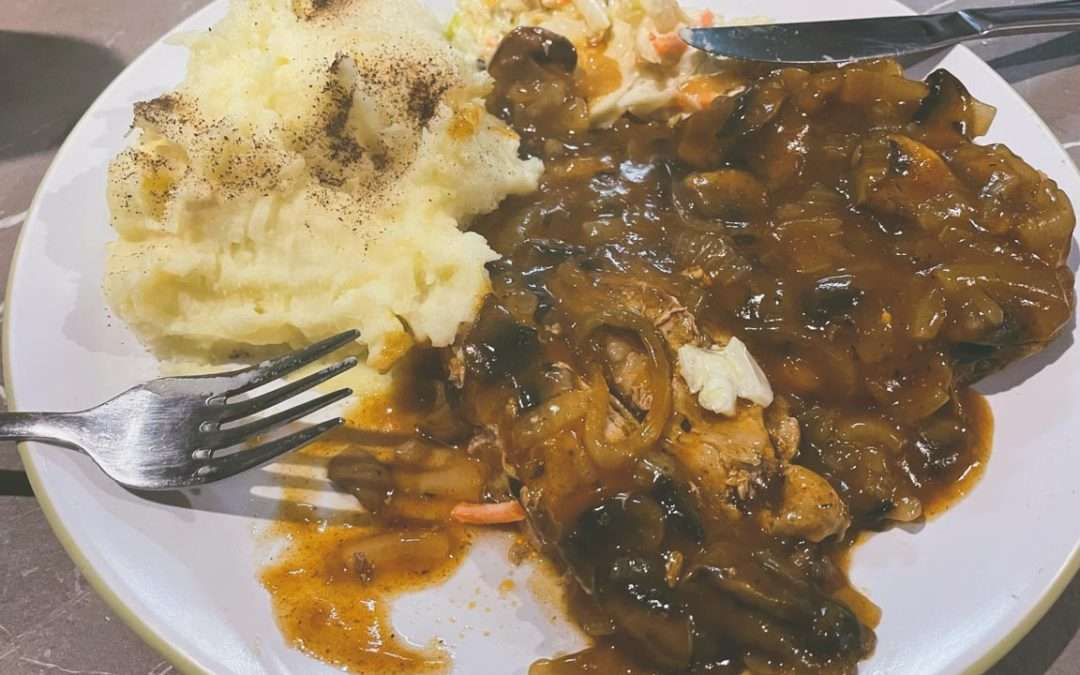
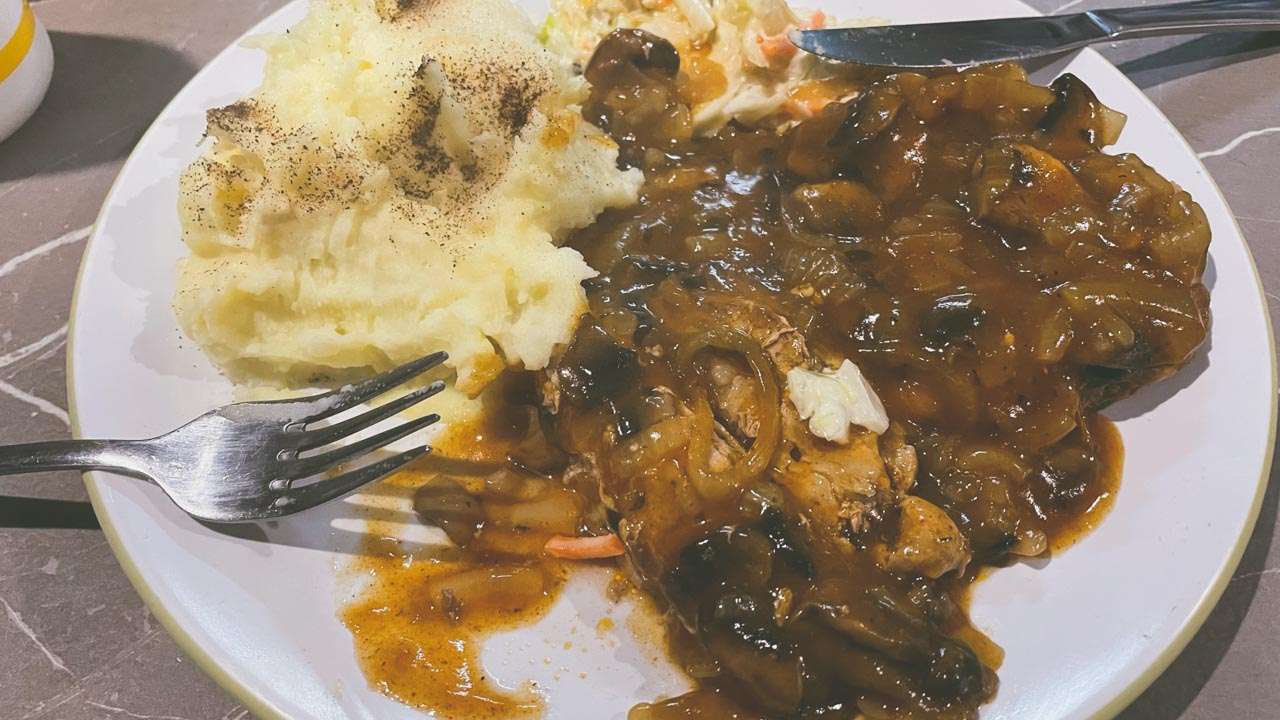
Serving Instructions
- Serve on a bed of rice – we like to use Basmati or any long grain. You can also use the precooked microwave rice but instead of heating it in a microwave (we don’t have one when camping) just chuck it into the curry and stir it through
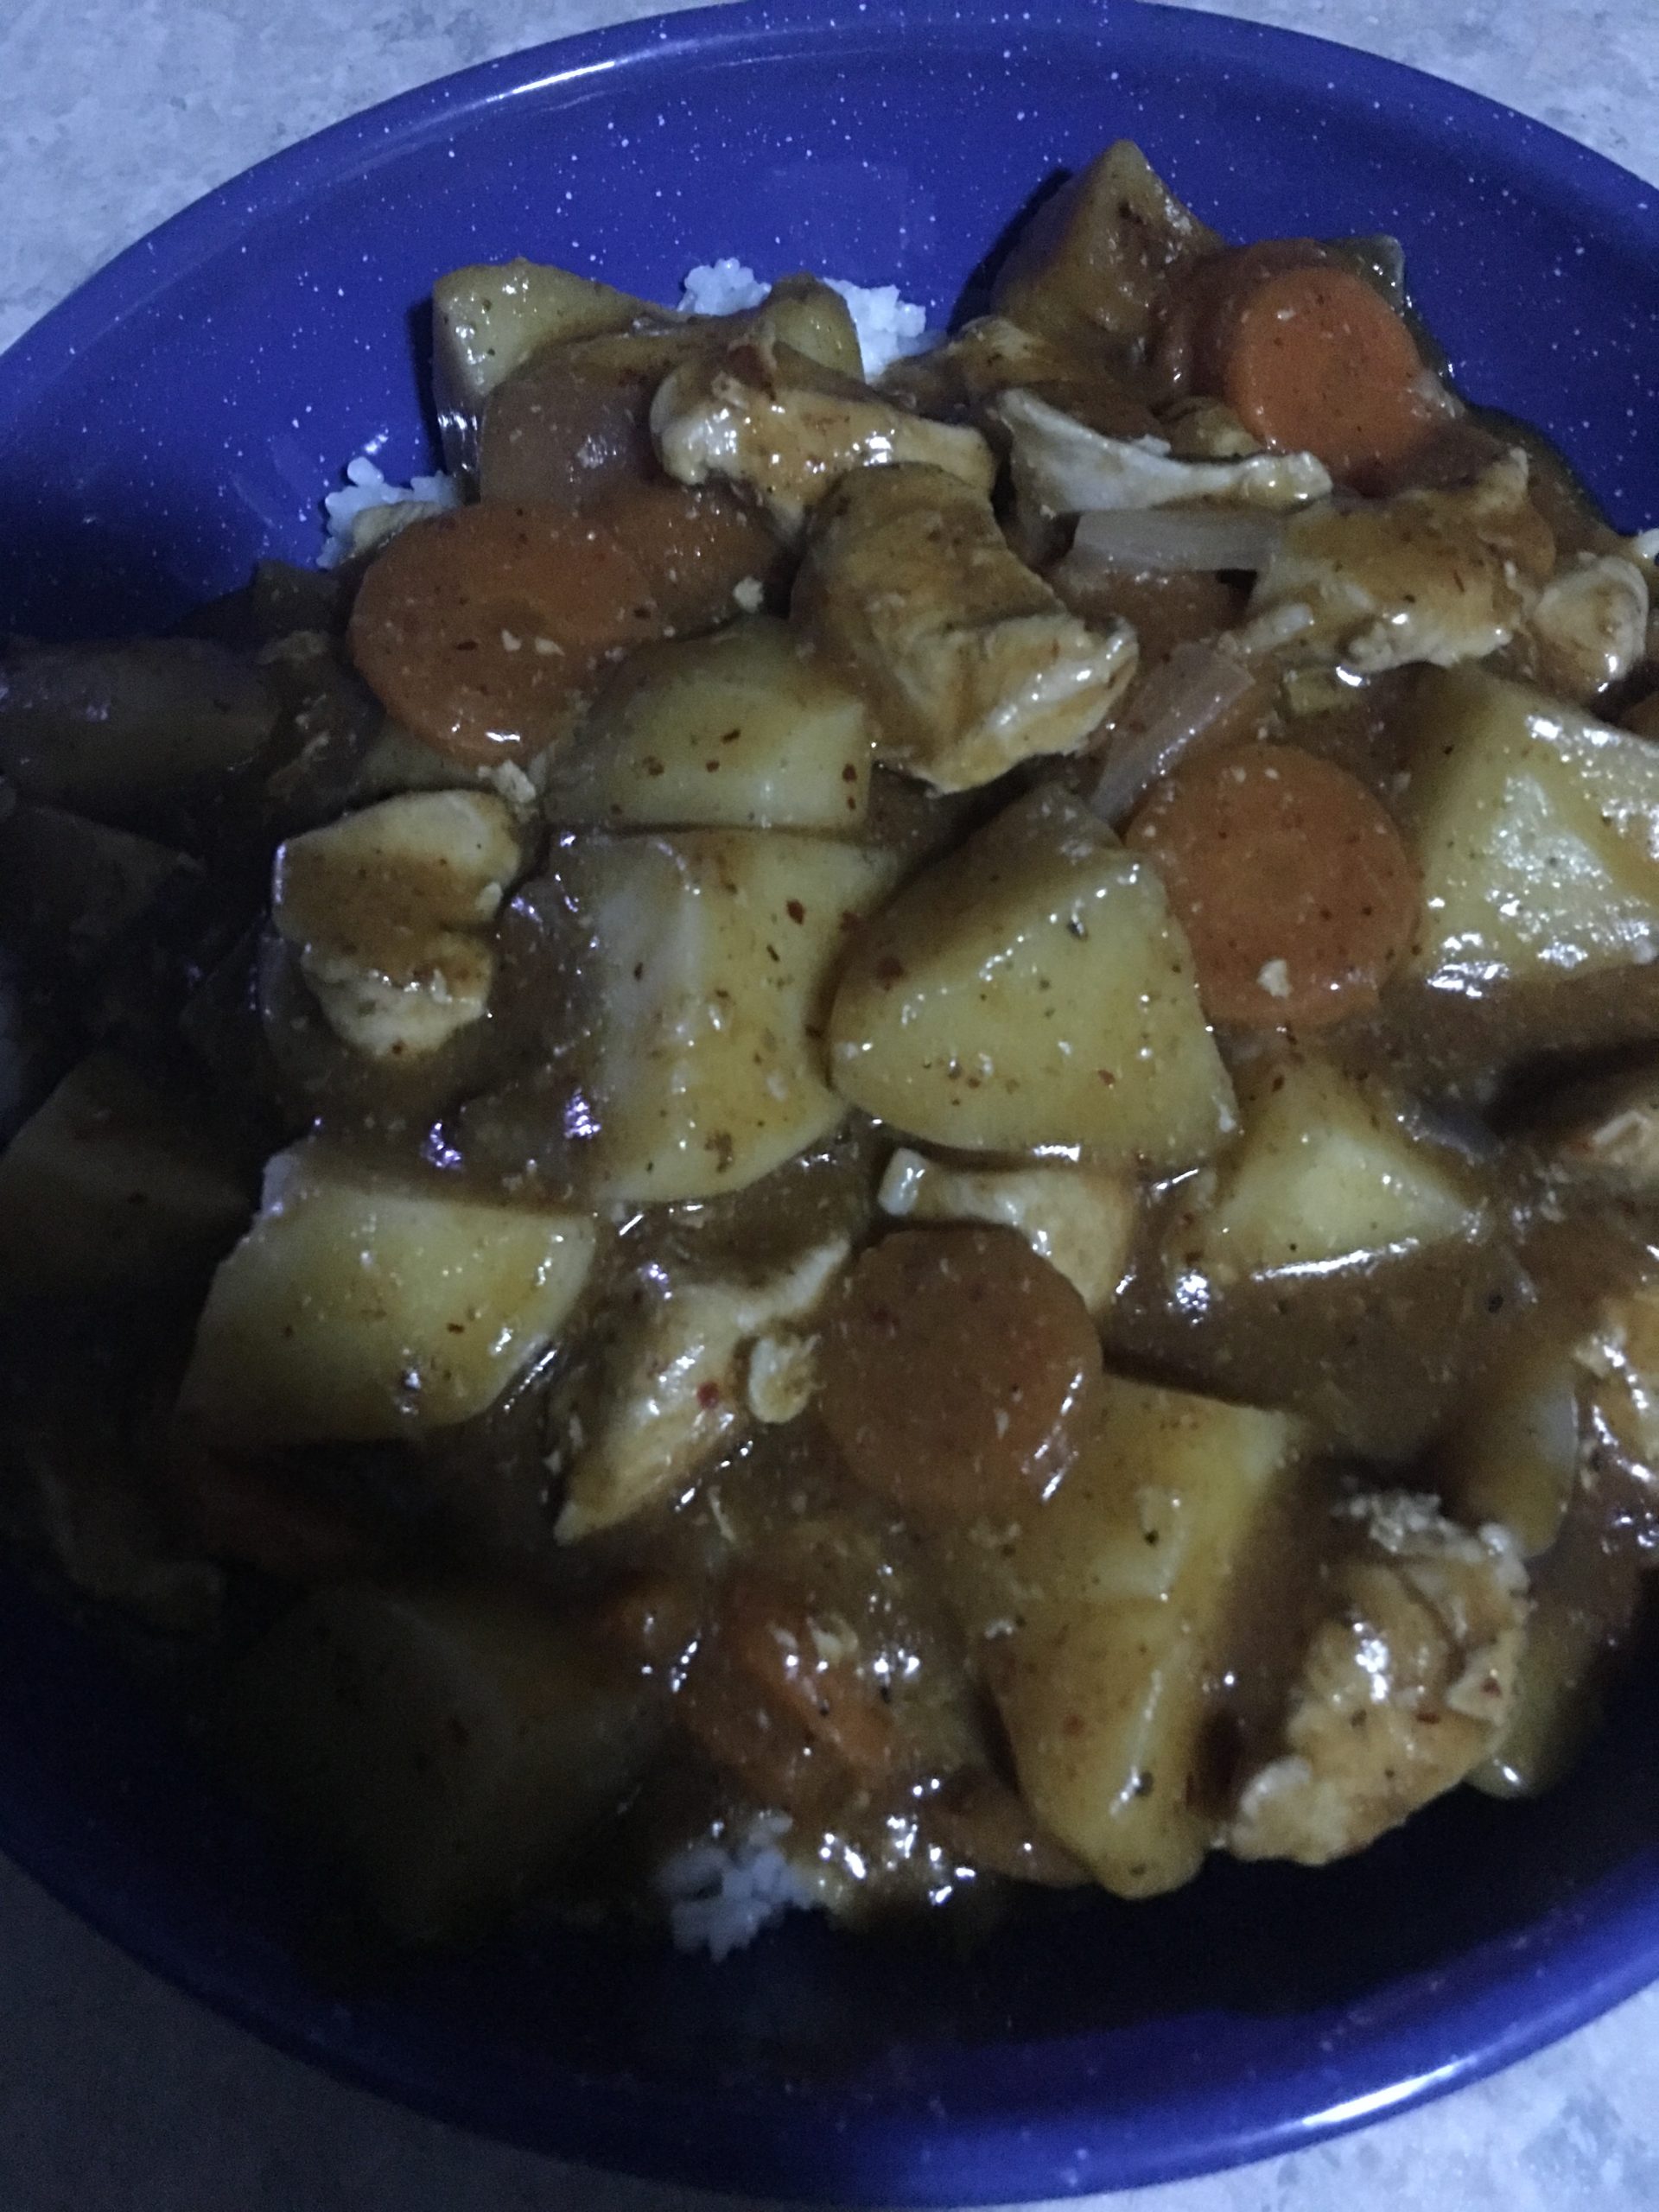
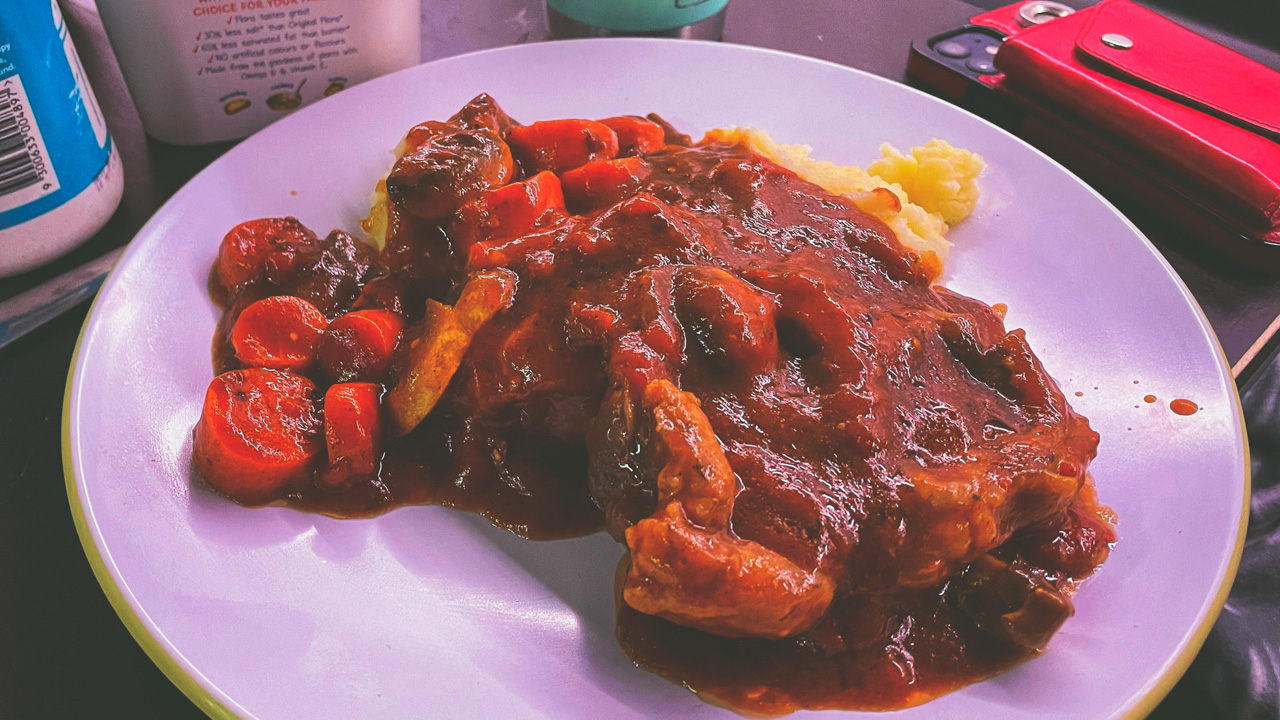
Chicken Curry Camp Oven Recipe Served On Rice
What is Massaman Curry?
Even though it’s a Thai classic, Massaman curry is though to have originated in the neighbouring Muslim state of Malaysia. Ever since the 17th century it’s been a staple part of Thai cuisine. Rich and tangy but not too spicy Masaman is unusual amongst Thai curries in that it doesn’t include curry leaves as part of the cooking process. Coconut milk introduces a tasty tropical tang and the use of potatoes bulk it out to be a one-pot meal in itself. You’ll frequently find yourself having rice served alongside your Masaman.
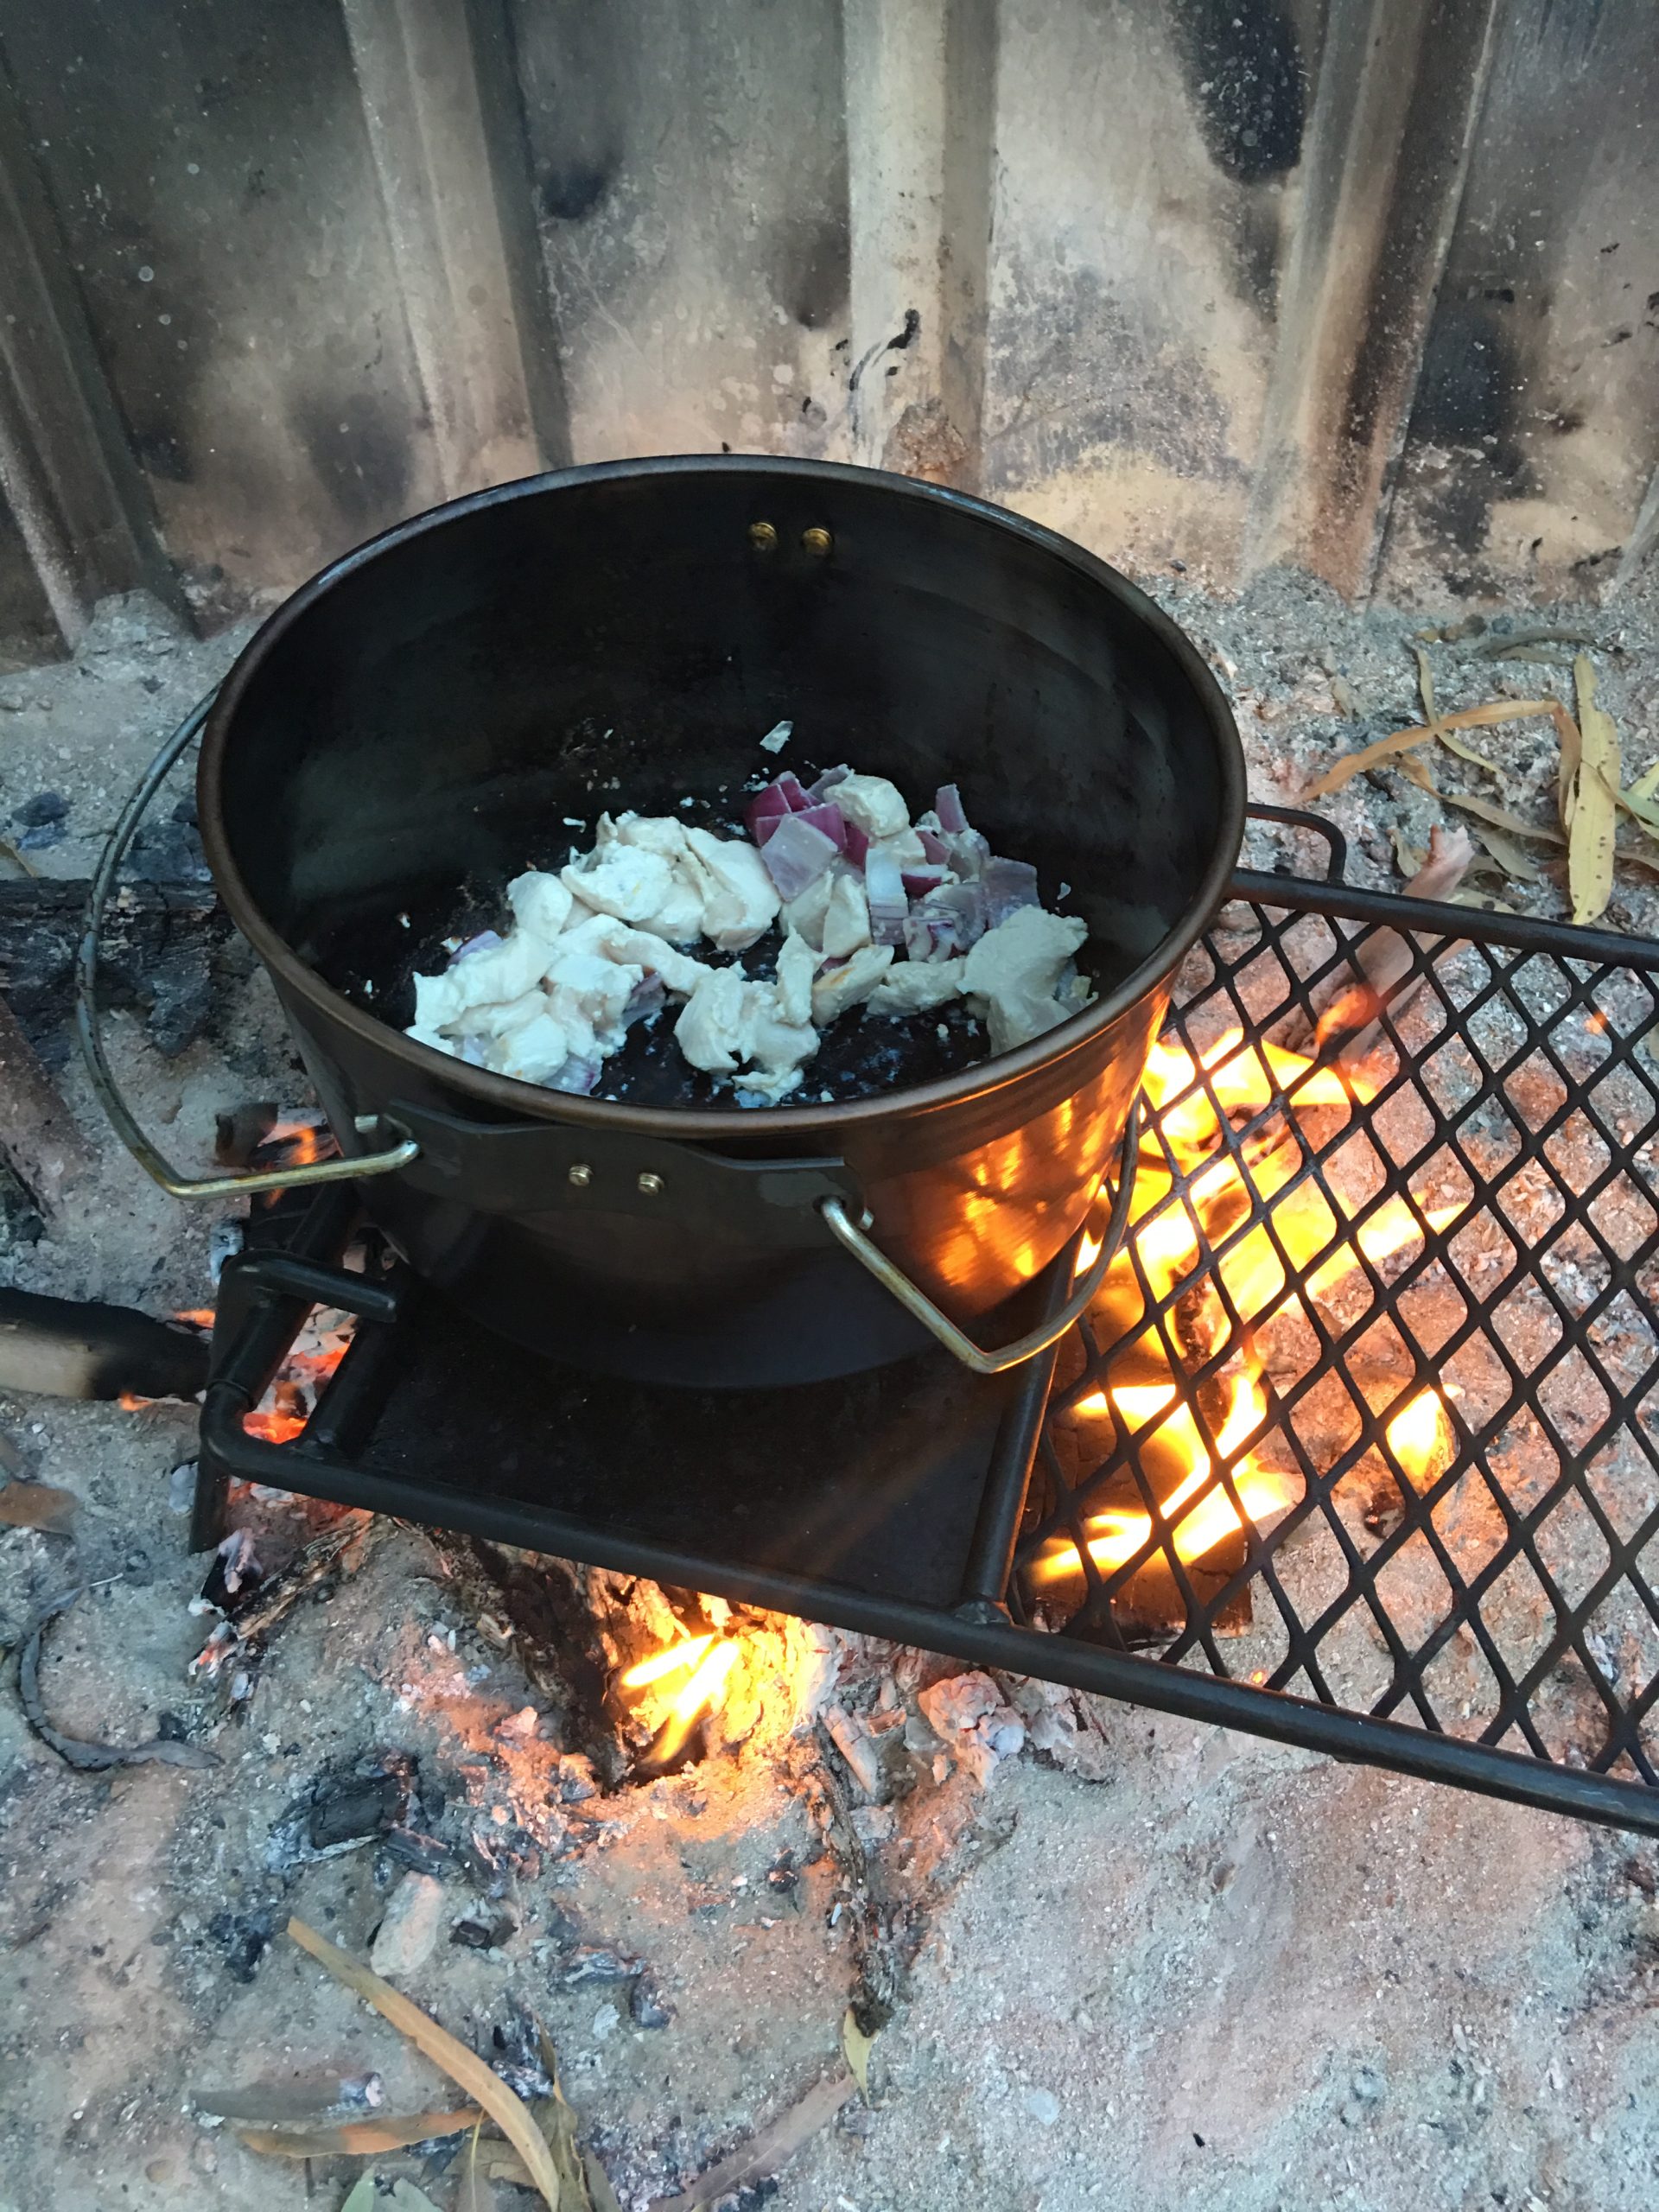
Browning Chicken And Onion
Origins of Masaman Curry
How did a likely Malay origin Muslim dish make its way onto Thailand’s national menu? There are a few different theories of course. Here’s the one we like. Back in the 17th Century the ties between southern Thailand Malaysia were strong and cultural influences were swapped on both sides of the border. Recipes were shared and the local people around Trang and Hat Yai started experimenting with this awesome dish. Around same time the Persian merchant Sheik Ahmad Qomi was visiting the royal court of Ayutthaya with a very similar recipe that became wildly popular amongst nobility and royalty. The two recipes combined and there you go a modern day classic was born.
Conclusion
This is a bloody ripper recipe. It’s easy to cook in a camp oven and the ingredients are cheap and easy to carry when camping. You can see more camp cooking tips and ideas in our Aussie Camp Cooking category.
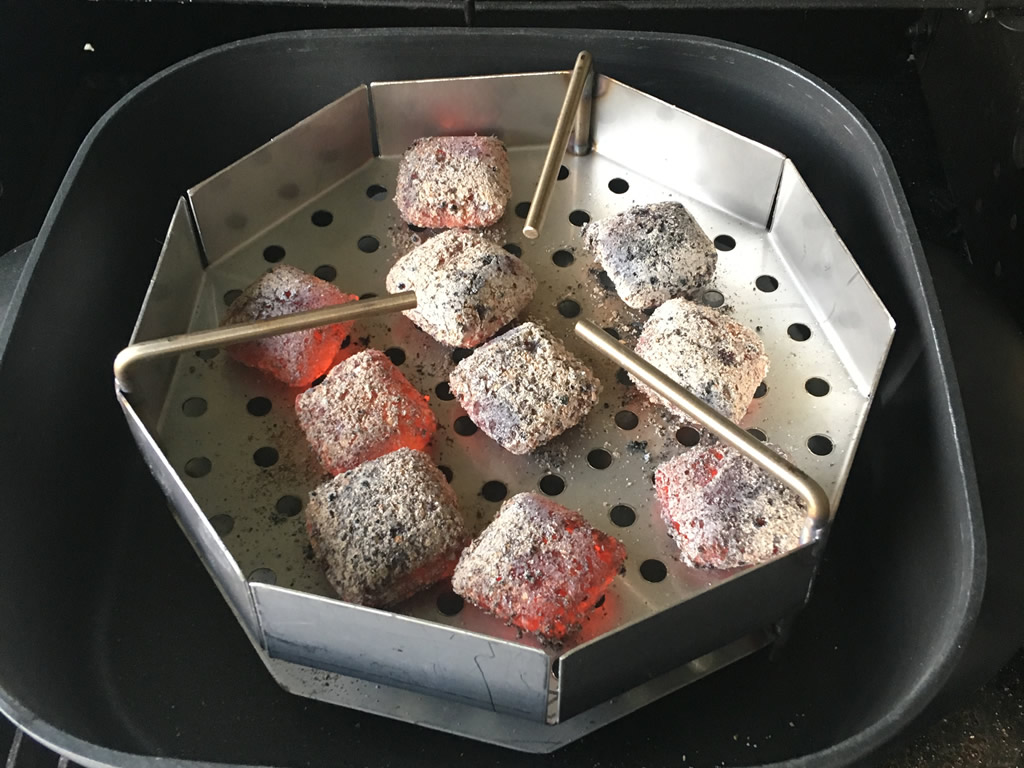
Cooking Camp Oven Chicken Curry Over Coals