35 Simple Camping Dinner Ideas For Aussie Campers
35 Simple Camping Dinner Ideas For Aussie Campers
35 simple camping dinner ideas for Aussie campers. From foil packets & one pot meals to camp ovens & stir-fries. Easy stress free camp meals. Camping adventures across Australia offer incredible experiences, yet meal preparation often becomes the most challenging aspect of any trip. Consequently, mastering simple camping dinner ideas transforms your outdoor experience from stressful to sublime.
Whether you’re exploring the rugged Outback or setting up camp beside pristine coastal waters, having a repertoire of easy, delicious dinner options ensures you’ll spend more time enjoying nature and less time worrying about what’s for tea. This comprehensive guide presents 35 tested simple camping dinner ideas that require minimal equipment, basic ingredients, and straightforward cooking methods. Furthermore, these recipes accommodate various dietary preferences while utilising readily available ingredients from Australian supermarkets. From hearty one-pot meals to satisfying foil packet dinners, each option delivers maximum flavour with minimal fuss.
Simple Camping Dinner Ideas
Why Simple Camping Dinner Ideas Matter For Australian Adventurers
Table Of Contents
- The Challenges Of Outdoor Cooking
- Benefits Of Planning Simple Camping Meals
- Basic Cooking Equipment
- Food Storage And Safety
- Hearty Pasta Dishes
- Warming Stews And Chilis
- Meat And Vegetable Combinations
- Seafood Foil Packet Options
- Traditional Barbecue Options
- International Grilled Dishes
- Traditional Australian Camp Cooking
- Modern Camp Oven Adaptations
- Asian-Inspired Quick Meals
- Fusion Stir-Fry Options
- Gluten-Free Options
- Vegetarian And Vegan Alternatives
- 15-Minute Meal Solutions
- Preparation And Planning Strategies
- Cooking Technique Adaptations
- Safety Considerations For Outdoor Cooking
The Challenges Of Outdoor Cooking
Cooking outdoors presents unique challenges that differ significantly from home kitchen environments. Limited equipment, unpredictable weather conditions, and restricted storage space require careful meal planning. Additionally, remote camping locations often lack access to fresh ingredients or cooking facilities. Therefore, simple camping dinner ideas become essential for maintaining nutrition and morale during extended trips.
Australian camping conditions add another layer of complexity. Extreme temperatures, sudden weather changes, and fire restrictions in certain areas demand flexible meal solutions. Moreover, water conservation becomes crucial in many camping areas, making dishes requiring extensive cleanup impractical.
Benefits Of Planning Simple Camping Meals
Well-planned simple camping dinner ideas offer numerous advantages beyond convenience. Firstly, they reduce food waste by utilising ingredients across multiple meals. Secondly, they minimise preparation time, allowing more opportunities for exploration and relaxation. Additionally, simple meals require fewer utensils and cookware, reducing packing weight and cleanup responsibilities.
Budget considerations also favour simple camping meals. Basic ingredients cost less than specialty camping foods, while versatile staples serve multiple purposes. Furthermore, cooking your own meals provides better nutrition control compared to processed camping foods or restaurant meals during travel.
Essential Equipment For Simple Camping Dinner Ideas
Basic Cooking Equipment
Successful execution of simple camping dinner ideas requires appropriate equipment without overwhelming your storage capacity. A quality camping stove with reliable fuel supply forms the foundation of outdoor cooking. Additionally, a medium-sized pot with lid serves multiple purposes, from boiling water to creating one-pot meals.
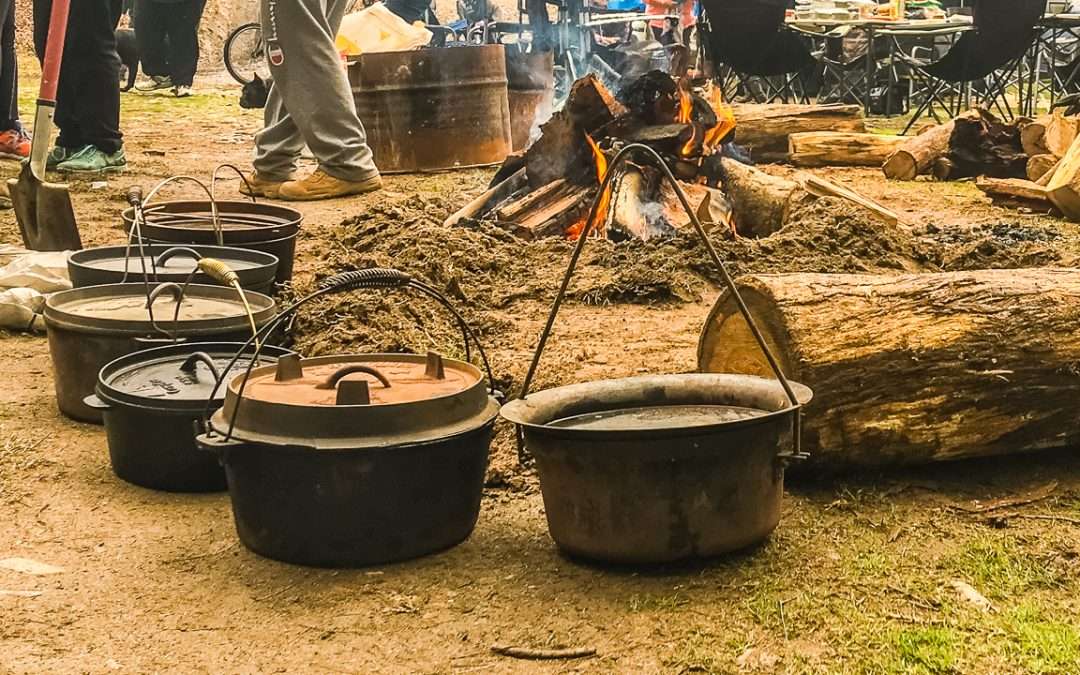
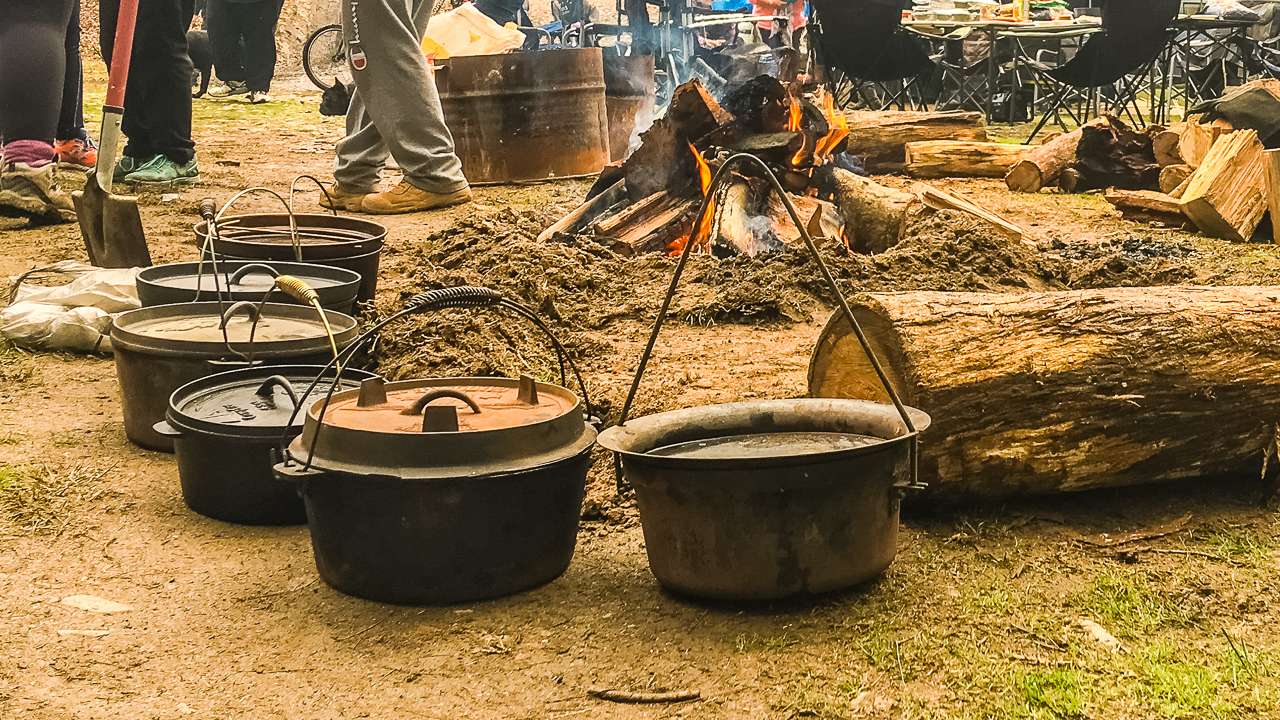
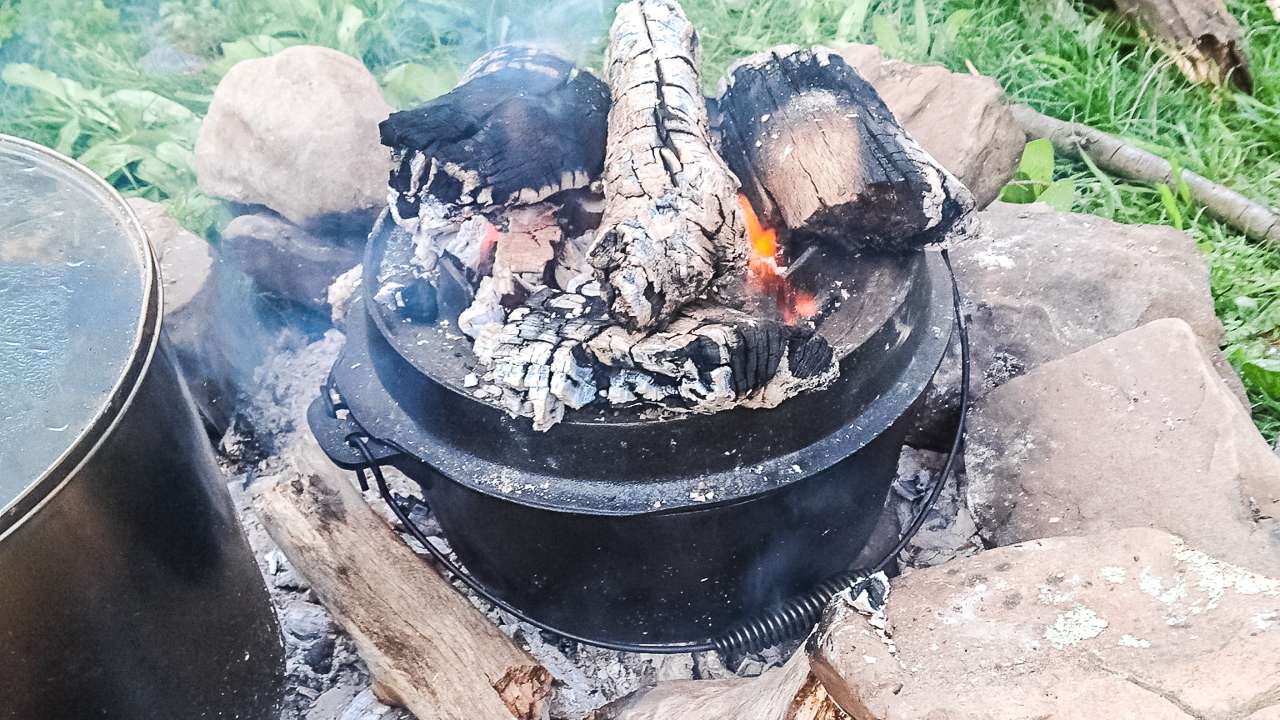
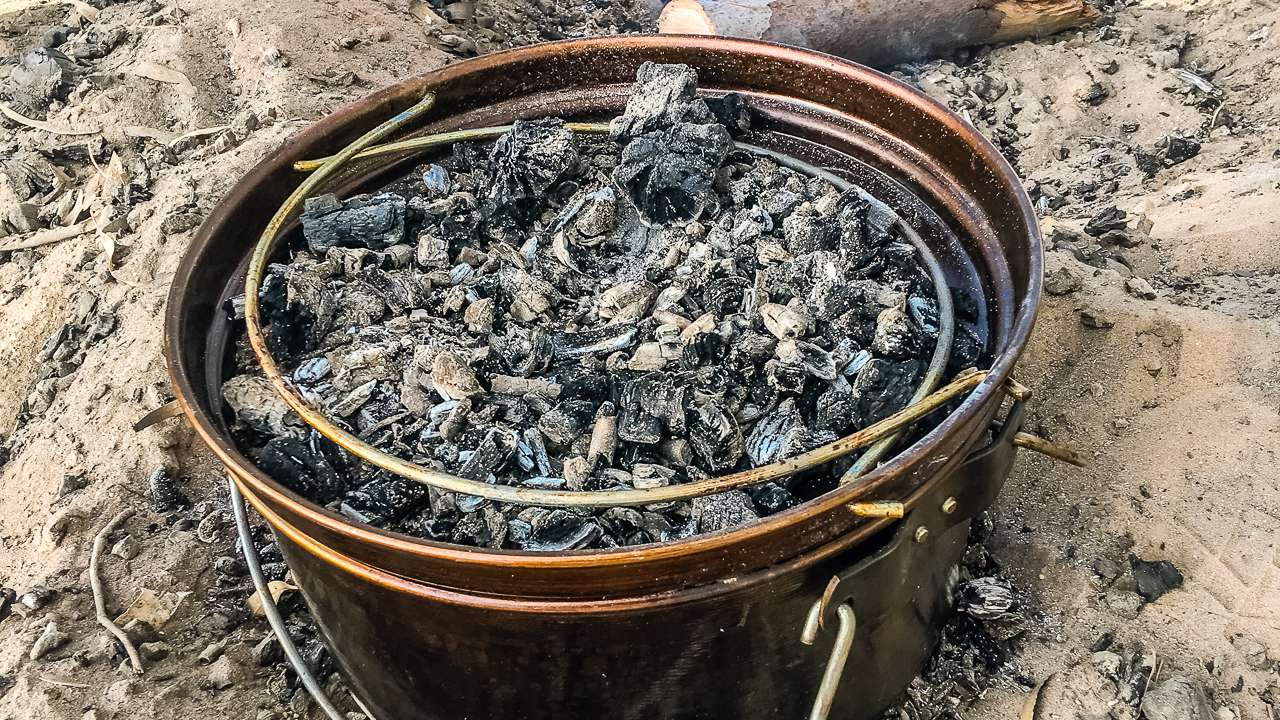
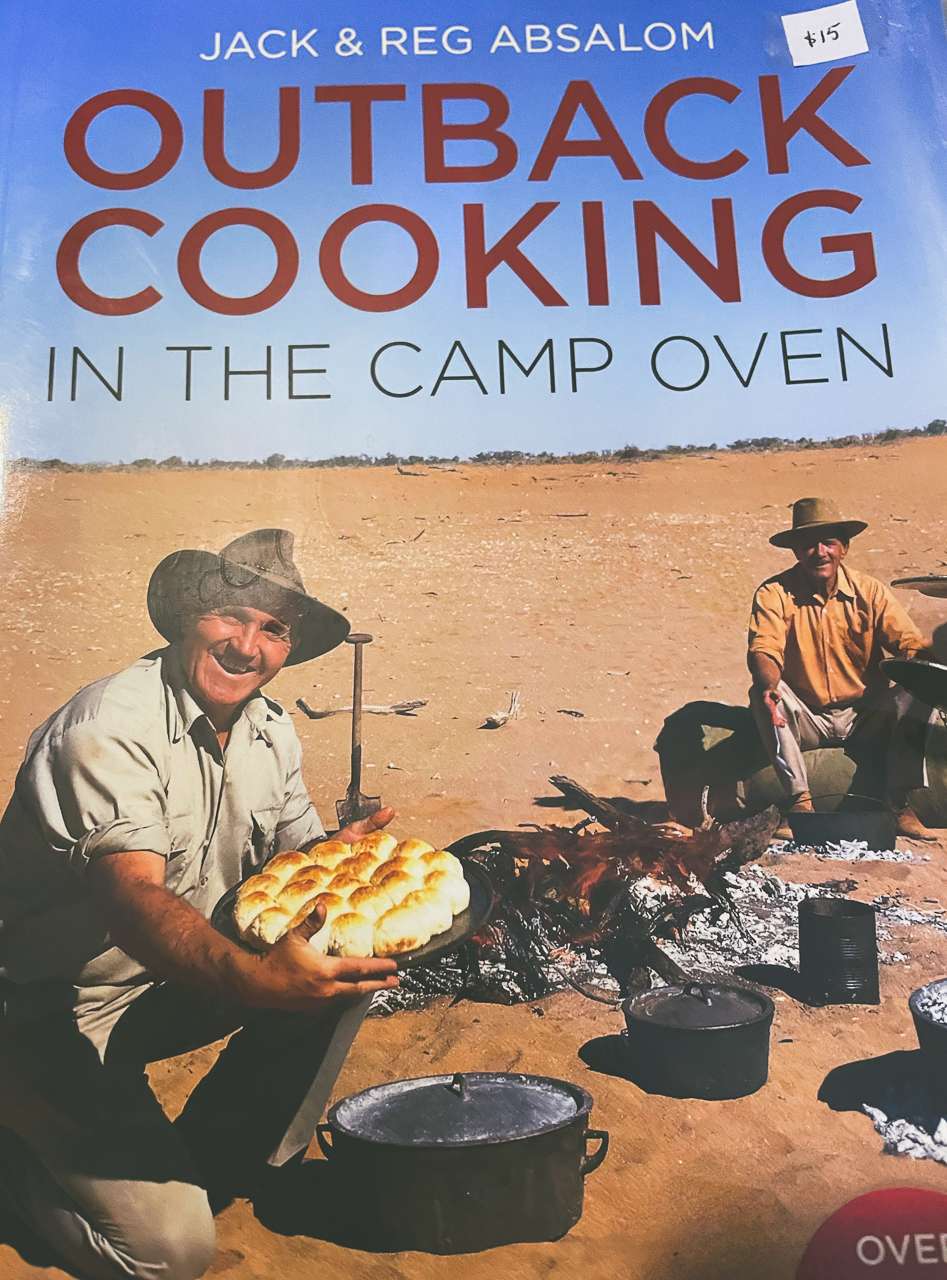
Cast iron camp ovens represent excellent investments for Australian campers. These versatile tools handle everything from bread baking to slow-cooked stews. However, lightweight alternatives include aluminium Dutch ovens or multi-purpose camping cookware sets.
Food Storage And Safety
Proper food storage becomes critical for maintaining ingredient quality and preventing foodborne illness. Quality coolers with adequate ice supply keep perishables safe for several days. Meanwhile, dry goods require sealed containers protecting against moisture and pests. Furthermore, understanding temperature danger zones helps determine meal timing and ingredient selection.
Australian camping often involves extended periods without refrigeration. Therefore, selecting shelf-stable ingredients and understanding preservation techniques ensures food safety throughout your journey. Non-perishable proteins, canned goods, and dried ingredients form the backbone of reliable camping meal plans.
One-Pot Simple Camping Dinner Ideas
Hearty Pasta Dishes
- Camping Spaghetti Bolognese
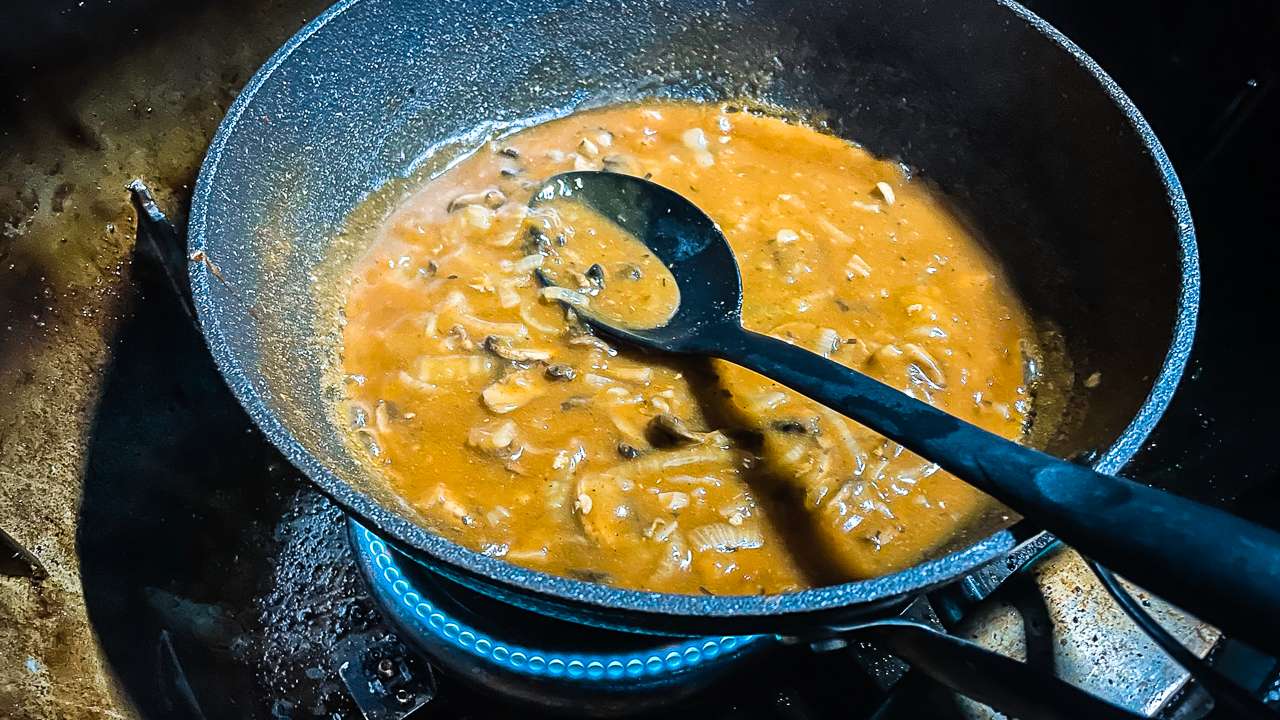
This classic dish requires ground beef, tinned tomatoes, onions, garlic, and spaghetti pasta. Brown the mince in your pot, add diced onions and garlic, then incorporate tinned tomatoes and seasonings. Add uncooked pasta with appropriate water, cover, and simmer until pasta reaches desired tenderness. - Creamy Chicken Alfredo Pasta
Combine diced chicken breast, pasta, cream, garlic, and parmesan cheese for this indulgent meal. Cook chicken pieces first, add garlic, then pasta with cream and water. Stir frequently to prevent sticking while cheese melts into a rich sauce. - Vegetarian Mediterranean Pasta
Mix pasta with tinned tomatoes, olives, feta cheese, capsicum, and Italian herbs. This meat-free option provides excellent nutrition while accommodating dietary restrictions. Cook vegetables briefly before adding remaining ingredients and pasta with sufficient liquid. - Tuna and Corn Pasta Bake
Utilise tinned tuna, sweetcorn, pasta, and cheese sauce for this protein-rich meal. Combine all ingredients in your pot with appropriate liquid, then cover and cook until pasta absorbs flavours and reaches proper texture.
Warming Stews And Chilis
- Classic Beef Chili
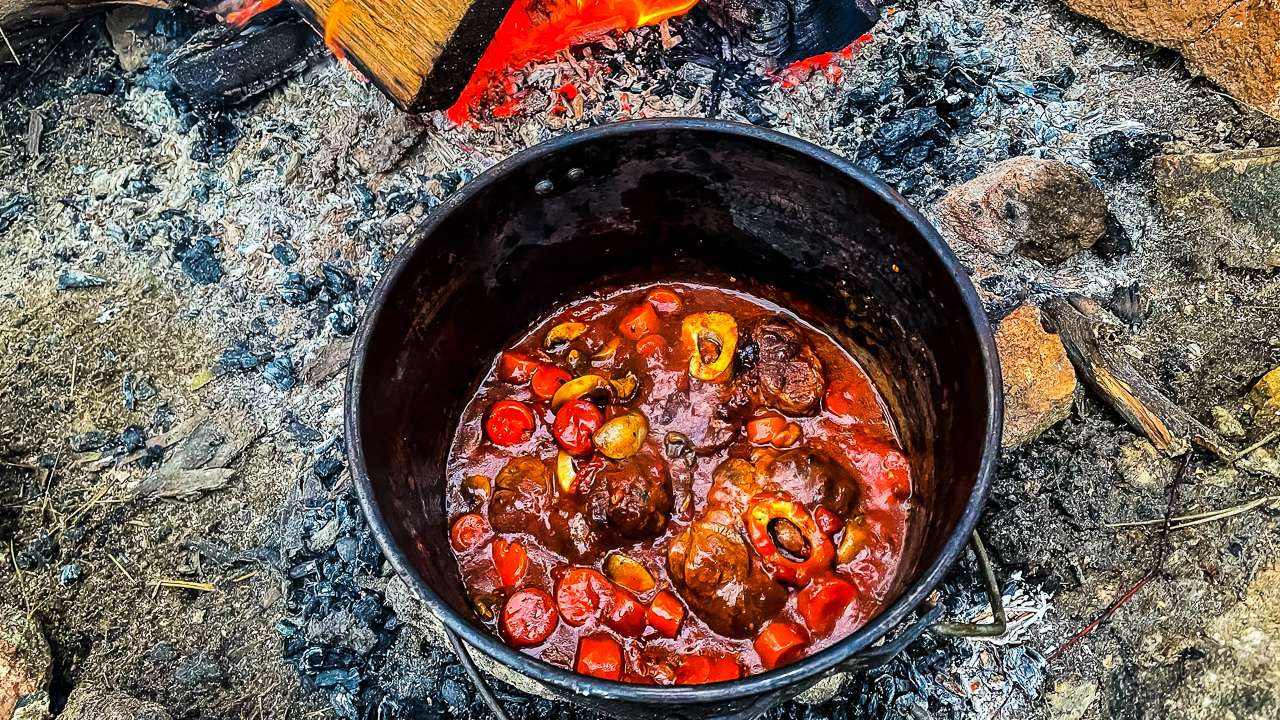
Ground beef, kidney beans, tinned tomatoes, onions, and chili powder create this warming dish. Brown beef thoroughly, add vegetables and spices, then simmer with beans and tomatoes. This meal improves with longer cooking times and tastes even better the following day. - Chicken and Vegetable Stew
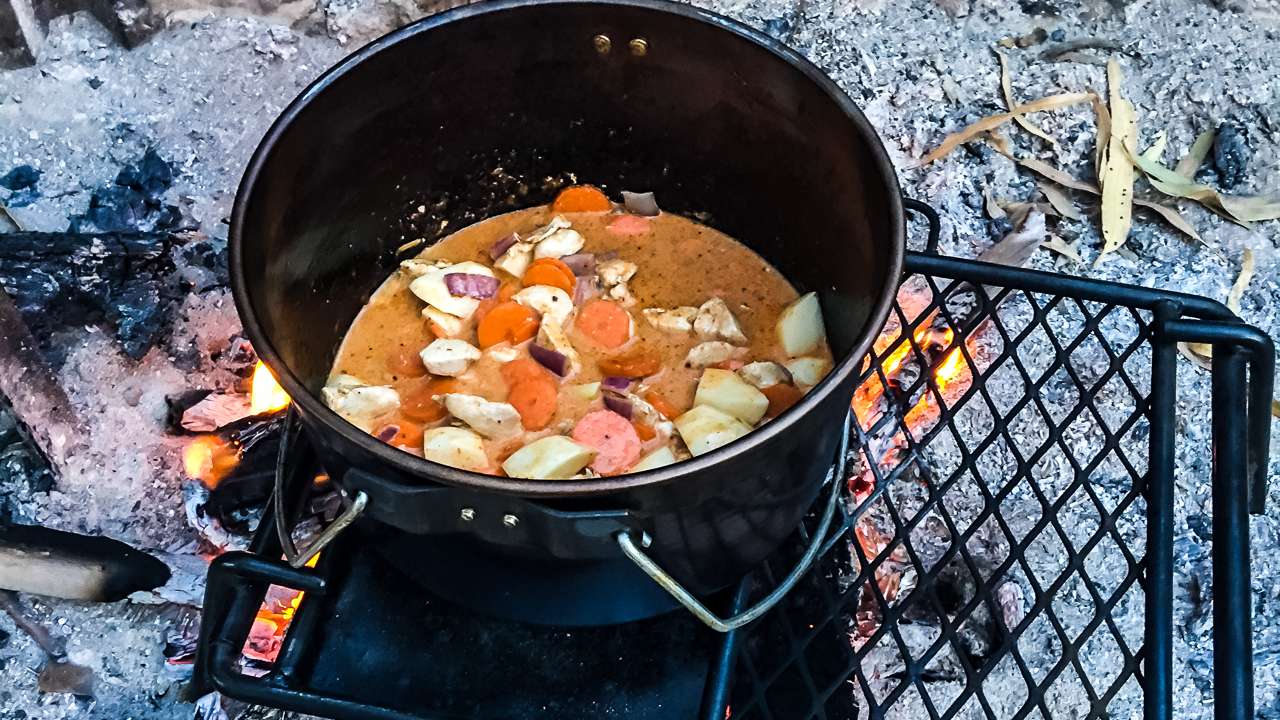
Combine chicken pieces, root vegetables, stock, and herbs for a nutritious dinner. Cut ingredients uniformly for even cooking, starting with chicken and harder vegetables before adding softer components and seasonings. - Lentil and Vegetable Curry
Red lentils, coconut milk, curry powder, and mixed vegetables provide a satisfying vegetarian option. This protein-packed meal cooks quickly while delivering complex flavours from minimal ingredients. - Lamb and Potato Casserole
Diced lamb, potatoes, carrots, onions, and stock create a hearty Australian-inspired meal. Layer ingredients strategically, ensuring even distribution of flavours while maintaining appropriate cooking times for different components.
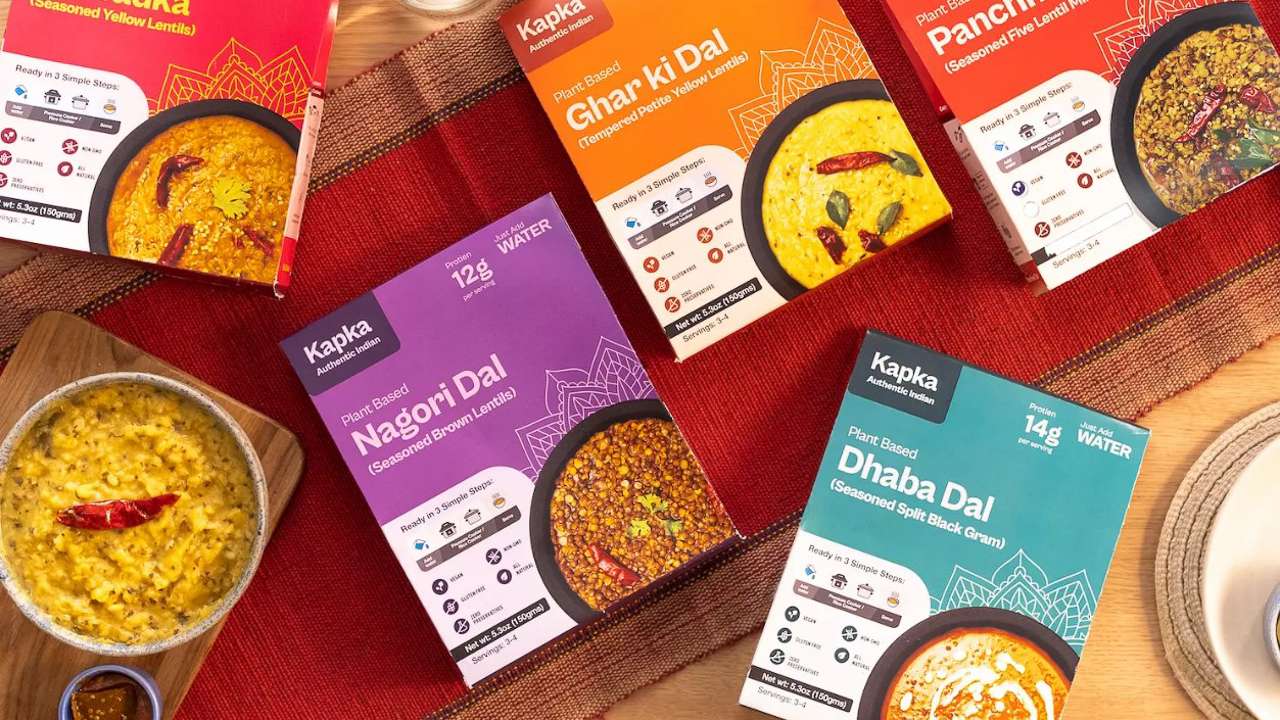
Simple Camping Dinner Ideas – Indian Ready To Eat Meals
Foil Packet Simple Camping Dinner Ideas
Meat And Vegetable Combinations
- Foil Packet Fish With Vegetables
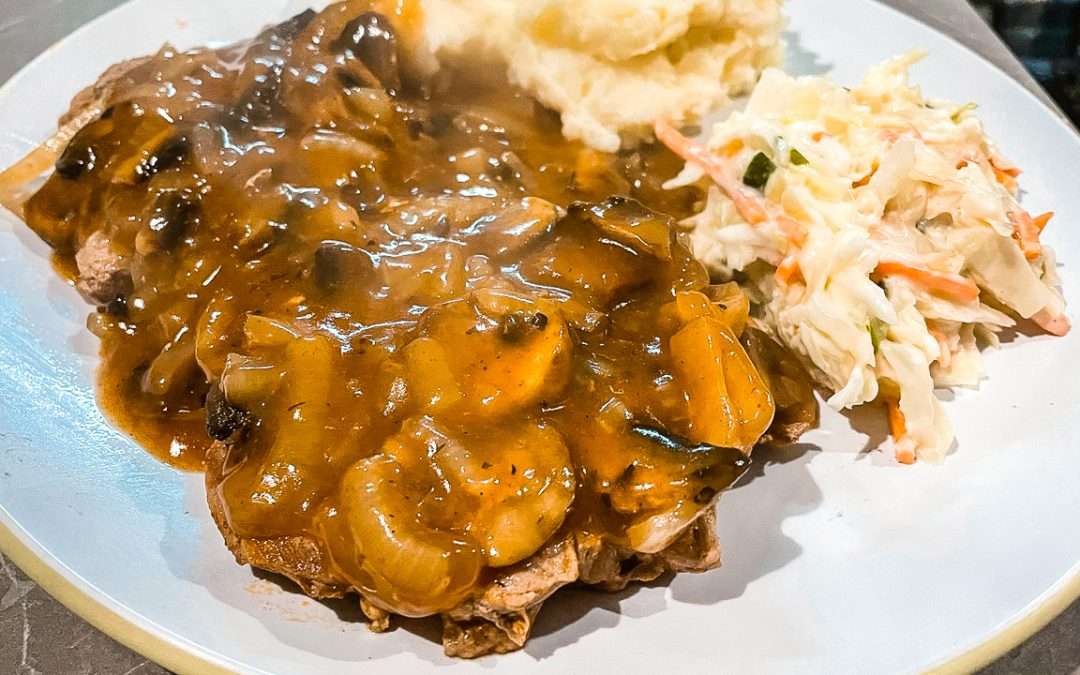
Fresh fish fillets, potato slices, capsicum, and herbs wrapped in foil create individual serving portions. Season generously, seal packets tightly, and cook over coals or on camping stove for approximately 20 minutes[2][4]. - Beef And Potato Foil Packets
Combine beef strips, sliced potatoes, onions, and seasonings in heavy-duty foil. These packets cook evenly over campfire coals while requiring minimal cleanup afterwards. Cooking time varies depending on meat thickness and heat intensity. - Chicken Fajita Foil Packets
Chicken strips, capsicum, onions, and Mexican seasonings create individual fajita servings. Serve with tortillas, cheese, and salsa for a complete meal. Pre-marinating chicken enhances flavour development during cooking. - Vegetarian Rainbow Packets
Layer zucchini, capsicum, mushrooms, sweet potato, and herbs with olive oil and seasonings. These colourful packets provide excellent nutrition while accommodating various dietary requirements. Cooking times depend on vegetable density and desired tenderness.
Seafood Foil Packet Options
- Prawn And Rice Foil Packets
Combine prawns, instant rice, vegetables, and stock in sealed foil packets. This complete meal cooks efficiently while prawns remain tender and flavourful. Ensure proper sealing prevents liquid loss during cooking. - Salmon With Lemon And Herbs
Salmon fillets, lemon slices, dill, and asparagus create an elegant camping meal. The foil steaming method preserves fish moisture while herbs infuse delicate flavours throughout cooking.
Grilled Simple Camping Dinner Ideas
Traditional Barbecue Options
- Classic Beef Burgers
Pre-made patties, burger buns, lettuce, tomato, and cheese provide familiar comfort food. Prepare patties at home using quality mince, breadcrumbs, and seasonings. Cook thoroughly over direct heat while preparing accompaniments. - Gourmet Sausages With Vegetables
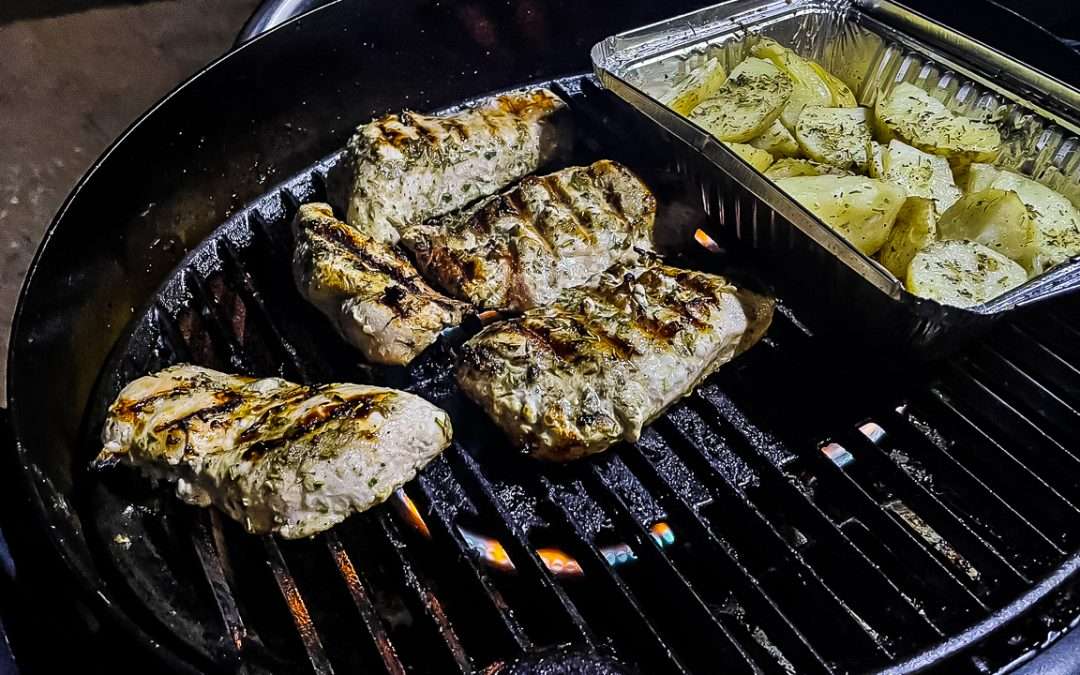
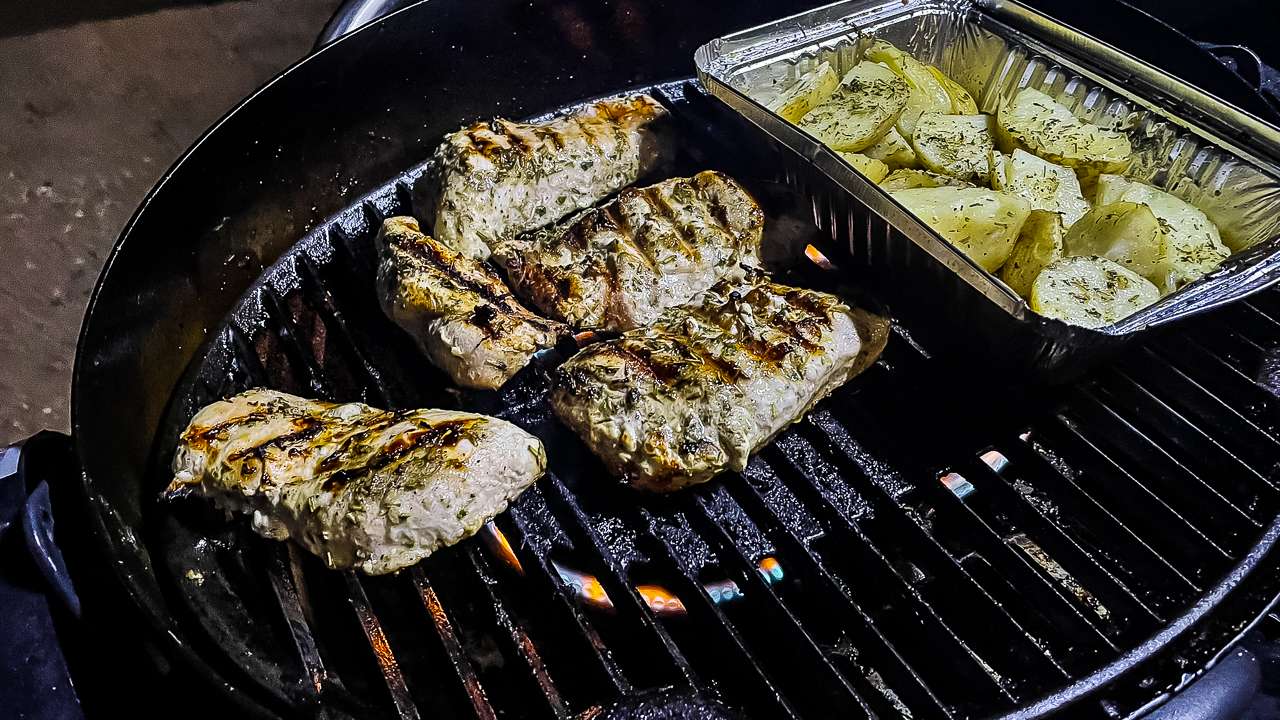
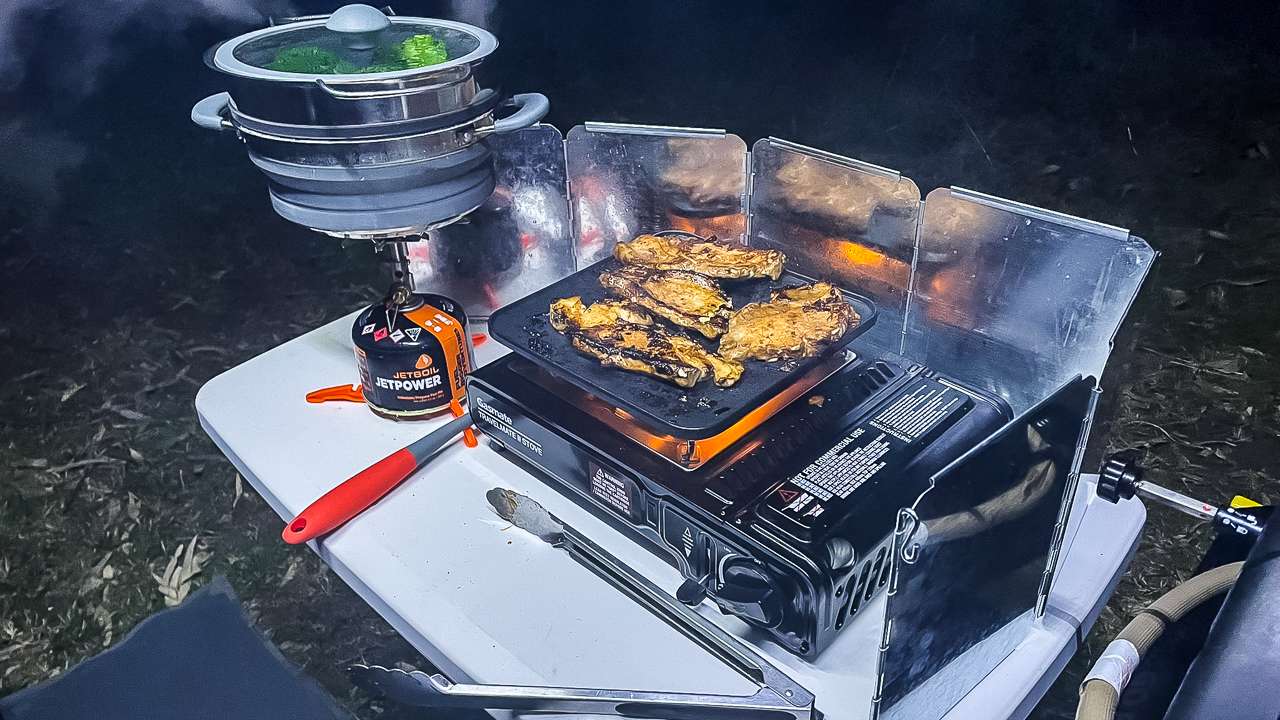
Quality Australian sausages paired with grilled vegetables offer regional flavours. Choose varieties like kransky, chorizo, or traditional beef sausages. Grill vegetables separately or create mixed skewers for even cooking. - Marinated Chicken Skewers
Chicken pieces, vegetables, and marinades create customisable meal options. Pre-marinate meat for enhanced flavour while cutting ingredients uniformly for consistent cooking. Soak wooden skewers beforehand preventing burning.
International Grilled Dishes
- Beef Or Chicken Fajitas
Marinated meat strips, capsicum, onions, and tortillas provide Mexican-inspired dining. Cook meat and vegetables separately for optimal results, then assemble with various toppings like cheese, salsa, and avocado. - Greek Lamb Souvlaki
Lamb pieces, Mediterranean vegetables, and pita bread create authentic Greek flavours. Marinate lamb in lemon juice, olive oil, and herbs before threading onto skewers with vegetables.
Camp Oven Simple Camping Dinner Ideas
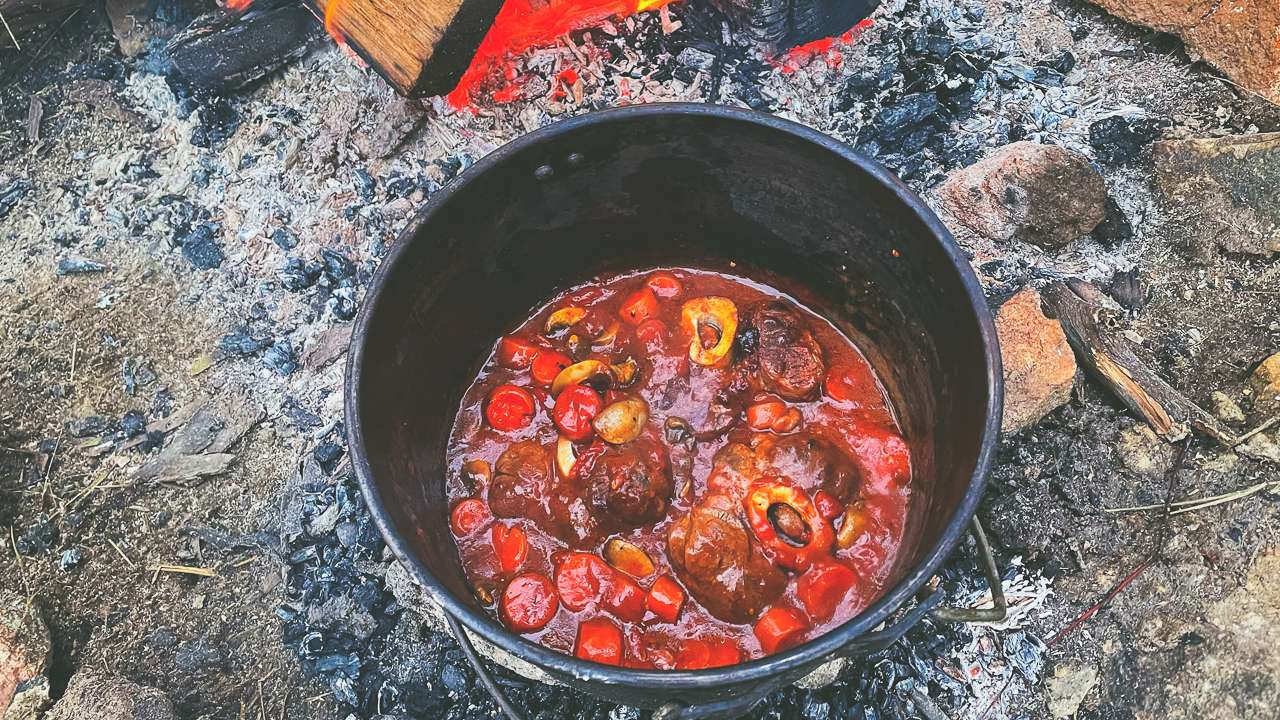
Traditional Australian Camp Cooking
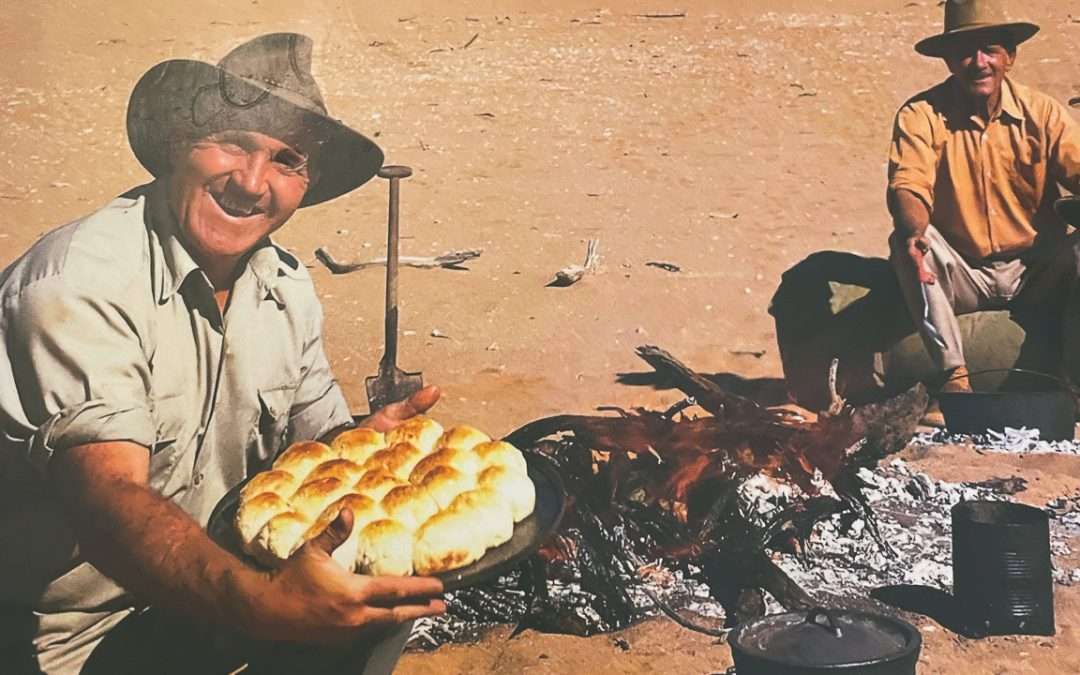
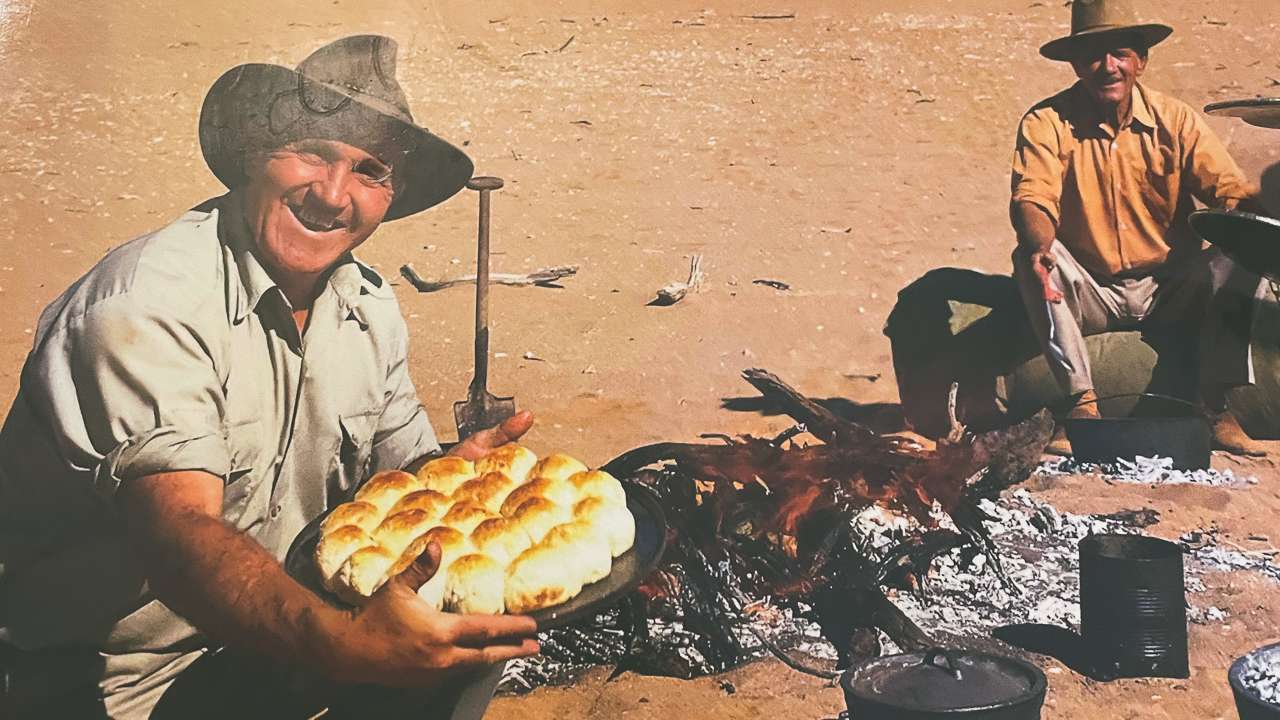
- Damper Bread With Stew
Basic damper requires flour, baking powder, salt, and water. Shape into round loaf, then bake in camp oven using bottom and top heat. Serve alongside hearty beef or vegetable stew for complete satisfaction. - Camp Oven Roast Chicken
Whole chicken, vegetables, and herbs create Sunday dinner ambiance outdoors. Season chicken thoroughly, surround with root vegetables, then cook using appropriate coal distribution for even heating. - Beef And Vegetable Casserole
Combining beef pieces, seasonal vegetables, and stock produces warming comfort food. Layer ingredients appropriately while ensuring sufficient liquid prevents burning during extended cooking periods.
EASY Camping Dinners Camp Oven Upside Down Lasagne
Modern Camp Oven Adaptations
- Pizza In Camp Oven
Pre-made pizza bases, sauce, cheese, and toppings enable outdoor pizza creation. Use camp oven as makeshift oven, monitoring heat distribution carefully for even cooking results. - Bread Rolls And Soup
Fresh bread rolls complement hearty soups perfectly for camping conditions. Prepare simple soup using tinned tomatoes, vegetables, and stock while bread bakes simultaneously.
Stir-Fry Simple Camping Dinner Ideas
Asian-Inspired Quick Meals
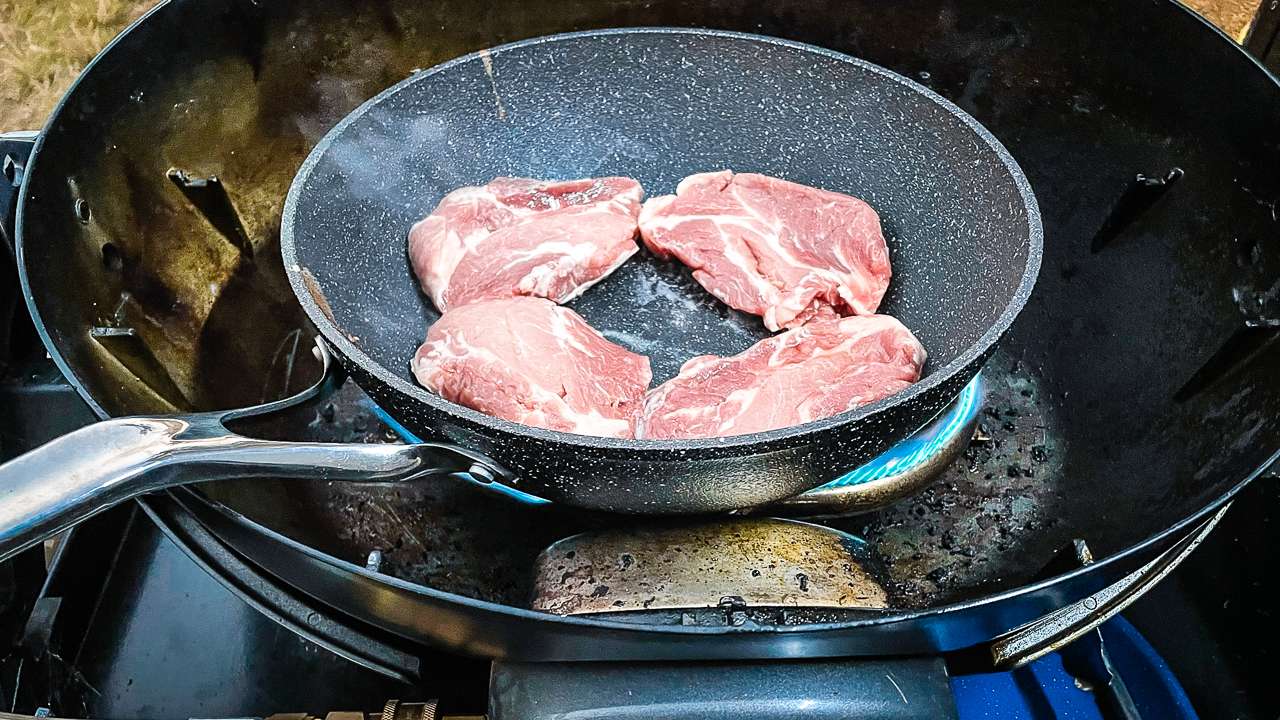
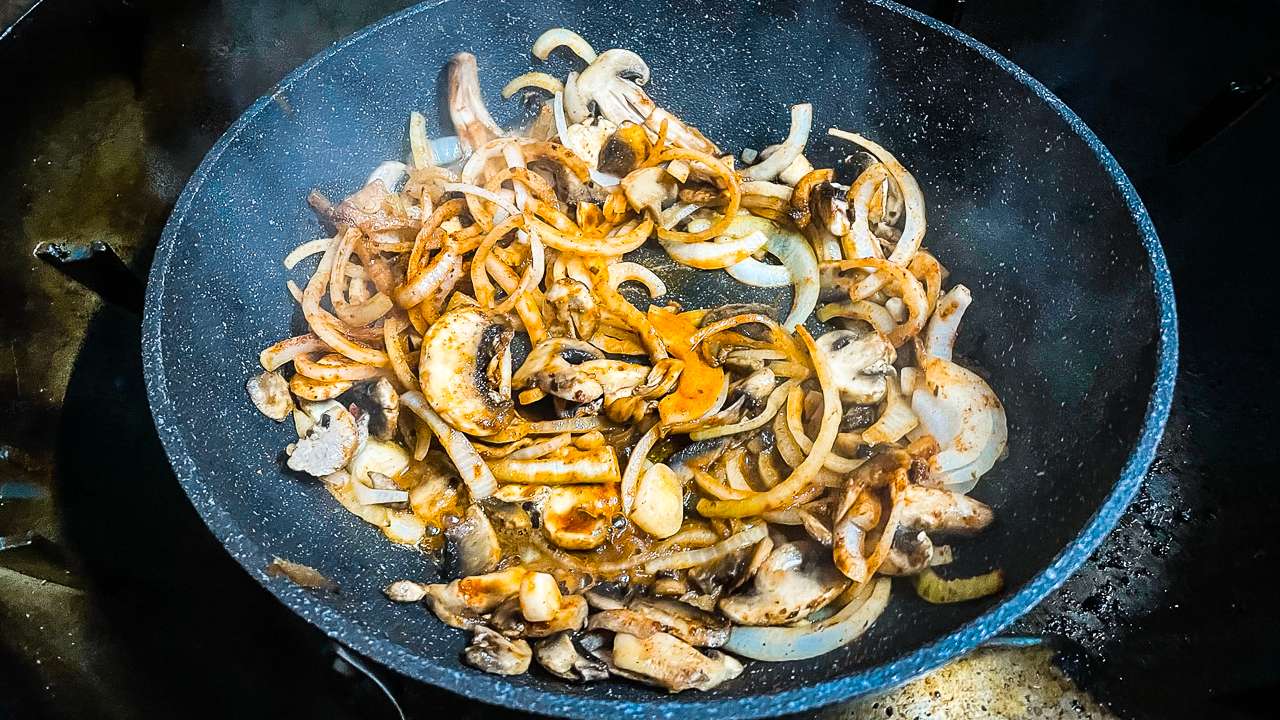
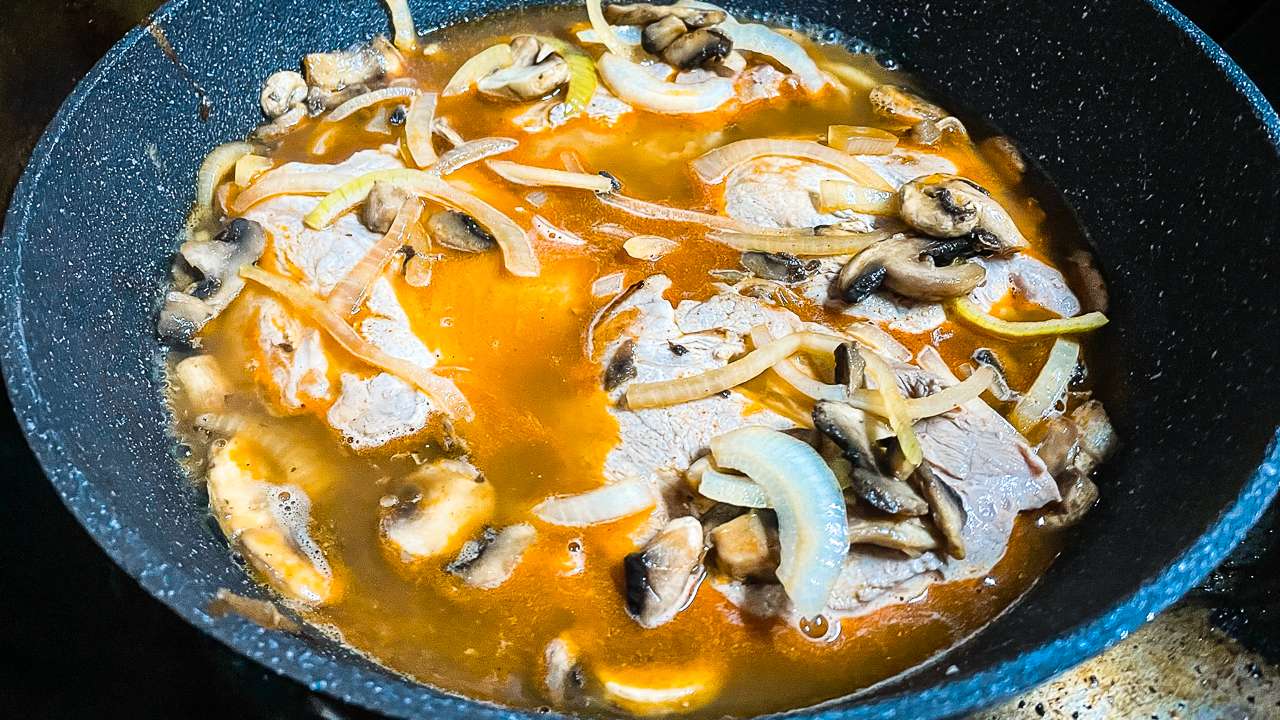
- Beef And Vegetable Stir-Fry
Thin beef strips, mixed vegetables, soy sauce, and garlic create rapid dinner solutions. Cut ingredients uniformly for consistent cooking while maintaining high heat throughout preparation process[1][5]. - Chicken Fried Rice
Cooked rice, chicken pieces, eggs, vegetables, and soy sauce transform leftovers into complete meals. Use day-old rice for better texture while incorporating vegetables according to cooking time requirements. - Vegetarian Tofu Stir-Fry
Firm tofu, seasonal vegetables, and Asian seasonings provide protein-rich vegetarian options. Press tofu beforehand removing excess moisture, then cut into appropriate sizes for even cooking.
Fusion Stir-Fry Options
- Mexican-Style Beef Stir-Fry
Beef strips, capsicum, onions, and Mexican spices create fusion flavours. Serve with tortillas or rice while incorporating traditional Mexican ingredients like corn and black beans.
Simple Camping Dinner Ideas For Special Dietary Requirements
Gluten-Free Options
- Gluten-Free Beef And Vegetable Skewers
Marinated beef, vegetables, and gluten-free seasonings accommodate dietary restrictions without sacrificing flavour. Verify all marinades and seasonings contain no gluten-containing ingredients. - Rice-Based Camping Paella
Arborio rice, seafood or chicken, vegetables, and saffron create Spanish-inspired gluten-free dining. This one-pot meal accommodates various protein preferences while delivering complex flavours.
Vegetarian And Vegan Alternatives
- Lentil Bolognese Pasta
Red lentils, tinned tomatoes, vegetables, and herbs create satisfying meat-free pasta sauce. This protein-rich alternative cooks quickly while providing essential nutrients for active camping lifestyles. - Vegetable Curry With Rice
Mixed vegetables, coconut milk, curry spices, and rice produce warming vegan meals. Select seasonal vegetables for optimal flavour while adjusting spice levels according to group preferences.
Quick And Easy Simple Camping Dinner Ideas
15-Minute Meal Solutions
- Quesadillas With Various Fillings
Tortillas, cheese, and chosen fillings create customisable quick dinners. Heat in frying pan or over grill while preparing simple salad accompaniments for balanced nutrition[1][2]. - Instant Noodle Upgrades
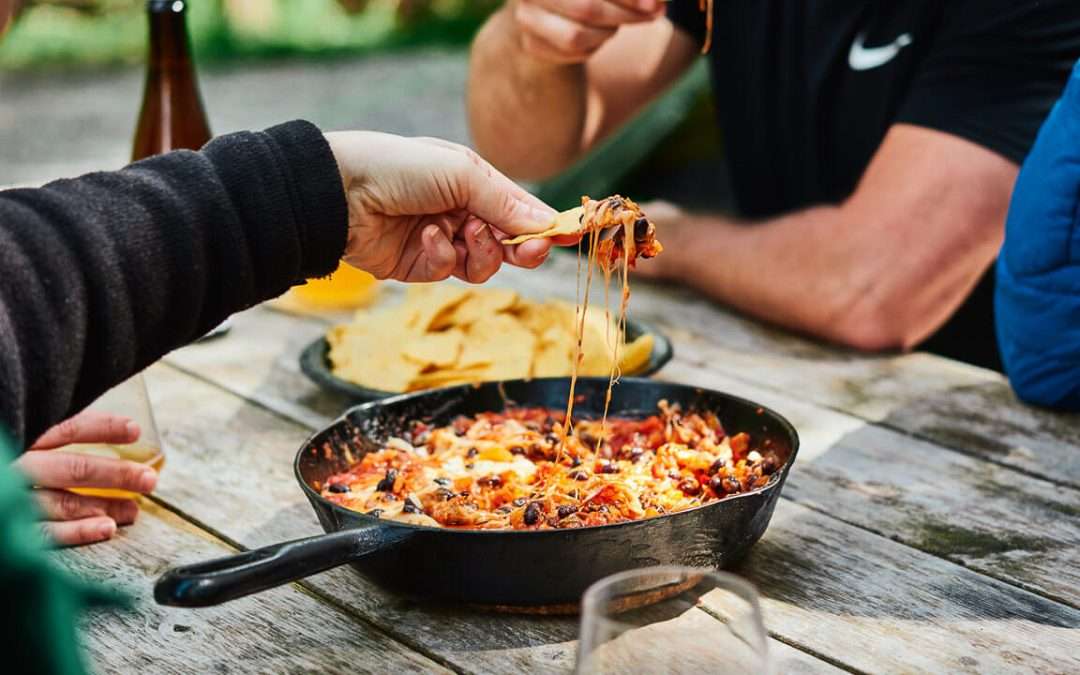
Transform basic instant noodles by adding vegetables, eggs, or leftover proteins. This budget-friendly option provides quick sustenance while maintaining reasonable nutritional value through creative additions. - Camping Nachos
Corn chips, cheese, tinned beans, salsa, and various toppings create shareable finger food dinners. Layer ingredients carefully ensuring even cheese melting while providing individual customisation options.
Comparison Table: Cooking Methods For Simple Camping Dinner Ideas
| Cooking Method | Equipment Required | Cooking Time | Cleanup Level | Best For |
|---|---|---|---|---|
| One-Pot Meals | Single pot, camping stove | 20-45 minutes | Minimal | Groups, beginners |
| Foil Packets | Heavy-duty foil, heat source | 15-30 minutes | Very minimal | Individual portions |
| Grilling | BBQ grate, heat source | 10-25 minutes | Moderate | Quick meals, meat lovers |
| Camp Oven | Cast iron oven, coals | 45-90 minutes | Moderate | Traditional camping |
| Stir-Fry | Wok/large pan, high heat | 5-15 minutes | Quick wash needed | Fast meals, vegetables |
Essential Tips For Successful Simple Camping Dinner Ideas
Preparation And Planning Strategies
Successful camping meals begin with thorough home preparation. Create detailed meal plans considering group size, dietary restrictions, and available cooking equipment. Additionally, pre-cutting vegetables and marinating proteins saves valuable time at camp while reducing preparation cleanup.
Packaging ingredients appropriately prevents spoilage while maximising storage efficiency. Freezer bags, sealed containers, and proper labelling systems organise meal components effectively. Furthermore, creating ingredient lists for each meal prevents forgotten items while enabling easy shopping.
Camp Cooking Made Easy With Packet Sauces
Cooking Technique Adaptations
Outdoor cooking requires technique modifications compared to home kitchen methods. Lower, consistent heat produces better results than high, uneven temperatures. Additionally, covering pots retains heat while reducing cooking times and fuel consumption.
Understanding your equipment capabilities enhances cooking success significantly. Practice using camping stoves and ovens at home before departure, learning heat control and timing requirements. Moreover, having backup cooking methods prevents meal disasters during equipment failures.
Safety Considerations For Outdoor Cooking
Food safety becomes paramount during camping. Always keep perishables chilled, avoid cross-contamination, and cook meats thoroughly. Dispose of waste responsibly and follow local fire regulations to ensure a safe and enjoyable outdoor cooking experience.