We travel the Darling River Run from Wilcannia to Louth with a stop off at the Tilpa Hotel and camp at Trilby Station. It is one of Australias most iconic touring routes and it’s a nice easy drive.
We got up nice and early and headed back in to Wilcannia for fuel and some basic supplies. Ice, some tomatoes, a loaf of bread and a few other bits and pieces. Then it was off along the Darling River towards Tilpa along the road on the Eastern side.
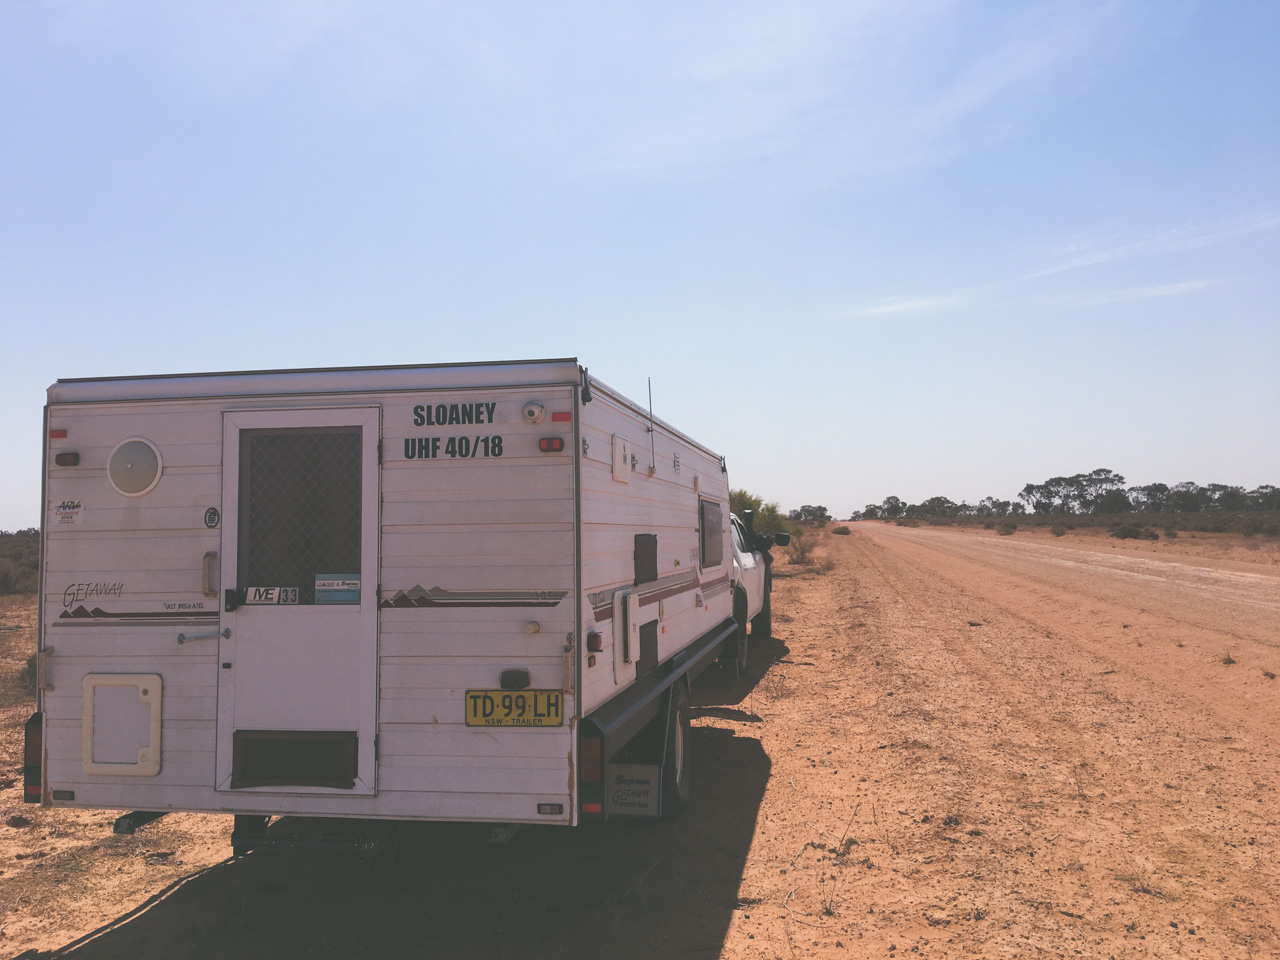
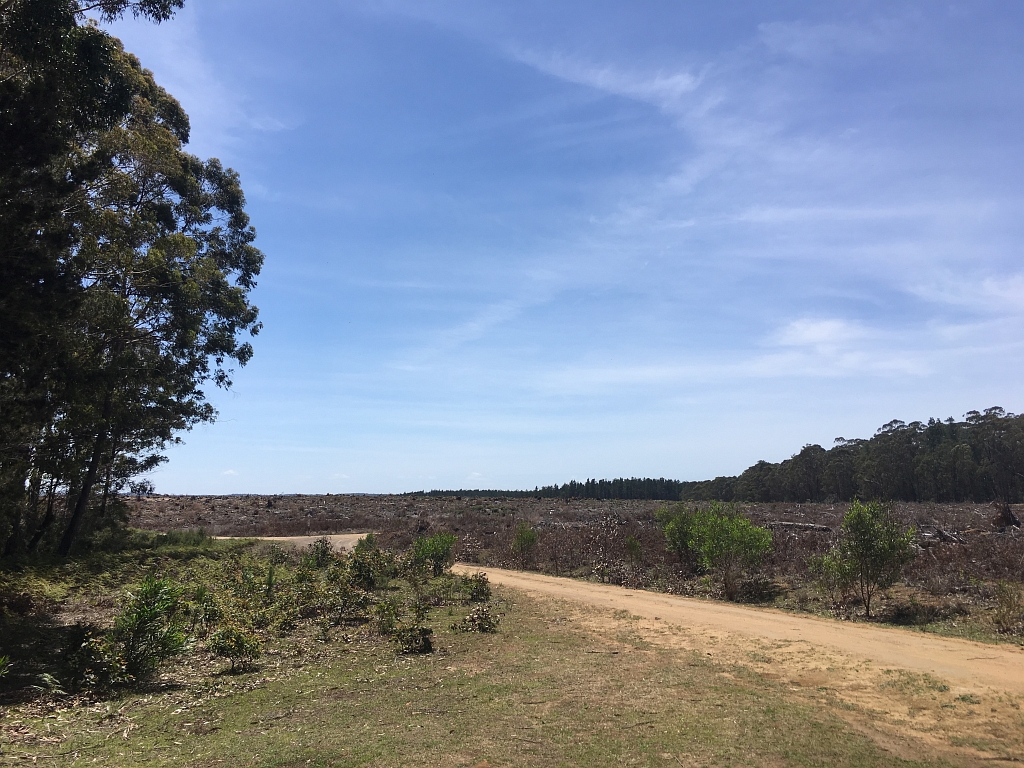
Heading Off On The W Tilpa Road
The W Tilpa Road – The Darling River Run
There’s not a whole lot to see along the road. You drive past a lot of stations and you don’t actually see the Darling River at all except for the treeline off in the distance. I sort of thought that the road would follow along the edge of the river but I guess having a bit of distance between the two helps with the road being open in times of flooding. Overall road conditions were pretty reasonable. Sections were corrugated, sections were rutted and there were of course the obligatory bulldust holes but overall it wasn’t too bad.
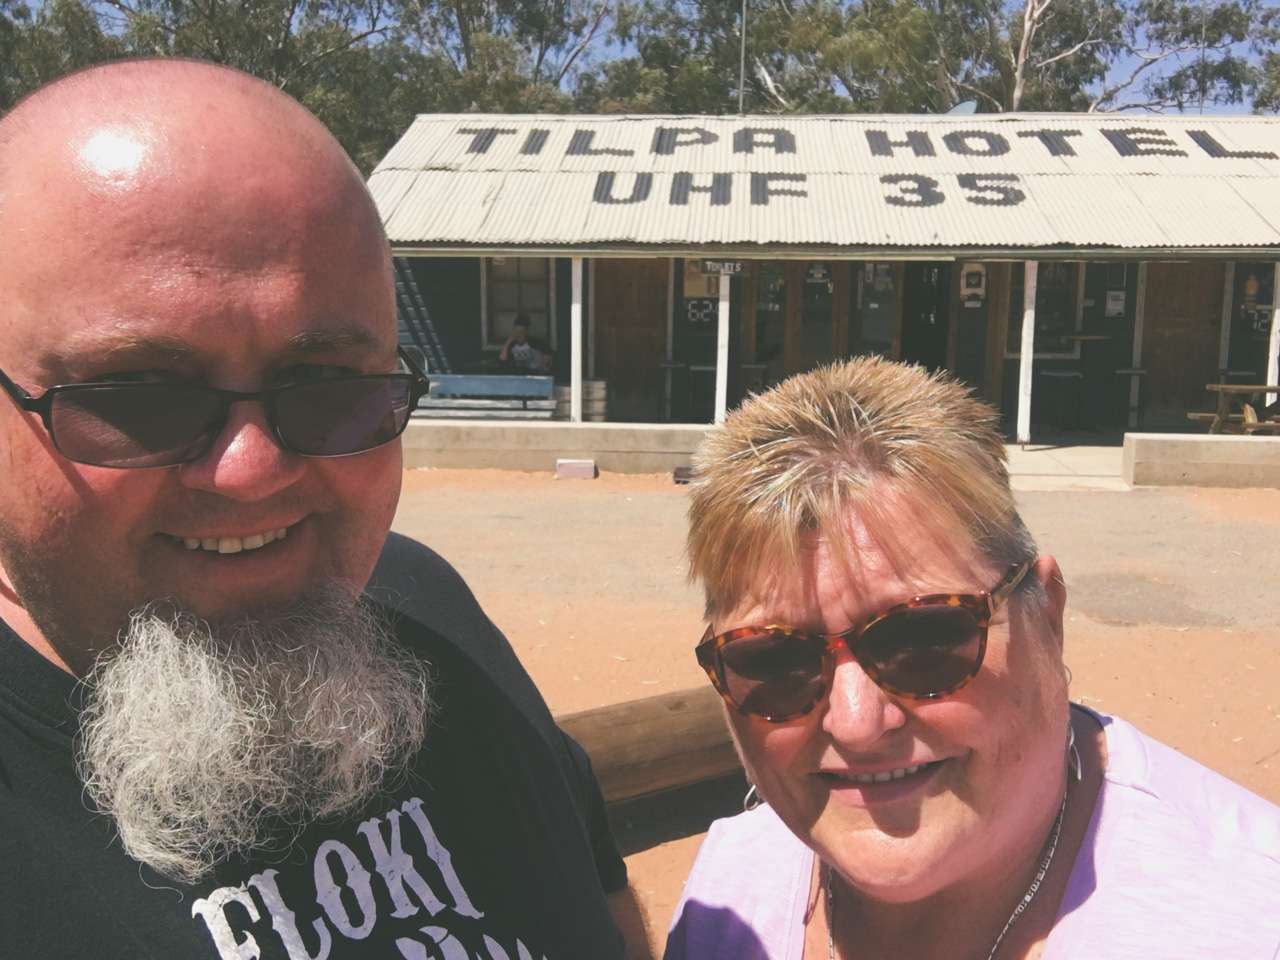
Tilpa Hotel
We stopped in at the Tilpa Hotel for a beer. It is a fantastic old pub with a lot of history. We sat out the back in the “beer garden” (was more like a backyard) and it would have been a great place to have spent the whole day if we’d had more time. We paid a $5 donation to the RFDS and the barmaid lent us a pen so we could add our signatures to the wall of the pub. Amanda put ours outside on the doorframe.
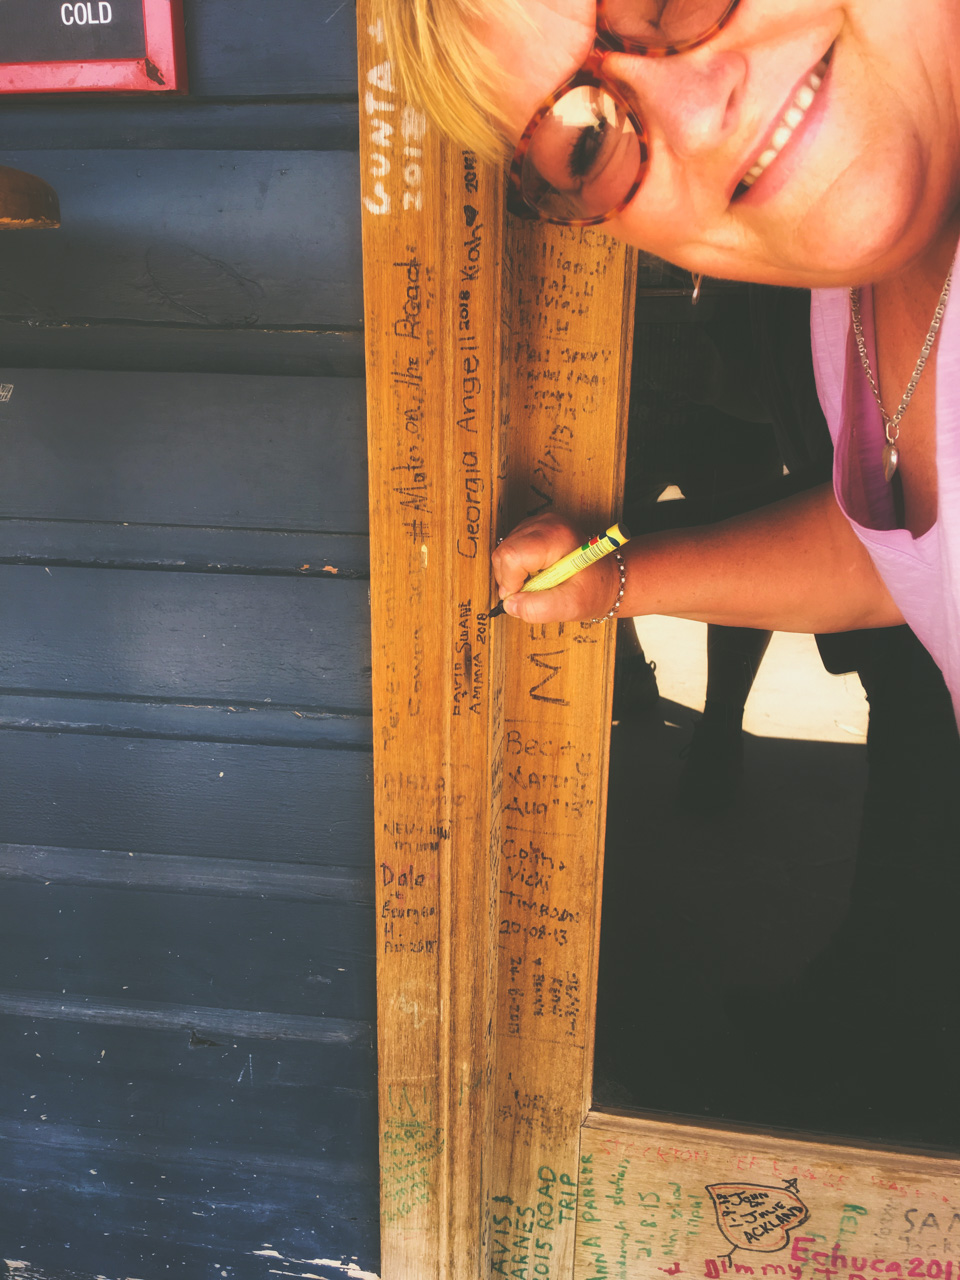
Signing The Wall Outside Of Tilpa Hotel
Louth
After leaving the pub we travelled another 100ks or so to Louth. Again the road was in reasonably good condition although there were a few beautiful, red sandy sections. We had a quick stop in at the hotel at Louth to get a bag of ice (which they were out of) and then it was across a bridge over the Darling River and off towards Trilby Station heading back down the western side of the river.
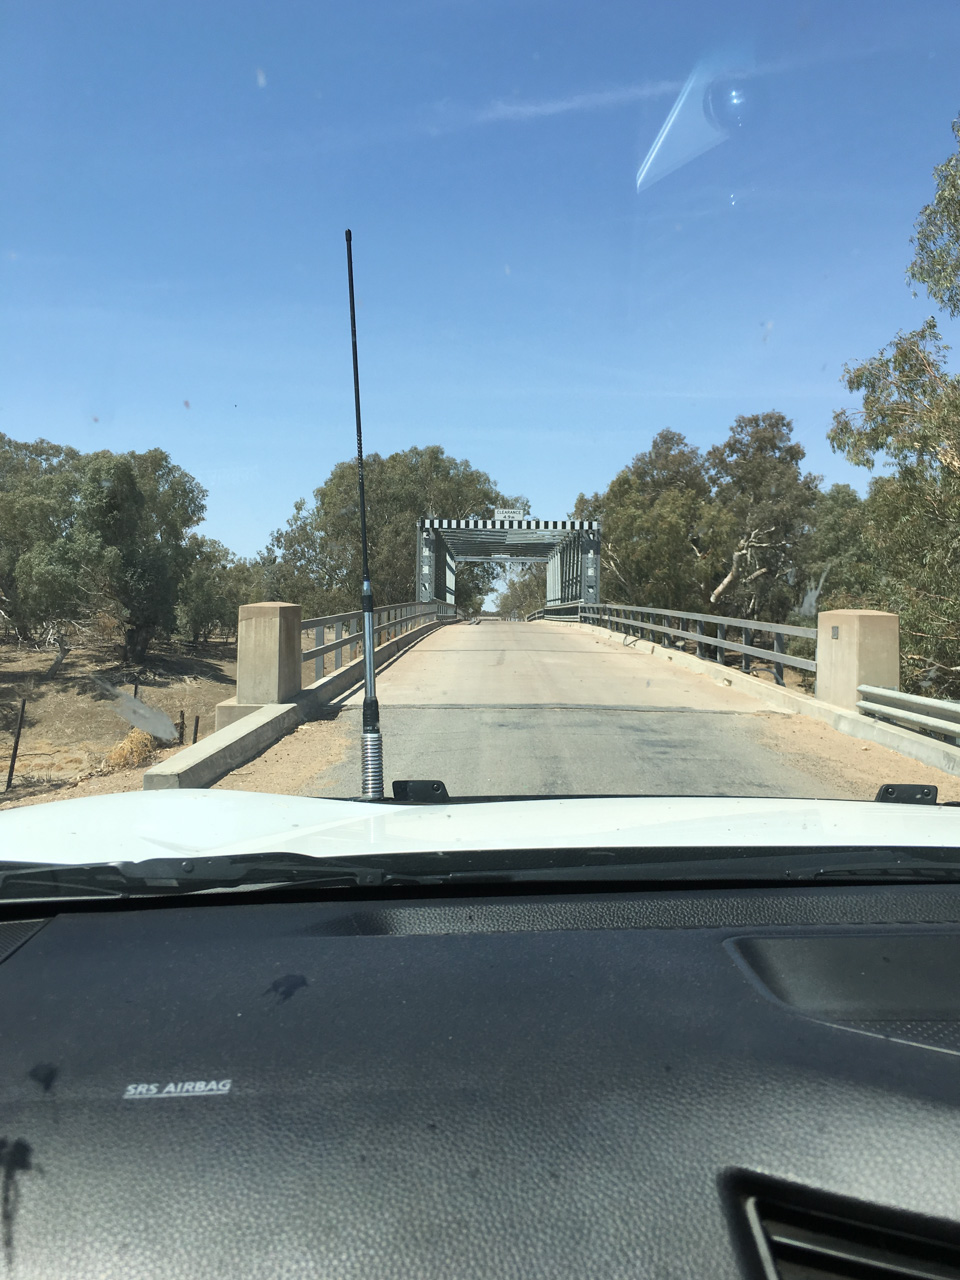
Crossing The Bridge At Louth On The Darling River Run
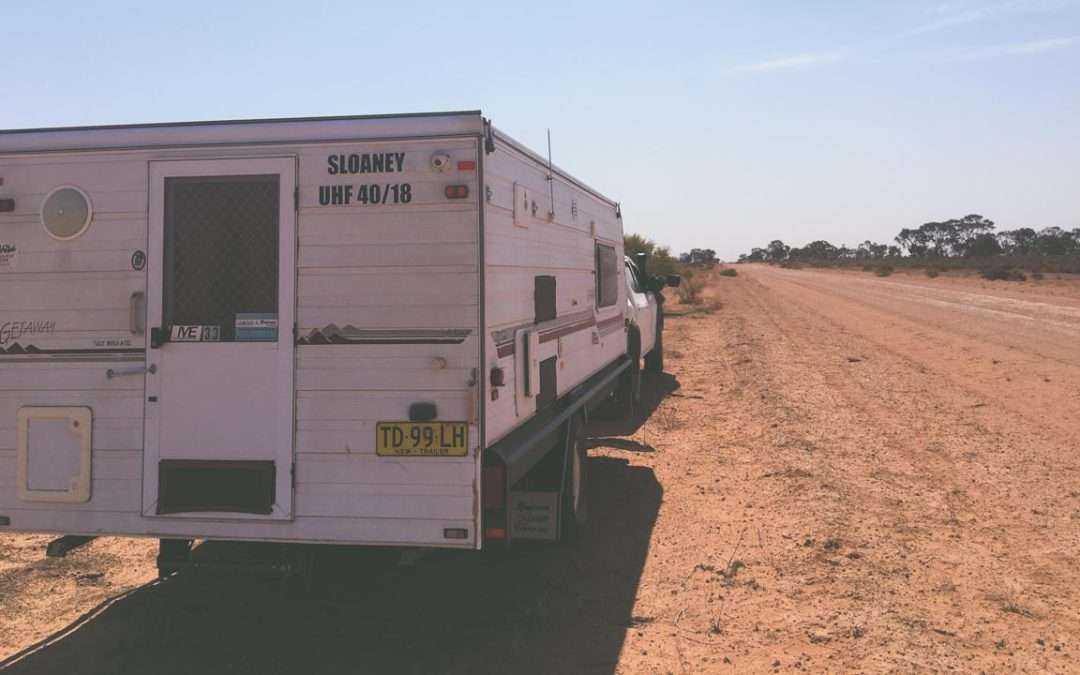
The western side road was very different to the east. The road on the western side was horribly corrugated and very badly rutted. We ended up driving most of the time in the spoon drains in an attempt to make things a bit smoother. It was a bit better, but still as rough as guts.
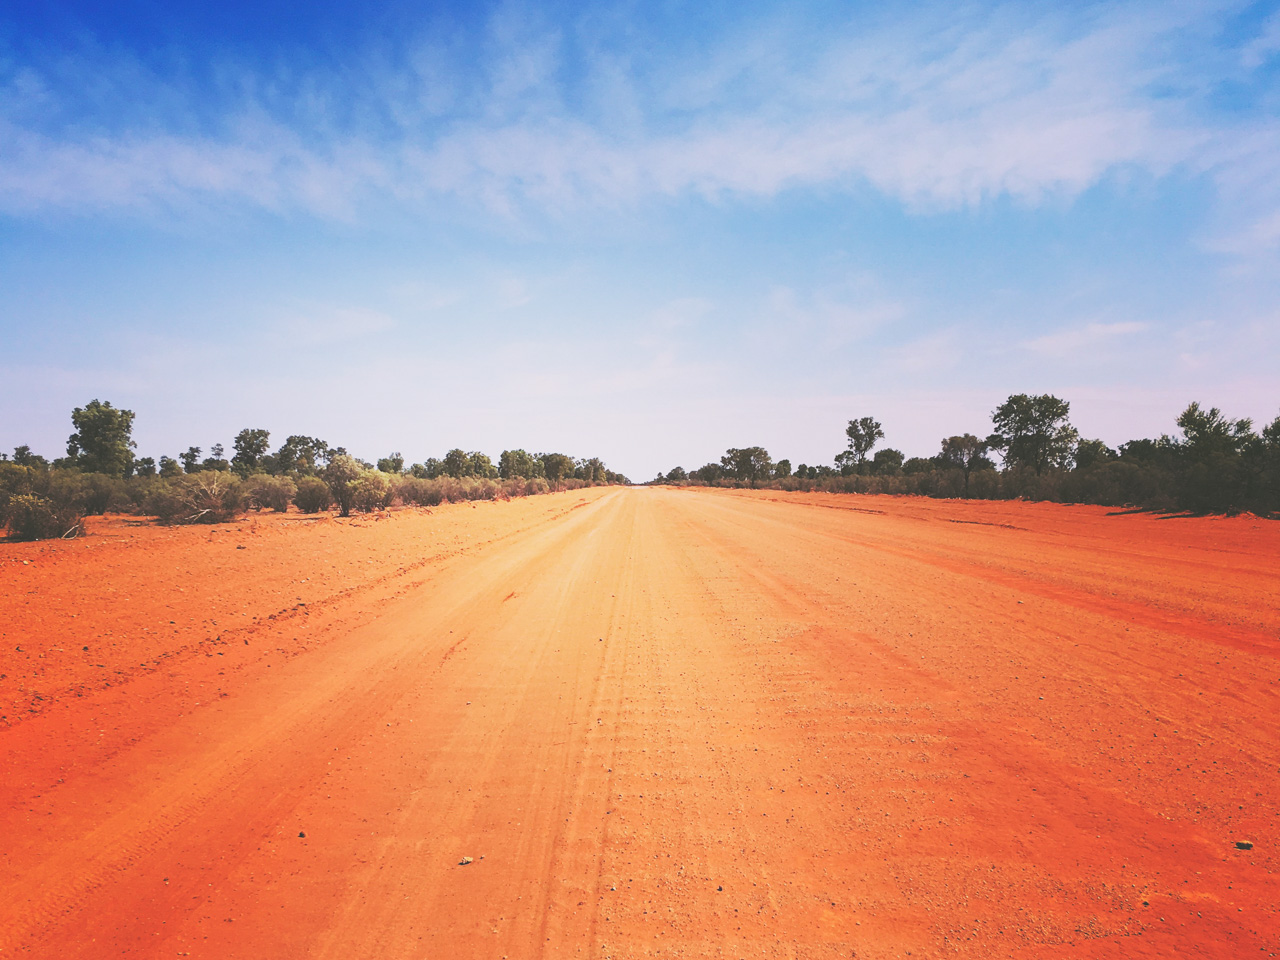
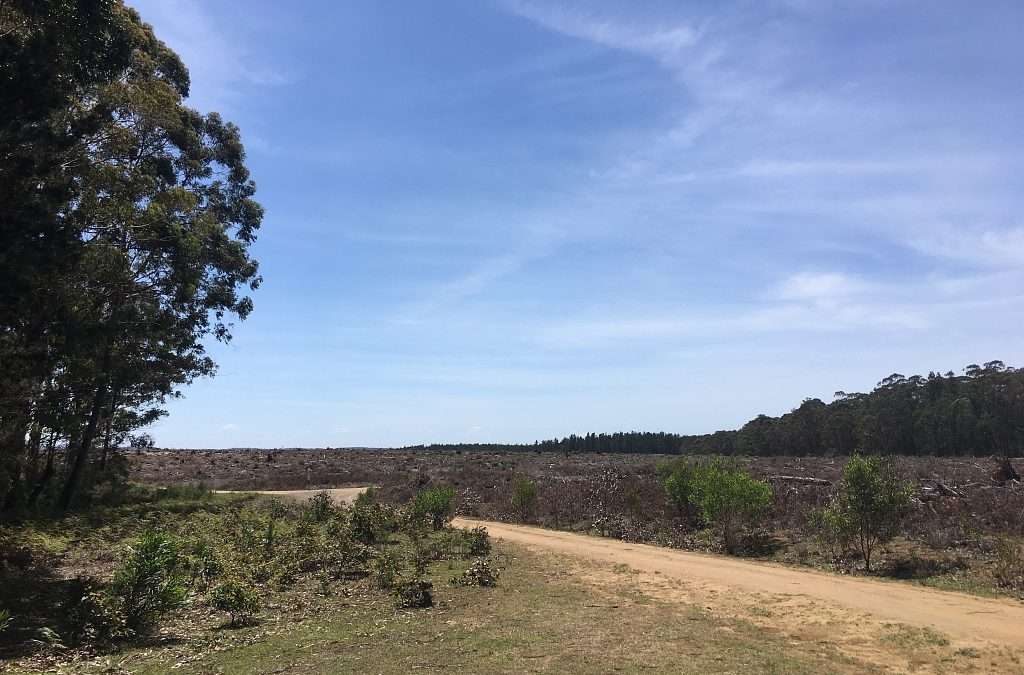
Corrugated Road To Trilby Station
Trilby Station
Eventually we made it to Trilby Station. It’s a great old place with many camp sites available along the river. I think it was only about $25 a night. There’s plenty of firewood around for you to cut and most of the camp sites have ready made fire pits.
We set up and then Amanda sorted out a load of washing by hand and hung it up to dry on a length of clothesline I strung up between trees. Then we cooked up a beautiful massaman curry in the camp oven over an open fire.
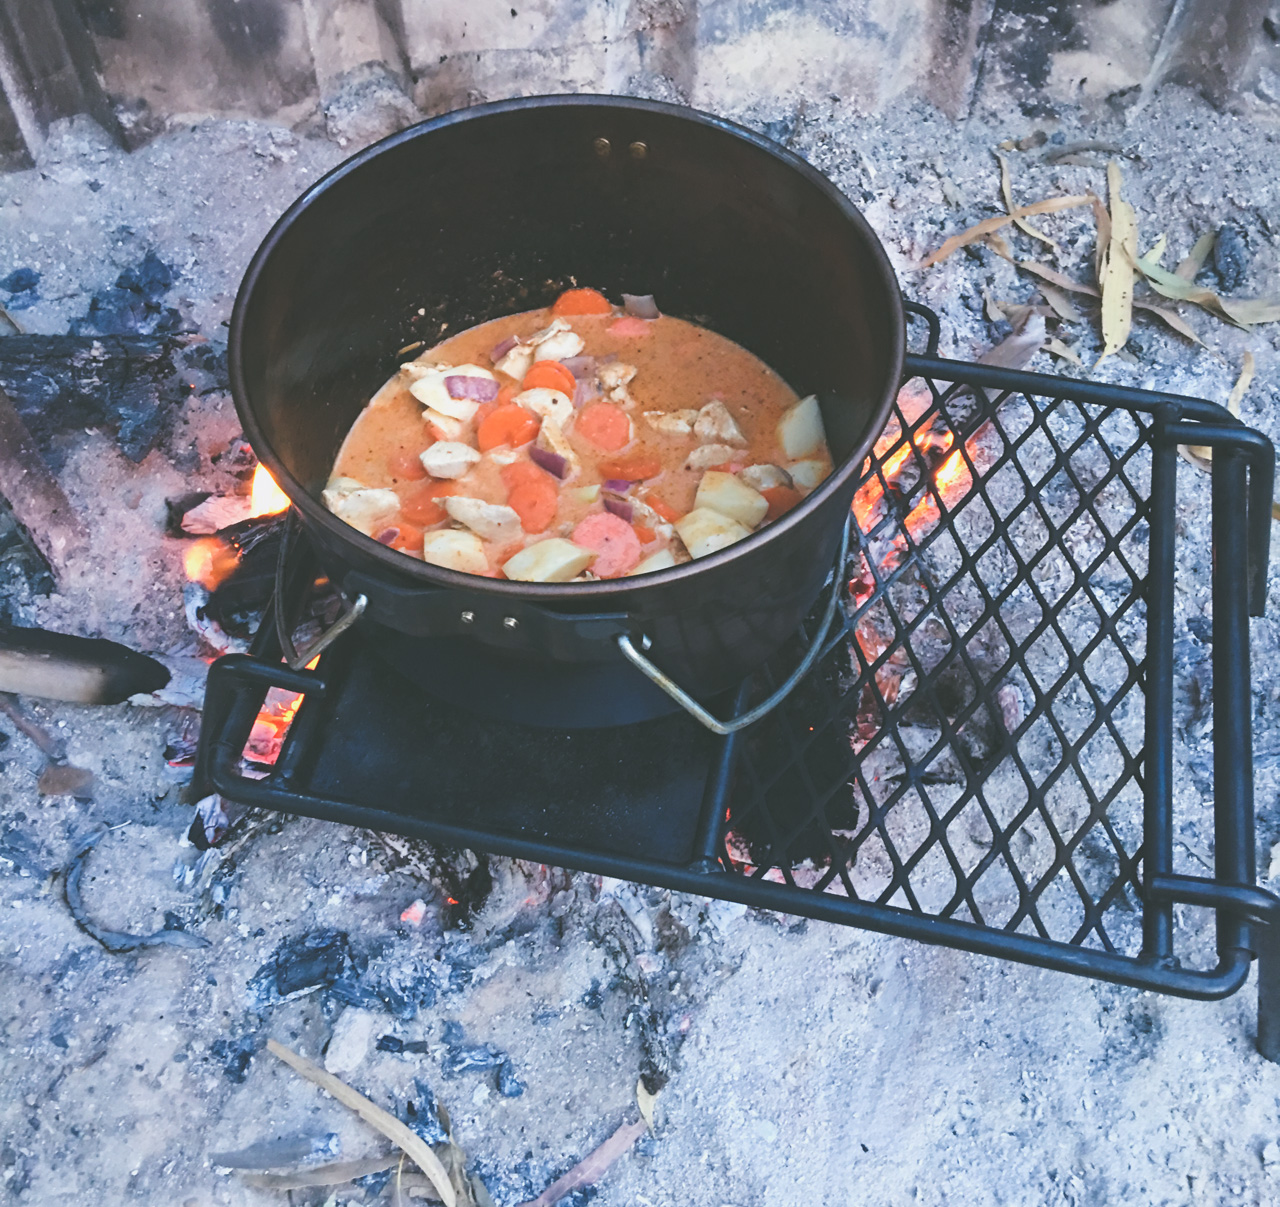
Massaman Curry In The Camp Oven At Trilby Station On The Banks Of The Darling River
All up it was a truly magnificent day. It was the kind of day I would love to replicate again at some time in the future.
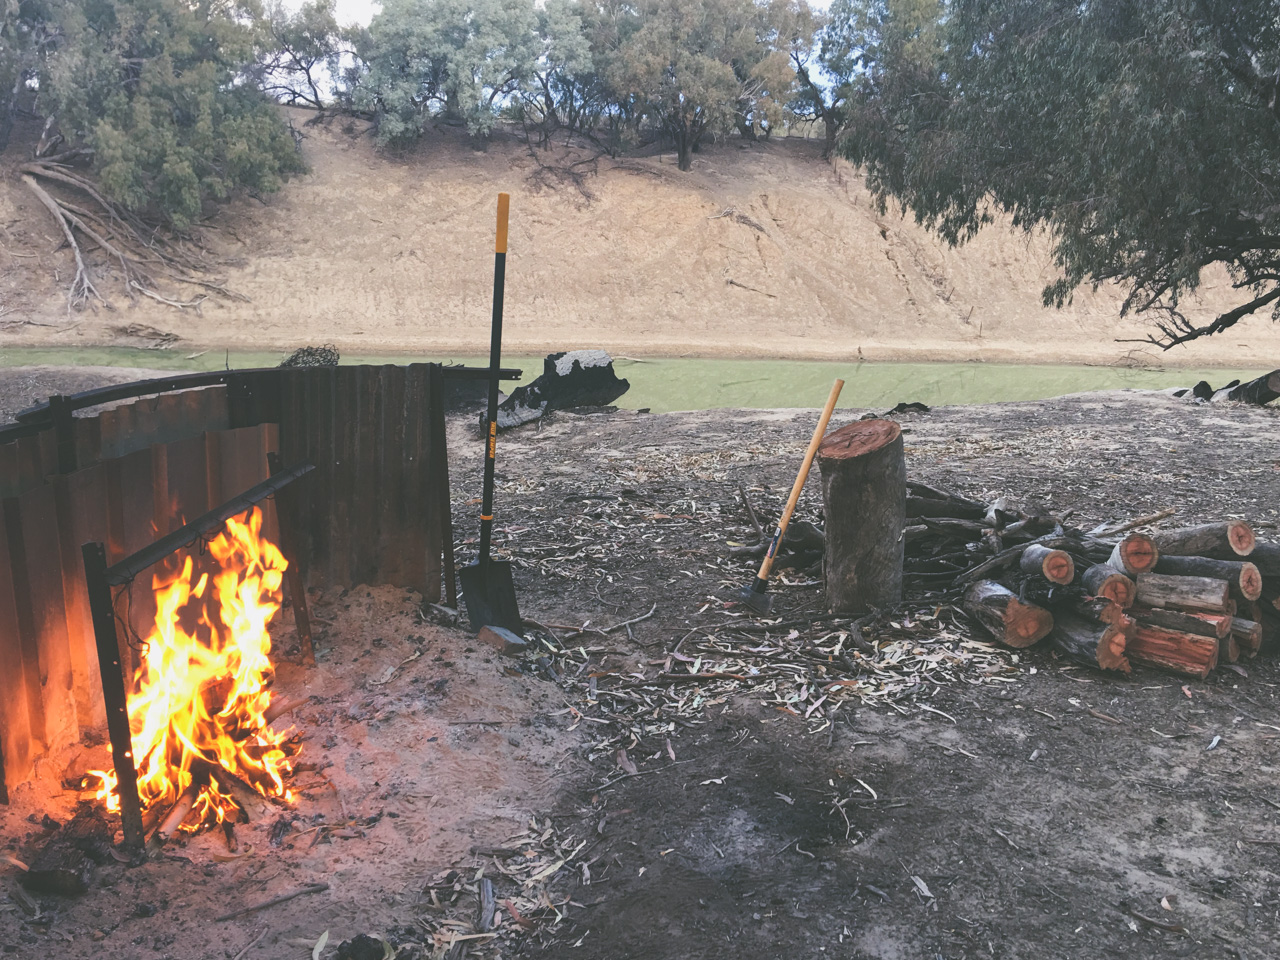
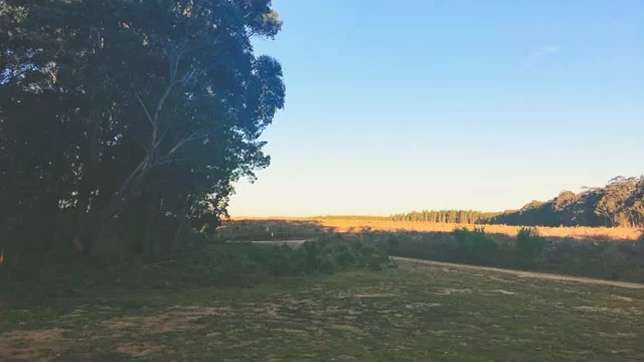
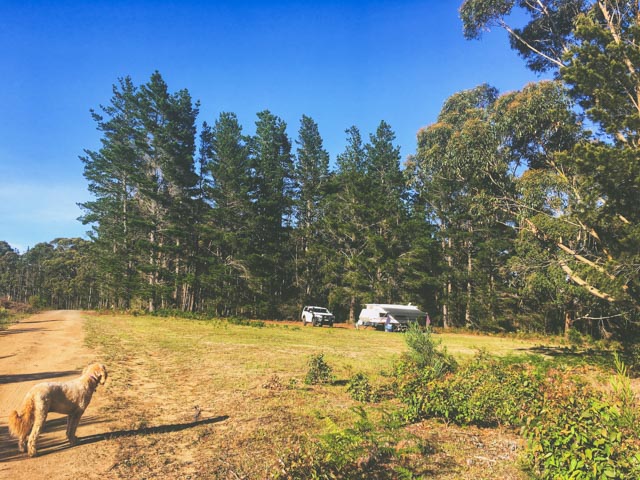
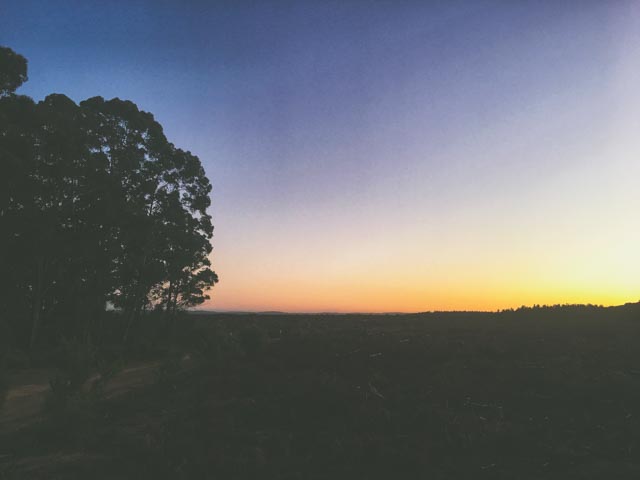
Camping At Trilby Station On The Darling River
Best Time To Do The Darling River Run
Best Time To Do The Darling River Run By Seasons
Spring (September to November) Best Time To Do The Darling River Run
- Weather: Mild temperatures and minimal rainfall make spring an ideal time for the Darling River Run. Daytime temperatures range from 20°C to 30°C, providing comfortable driving and camping conditions.
- Flora and Fauna: Spring is a vibrant season when wildflowers bloom and wildlife is active, offering excellent opportunities for photography and nature observation.
- Accessibility: Roads and tracks are generally in good condition, with fewer closures compared to other seasons.
Autumn (March to May) Best Time To Do The Darling River Run
- Weather: Similar to spring, autumn offers mild temperatures and low rainfall. Daytime temperatures typically range from 20°C to 30°C.
- Scenery: The autumn foliage adds a touch of colour to the landscape, enhancing the scenic beauty of the route.
- Crowds: This season is less crowded compared to spring, making it ideal for those seeking a quieter experience.
Weather Considerations
Summer (December to February)
- Extreme Heat: Temperatures can soar above 40°C, making travel uncomfortable and potentially hazardous.
- Road Conditions: Heat can cause road surfaces to deteriorate, leading to challenging driving conditions. Additionally, summer thunderstorms can result in flash flooding, particularly in low-lying areas.
- Recommendation: It is advisable to avoid the Darling River Run during the peak summer months due to the extreme heat and potential for severe weather.
Winter (June to August)
- Cold Nights: While daytime temperatures are generally mild (10°C to 20°C), night time temperatures can drop significantly, often falling below 0°C in some areas.
- Road Conditions: Winter rains can lead to muddy and impassable roads, especially in remote sections of the route.
- Recommendation: Winter travel is possible but requires thorough preparation. Ensure your vehicle is equipped for cold weather, and check road conditions frequently.
Key Tips For Planning Your Trip
- Weather Check: Always check the weather forecast and road conditions before embarking on your journey. This information is crucial for ensuring a safe trip.
- Vehicle Preparation: Ensure your vehicle is well-maintained and equipped for off-road conditions. Carry extra fuel, water, and spare tires.
- Emergency Plan: Have an emergency plan in place. Carry a satellite phone or UHF radio for communication in remote areas where mobile coverage is limited.
- Accommodation: Plan your stops and book accommodations in advance, especially during peak travel seasons.
The best time to do the Darling River Run is during spring and autumn when the weather is mild, and the roads are in good condition. Avoid the extreme heat of summer and the cold, wet conditions of winter for a safer and more enjoyable adventure. Proper planning and preparation are essential to make the most of this iconic Australian outback experience.
How To Get There
We started this leg of the Darling River Run at Wilcannia but you could just as easily start at the other end from Bourke. Road Conditions on the Darling river Run vary greatly depending upon weather conditions and when they last received maintenance or where graded. One thing to keep in mind when travelling on these roads is to SLOW DOWN for cattle grids. A lot of the cattle grids are very narrow and have steep drop offs on both sides. Hit one of them at 80km/h and you will be calling for a very expensive tow. I have listed the travel distance and times to Wilcannia and points along this leg of the Darling River Run below.
| Travel From |
Distance |
Time |
| Adelaide to Wilcannia |
714km |
07:53 |
| Brisbane to Wilcannia |
1318km |
14:19 |
| Canberra to Wilcannia |
804km |
08:58 |
| Melbourne to Wilcannia |
814km |
08:49 |
| Menindee to Wilcannia via Teryawynia-Ashmont Rd |
172km |
02:05 |
| Sydney to Wilcannia via Dubbo |
946km |
10:50 |
| Sydney to Wilcannia via Griffith |
1012km |
10:57 |
| Wilcannia to Louth |
224km |
02:02 |
| Wilcannia to Tilpa |
128km |
01:31 |
| Bourke to Louth |
150km |
01:47 |