19 Ways To Reduce Caravan Weight

19 Ways To Reduce Caravan Weight

19 Ways To Reduce Caravan Weight

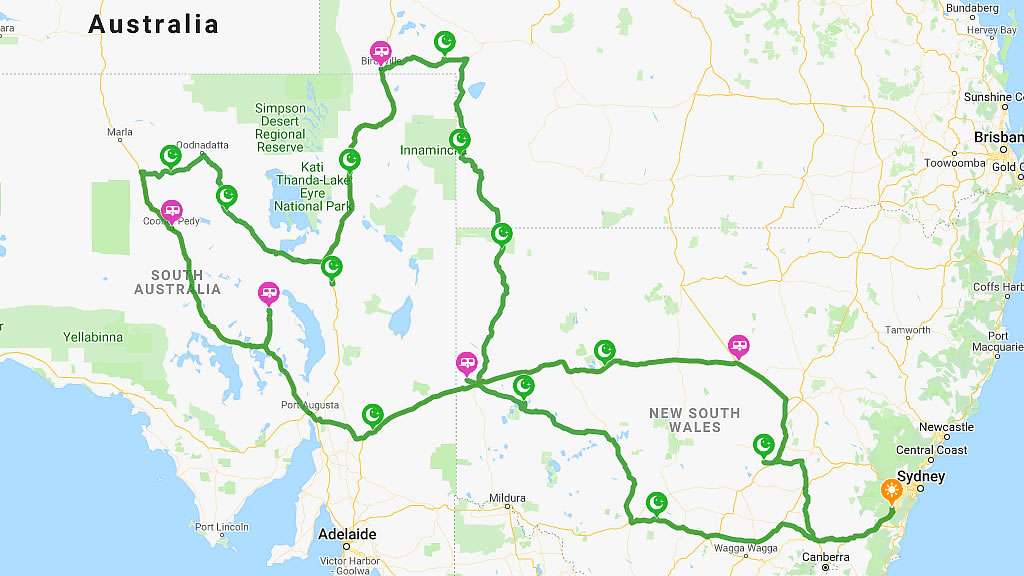
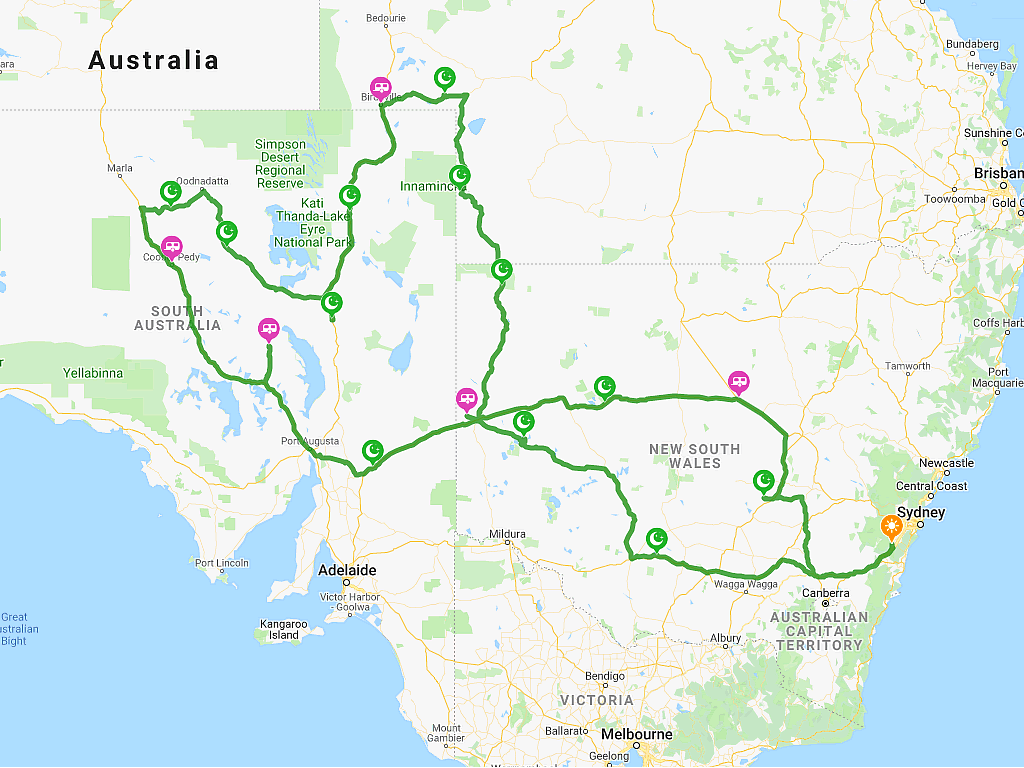
Caravan weight is a hot topic of conversation in Facebook groups so how do you reduce caravan weight? ATM, GTM &Tare. So how do you go about getting your packed weight down to where you are legal?

Below I will outline some of the things we have done to reduce the weight of our caravan so that we are comfortably legal when we hit the road. I won’t go in to an explanation of ATM, GTM and Tare as this has been well covered before. Put simply you need to remove anything from your caravan that you don’t need. I’ll repeat that for you in a different way, if you don’t need it don’t take it.

A Bit Overloaded

Cull and Rationalise Cooking & Kitchen Equipment

  1. Cooking and kitchen equipment can eat up a lot of your payload.
  2. Only carry a large cooks knife and a smaller cooks knife. Don’t carry a whole knife block full of knives you can get by without
  3. Reduce the number of saucepans you take. A big one and a medium will probably do the trick. Consider getting some of those silicone saucepans as they weigh less
  4. Cut down on serving and mixing bowls. Carry a few plastic mixing bowls, they can double as serving bowls
  5. Use plastic utensils such as spatulas and stirring and serving spoons
  6. Carry only one set of tongs. A good long pair can double for both kitchen and BBQ use
  7. Get a plastic chopping board instead of a big thick wooden one

Reduce Plates, Bowls, Glasses & Cutlery

  1. Carry the number of plate settings for the number of people in your caravan plus a spare
  2. Carry the number of cutlery sets for the number of people in your caravan plus a spare. You’ll probably want a few extra teaspoons though.
  3. Instead of heavy china plates go for lighter steel, plastic or melamine alternatives. As an added bonus they’re less prone to breakage
  4. Replace all of your coffee mugs, drinking glasses and wine glasses with a double walled insulated stainless steel cup. Your drink tastes the same out of it, don’t kid yourself otherwise! We managed to remove a couple of kilos from our van by rationalising our drinkware in this way. As a bonus your drink will stay hotter or colder for longer and you won’t be able to break it after after a few too many (a former problem of ours)

Ditch The Heavy Roll Out Awning for a Tarp on a Sailtrack

  1. We saved ourselves almost 60kg in weight by removing our roll out awning and replacing it with a tarp that slides in to a sailtrack along the side of our caravan. We purchased ours online from an Aussie company Econotarps and the quality is excellent, the price was great and shipping was fast. As a bonus we have a sailtrack on both sides of our caravan so can set up with the awning on either side. As an even bigger bonus if it gets smashed in a storm just like the roll-out awnings are very prone to do the replacement cost is about $125. So far the one we are using has been up for a total of around 50 days and has survived about six very decent storms with no ill effect. Our old roll out awning complete with arms and everything else required to make it work weighed in at a hefty 65kg. I weighed it after removal. Our new set up that includes the tarp, three poles, three ropes and three pegs only weighs 7kg. Set up time is only 5 minutes absolute maximum and that includes about two minutes of Amanda telling me that I haven’t got the roofline level and getting me to adjust a pole or two a couple of times and ending back where we began.

Poptop Caravan Sailtrack Awning

Spun Steel Camp Oven Instead of Cast Iron

Spun steel camp ovens weigh about a third of an equivalent sized cast iron one. We carry two camp ovens and we use them a lot. We saved well over 10kg by going to spun steel ones. They do cook slightly differently but if you can cook with a camp oven then adjusting to spun steel will be easy for you. Honestly it tastes just as good out of a spun steel camp oven!

Spare Tyres for Your Caravan

  1. If you mostly travel on road or never stray too far the main population then one spare is plenty.
  2. Make sure you have the right kind of tyres for where you are going and that they are in top condition. This mitigates the chances of a blowout in the first place.
  3. Carry a puncture repair kit and know how to use it. A puncture repair kit weighs 1kg compared to a caravan rim and tyre that can weigh about 30kg.
  4. Change the hubs on your caravan to match the tow vehicle. Your car spare tyre is then also a spare for your caravan and vice versa.

Change Your AGM Batteries to Lithium for a Massive Weight Reduction

  1. Changing from two 120ah AGM batteries to a single 120ah lithium battery will give you about the same number of usable amp hours of supply but will save you about 40kg. We have not done this yet as our current AGM batteries are in good condition but as soon as their performance begins to drop off BOOM they’re gone done and dusted for a lithium.

Rationalise Shoes & Clothes to Reduce Caravan Weight

  1. Shoes can really pile up if you aren’t looking and add a lot of weight. A single pair of boots can weigh as much as 1.5kg. A pair of boots each, a pair of thongs each and a pair of runners or hiking shoes is really all you need.
  2. Have a look through your drawers, wardrobes, under the bed and in overhead lockers and pull all out all of your clothing and lay it out on the bed. Be reasonable and reduce what you have down to just what you need. If it’s summer do you really need that big leather jacket?

Summary

Being sensible and only taking what you need and use is the easiest way to reduce caravan weight. Don’t let your holiday be ruined by a big fine or unnecessary extra wear and tear on your caravan or vehicle by being overloaded. If you follow the simple tips outlined in this article you can easily strip 100kg from your caravan weight.

Your Blog Needs a URL Vinyl Sticker

Your Blog Needs a URL Vinyl Sticker

Your Blog Needs a URL Vinyl Sticker

Promote your caravan blog in style with a URL vinyl sticker! If you have a travel blog – hell if you have a blog of any kind then you need to be promoting it’s URL on the back of everything you own. LiquidDigit are the guys to see.

We've Been Hooked Up With Some Vinyl Cut Stickers for the Back of the Van

We’ve Been Hooked Up With a URL Vinyl Sticker for the Back of the Van

Peter Woolsey is a top bloke and a good mate of mine and he has a business called LiquidDigit making top quality vinyl cut stickers. He can make them up in a big range of fonts and colours and post them out to you at really reasonable pricing. He’s hooked us up with a URL sticker for www.followourtravels.com as well as making up a really awesome sticker for the MARS Enthusiasts Facebook group we are travelling to the Dig Tree and Birdsville with.

So get on board with your advertising and hit Pete up. Like I said, he’s a bloody ripper bloke and he’ll help you out. Make sure you tell him that Dave & Amanda sent you. Actually you probably shouldn’t mention us, he might charge you extra if hears my name!


Birdsville Track and Oodnadatta Track Travel Itinerary

Birdsville Track and Oodnadatta Track Travel Itinerary

Birdsville Track and Oodnadatta Track Travel Itinerary

Our next big trip is going to be four weeks through outback Australia. We are leaving from Sydney and travelling up to the Dig Tree via Menindee and Tibooburra with a bunch of good friends from the MARS Enthusiasts Camper Trailer Group.

National Muster Trip Dig Tree Birdsville Track Oodnadatta Track Travel Itinerary

National Muster Trip Dig Tree Birdsville Track Oodnadatta Track Travel Itinerary

The Real Aussie Outback

After the Dig Tree we are going up to Birdsville via the Planet Arrabury Road with a stop over at Haddon Corner. At Birdsville we all plan on driving up “Big Red” to watch the sunset. After exploring Birdsville it’s down the Birdsville Track to Farina with a night inbetween at the Mungerranie Hotel.

Burke & Wills Dig Tree

Burke & Wills Dig Tree

Oodnadatta Track

We are leaving our camper trailer friends at Farina and heading across the famous Oodnadatta Track to William Creek. We’ll be camping at Arckaringa Station for a few nights and having an explore around the Breakaways and the painted Desert. Then it’s on to Coober Pedy. We are then going to check out Woomera and explore around the town and look at all of the leftovers from the rocket range days and then it’son to Roxby Downs. Silverton is our next stop for a few nights and we’ll visit Broken Hill for about the fifth time. Then unfortunately it will be time to head back home.

All up we plan on about 7,000kms and many of them will be on red dirt. We love red dirt. It’s going to be an awesome trip. Please follow us along!

Dig Tree Birdsville Track and Oodnadatta Track Travel Itinerary

Day Town State Distance Time Where To Stay
Saturday Carrathool NSW 589 05:59:00 Truss Bridge
Sunday Menindee NSW 489 05:18:00 Burke & Wills Camp Site
Monday Tibooburra NSW 444 05:06:00 Aboriginal Land Council Camp Ground
Wednesday Dig Tree QLD 292 06:00:00 Burke & Wills Dig Tree
Saturday Birdsville QLD 450 09:00:00 Birdsville Caravan Park
Monday Mungerrannie SA 313 04:11:00 Mungerannie Hotel
Tuesday Farina SA 262 03:31:00  
Thursday William Creek SA 304 06:00:00 Anna Creek Bush Camp
Saturday Arckaringa SA 238 05:00:00 Arckaringa Station
Monday Coober Pedy SA 141 03:00:00 Oasis Tourist Park
Wednesday Roxby Downs SA 452 04:45:00 Discovery Parks Roxby Downs
Friday Past Peterborough Barrier Hwy SA 425 04:27:00 Nackara off Road
Saturday Silverton NSW 278 03:04:00 Penrose Park
Tuesday Emmdale NSW 323 03:31:00 Emmdale Roadhouse
Wednesday Nyngan NSW 292 03:02:00 Nyngan Leisure & Caravan Park
Friday Forbes       Jemalong Weir
Make a Cheap Offroad Window Protector

Make a Cheap Offroad Window Protector

Make a Cheap Offroad Window Protector

When going offroad towing a caravan or camper trailer you need to have some sort of rear window protector fitted or you risk an expensive breakage.

We made a cheap window protector for our ute canopy rear window. We travelled the Birdsville and Oodnadatta tracks and the Strzelecki Track plus a load of other outback gravel roads towing our van with this fitted and it worked well. At the end of each trip there were noticeable chunks out of the protector cause by flying rocks but nothing had damaged the canopy back window. These days we use a StoneStomper so the rear window doesn’t need the protector fitted, but this was a good very cheap option. Read on to find how to make a DIY rear window protector on a budget.

Corflute Yoga Mat Cloth Gaffa Tape To Make Rear Back Window Protector Fitted To Vehicle Canopy

Making The Back Window Protector

We used some corflute, a yoga mat, a bit of silicone and some gaffa tape. All up cost was about $30.

Corflute Yoga Mat Cloth Gaffa Tape To Make Rear Back Window Protector

We made a template out of newspaper and traced the outline on to the corflute. We then cut it out of the corflute using a sharp stanley knife. It would have been an easier job if we hadn’t picked a windy day to trace the outline on to the newspaper!

Back Window Protector

We had to cut a few holes in it to allow for the plastic bits on the window (used to fit the hinges etc) and for the lock handle. These were a bit tricky to get in the right place but we just kept doing back and forward with the newspaper template. The holes were cut out using a retractable thin bladed box cutter type knife. We used the thinner bladed knife as the wider blade on the stanley knife made it hard to cut out the round bits.

 Yoga Mat Corflute Sandwich Yoga Mat Glued Siliconed To Corflute For Rear Canopy Window Protection

After cutting the corflute to shape we siliconed the yoga mat to it and left it to dry overnight.  We placed a few weights on top to hold it flat. We used good old roof and gutter silicone.

When the silicone was set we covered the whole lot in strips of gaffa (with cloth in it) tape to protect it. It fits to the back window with gaffa tape around the edges stuck to the glass. Here’s hoping it does the job. I reckon it should.

Update – Our DIY Window Protector Worked!

We completed many trips and the DIY window protector job actually worked really well. After getting home and having a good look at it after each trip I found a number of places where chunks had been taken out of it by flying rocks. I reckon if the rocks were going fast enough to take a chunk out of the window protector then they would been a fair chance of breaking the window. All up it was a good thing.

Pin It on Pinterest